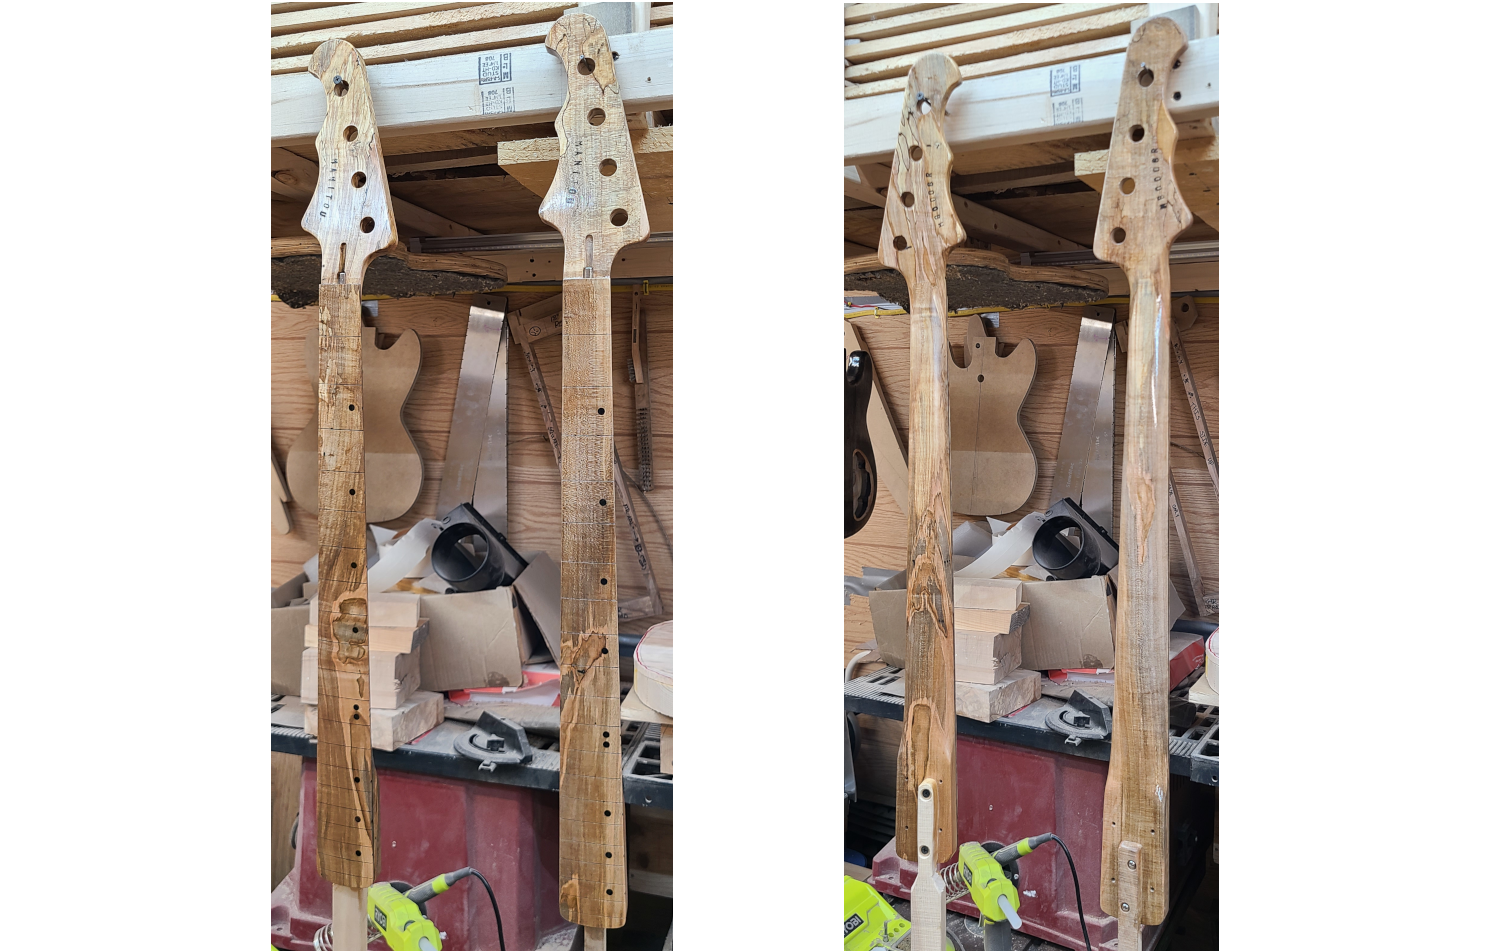
There were a few issues with the neck, so at this point I decided to start the neck over.
The neck was supposed to be to the same specs as a Mexi P-Bass, and it was carved too thin.
Additionally, the headstock angle was off – the headstock was cocked too far to the bass side – and because of these issues, I decided to make it again from scratch.
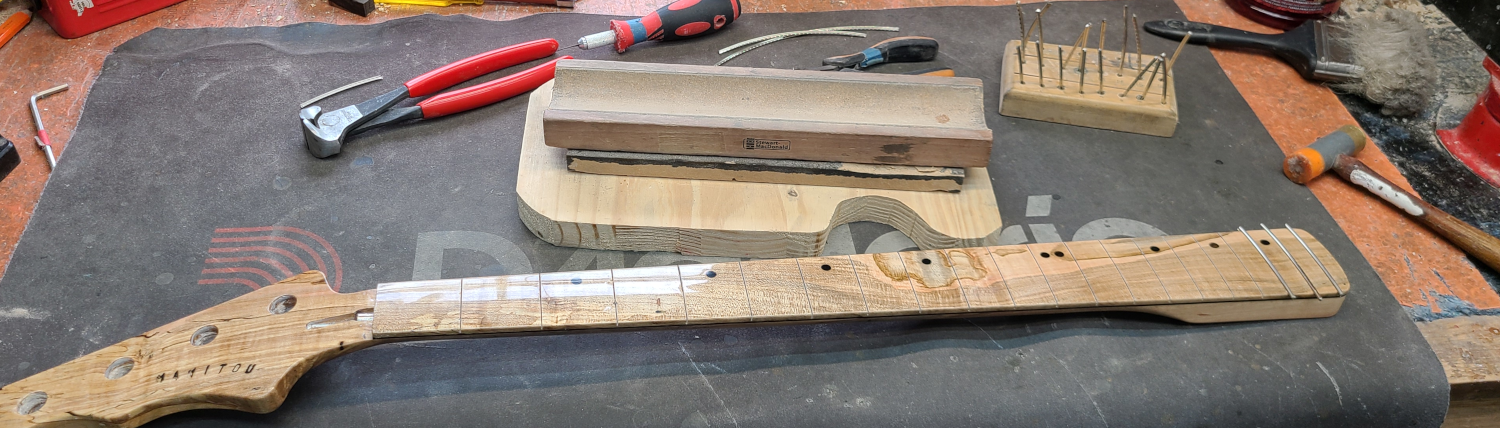
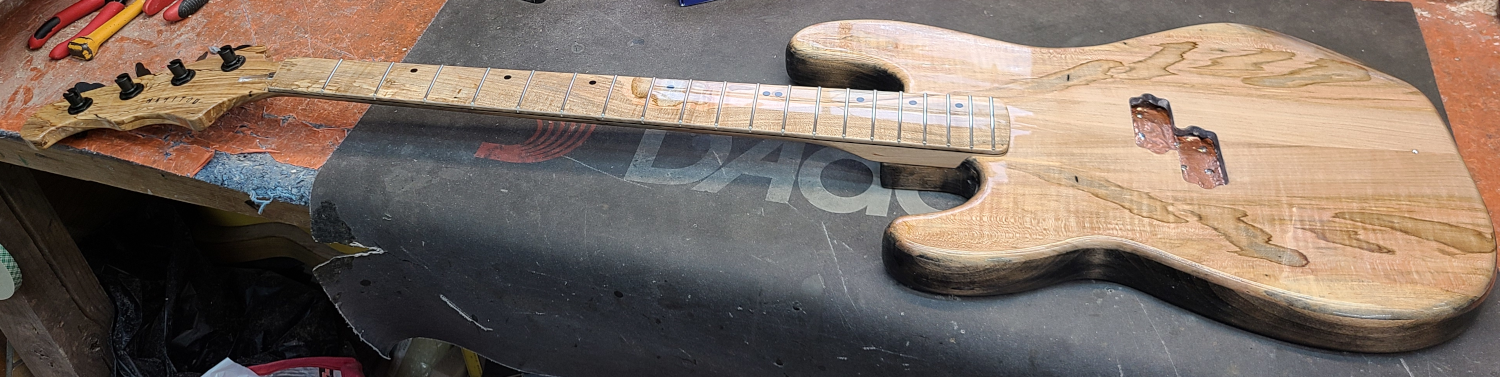
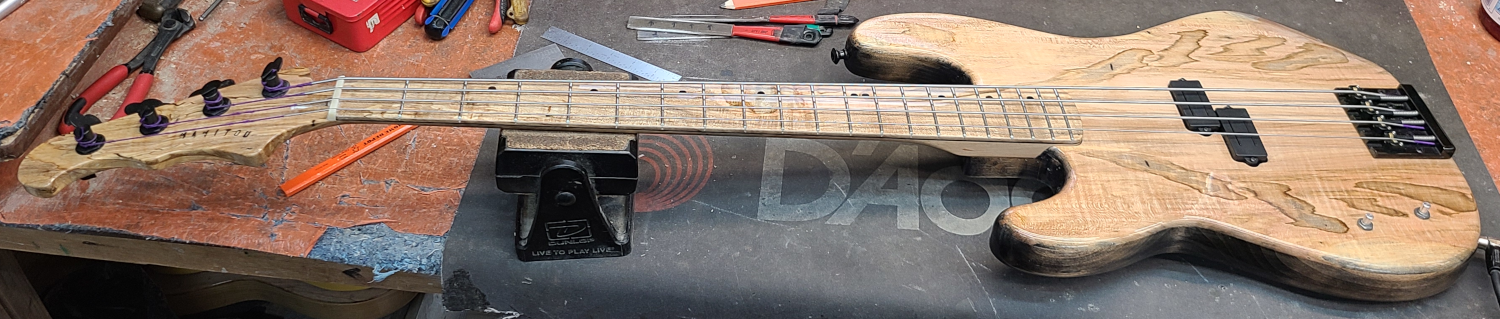
Luckily, the new neck looks a lot better than the old one.
The new neck is on the left side in both the above pics (with the old one on the right).
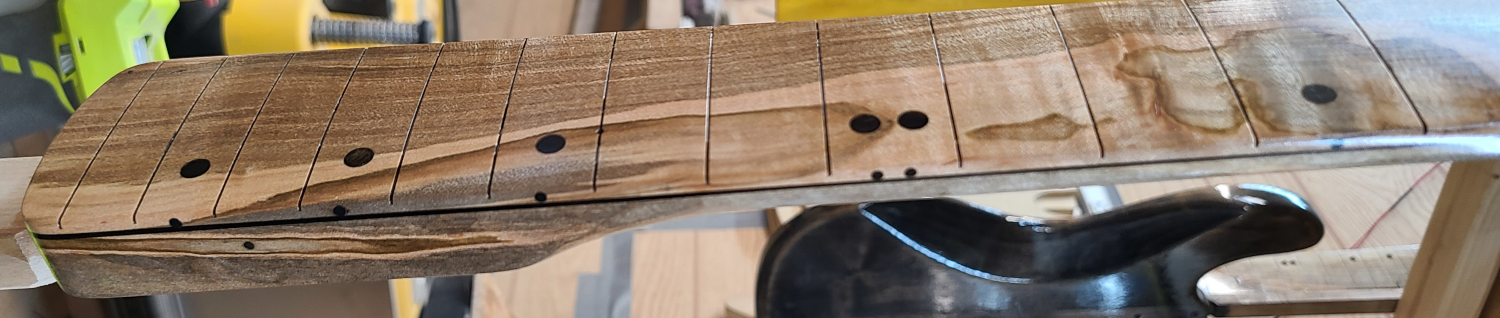
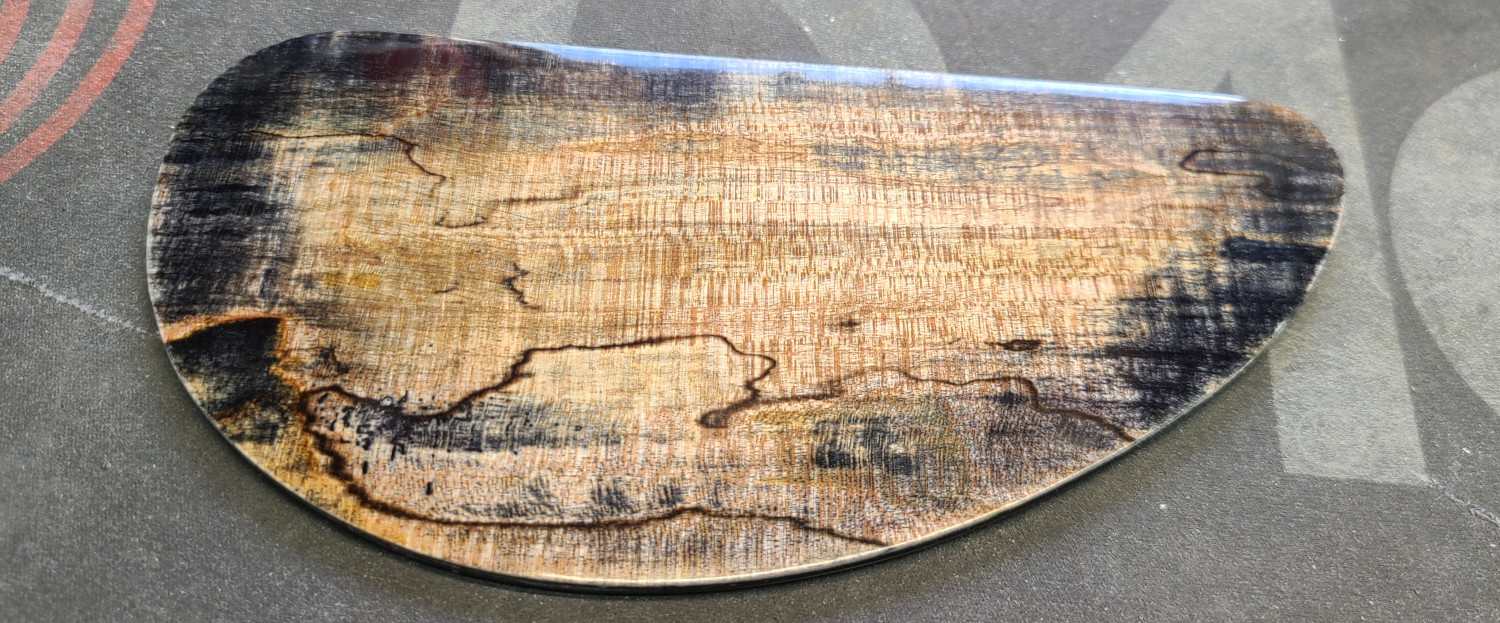
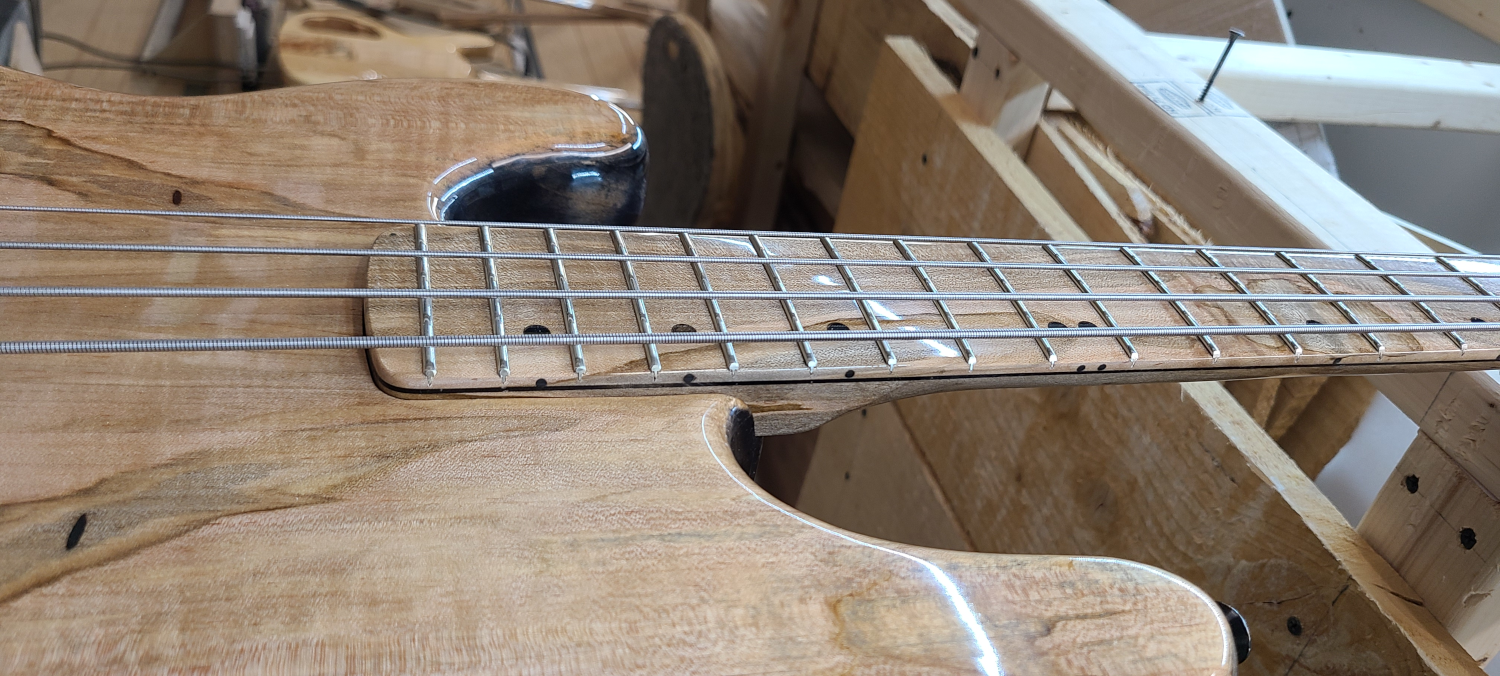
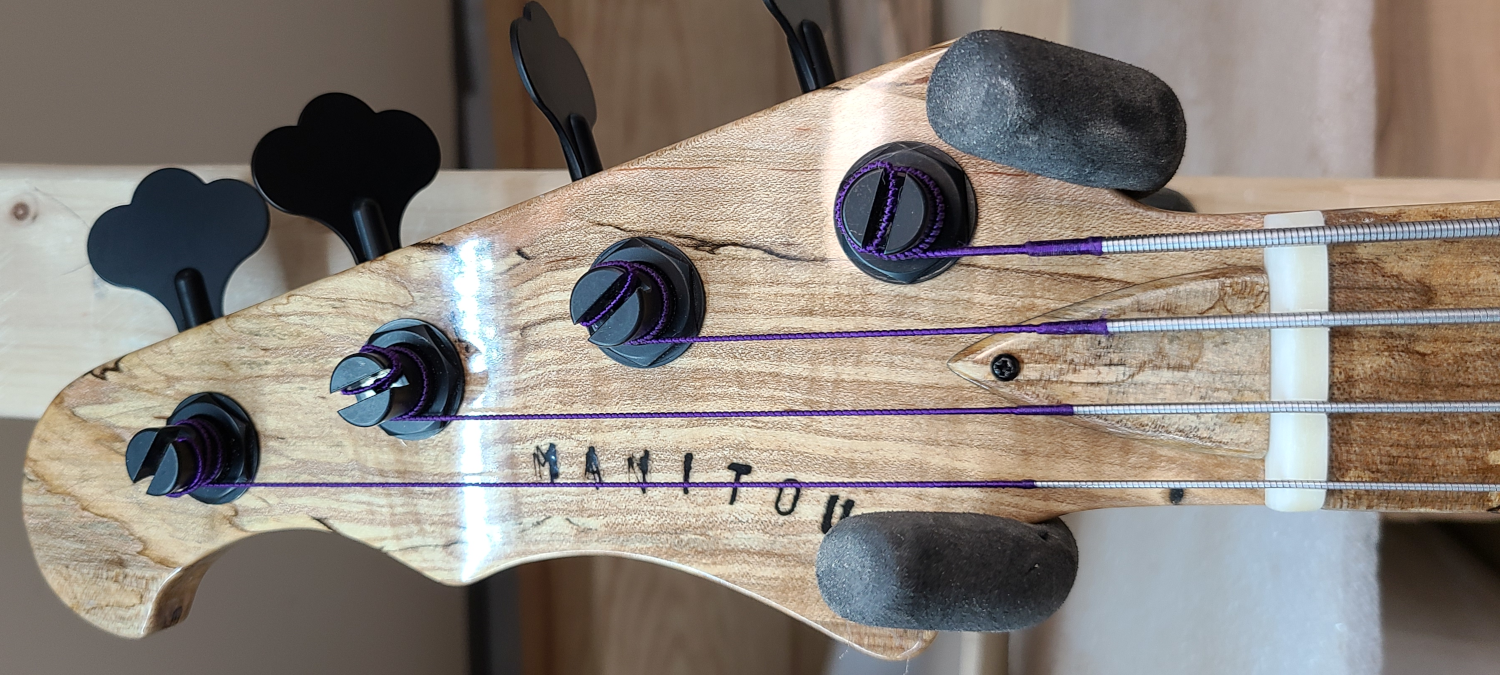
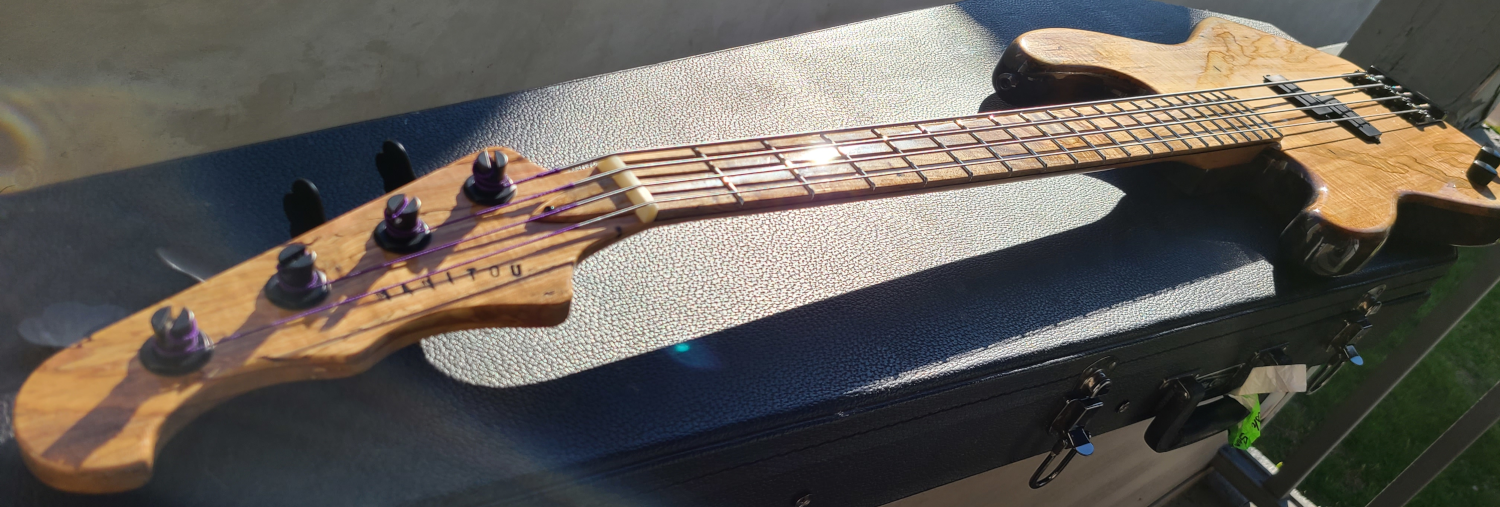
Here’s a closeup of the new neck.
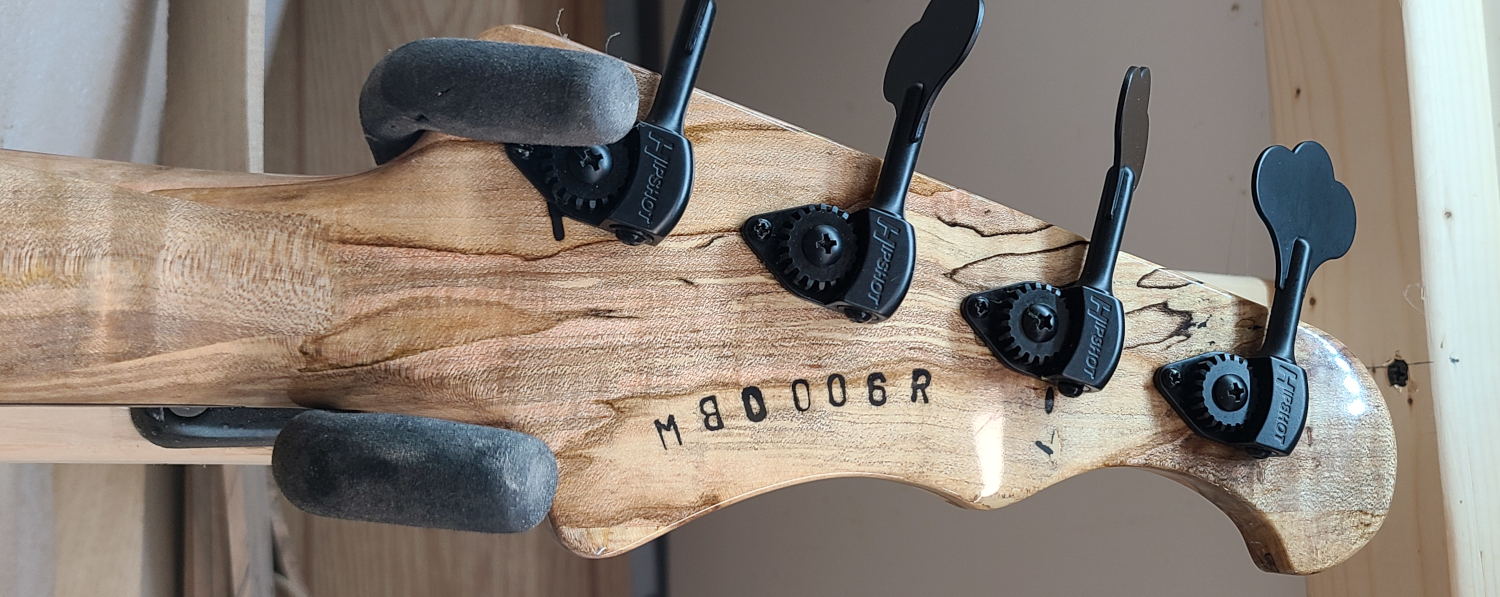
Also some cool spalting on the headstock.
After the neck is level sanded and buffed, the frets are hammered in, then levelled out, along with all the other good stuff that goes into the general “fretwork” category.
Frets are done, time for the tuners and nut installation.
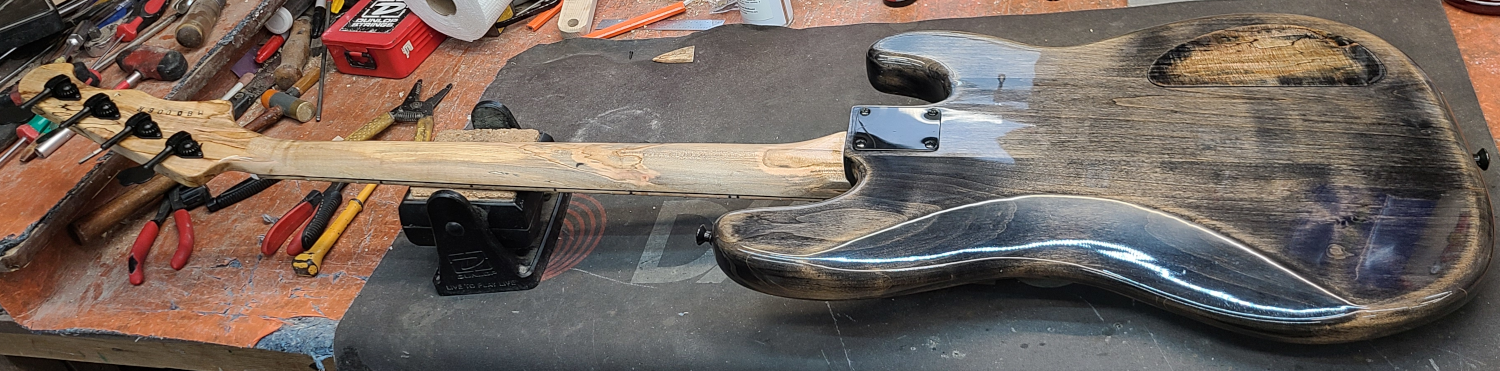
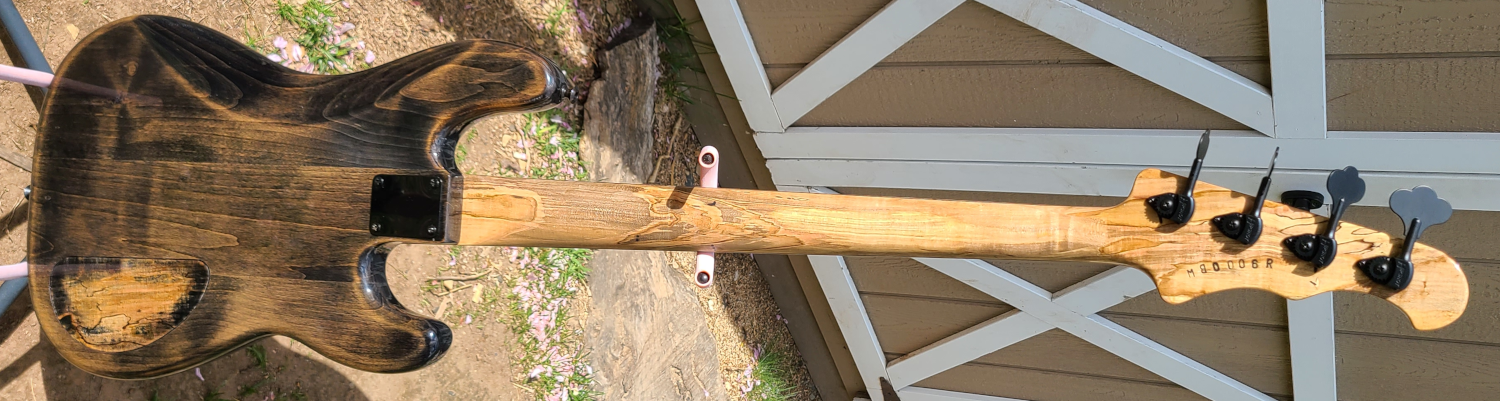
The client requested that the back of the neck be sanded to more of a satin finish, so I taped off the heel & headstock, and wet-sanded with some 800-grit.
With 15 coats of finish and 800-grit sandpaper, the risk of sanding through the finish was pretty slim.
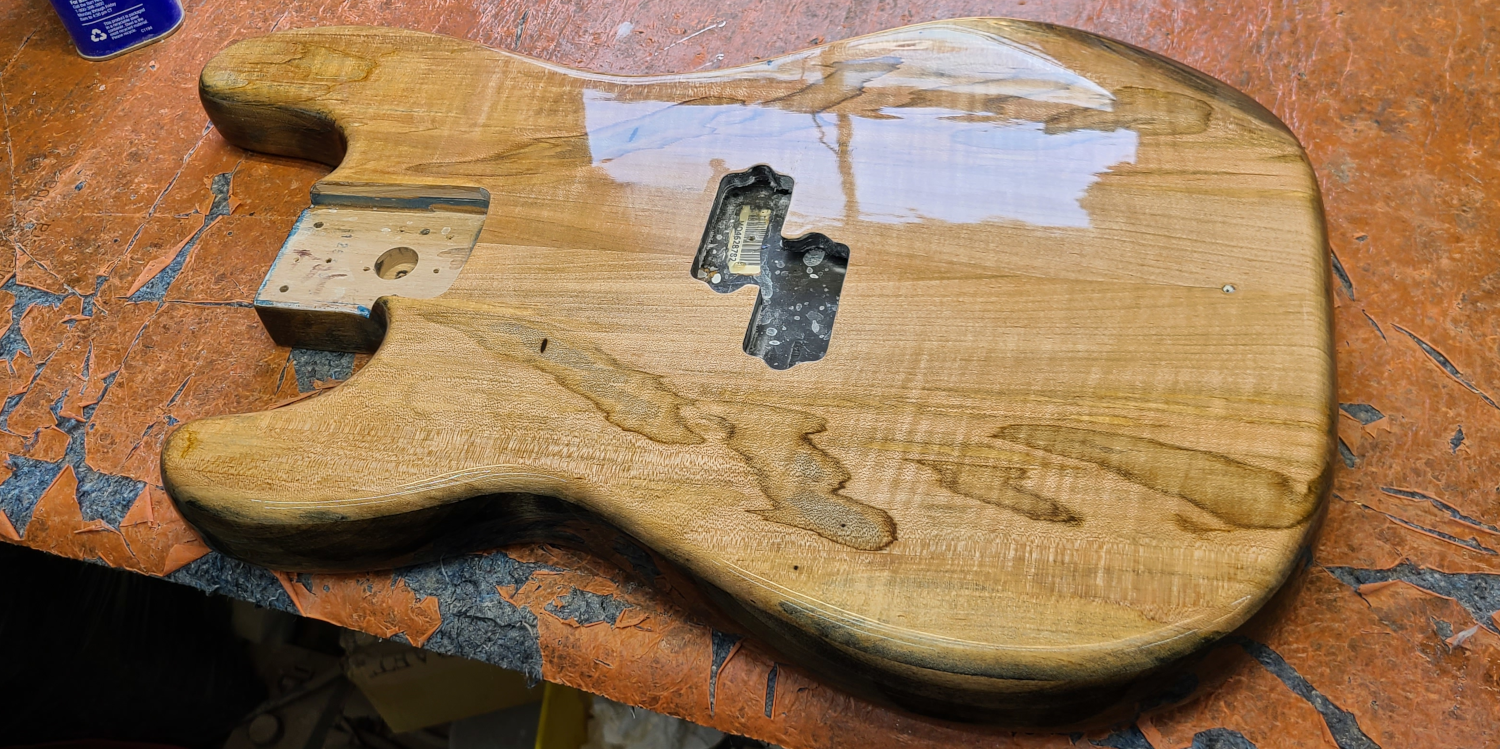
The neck is good for now, time to finish the body.
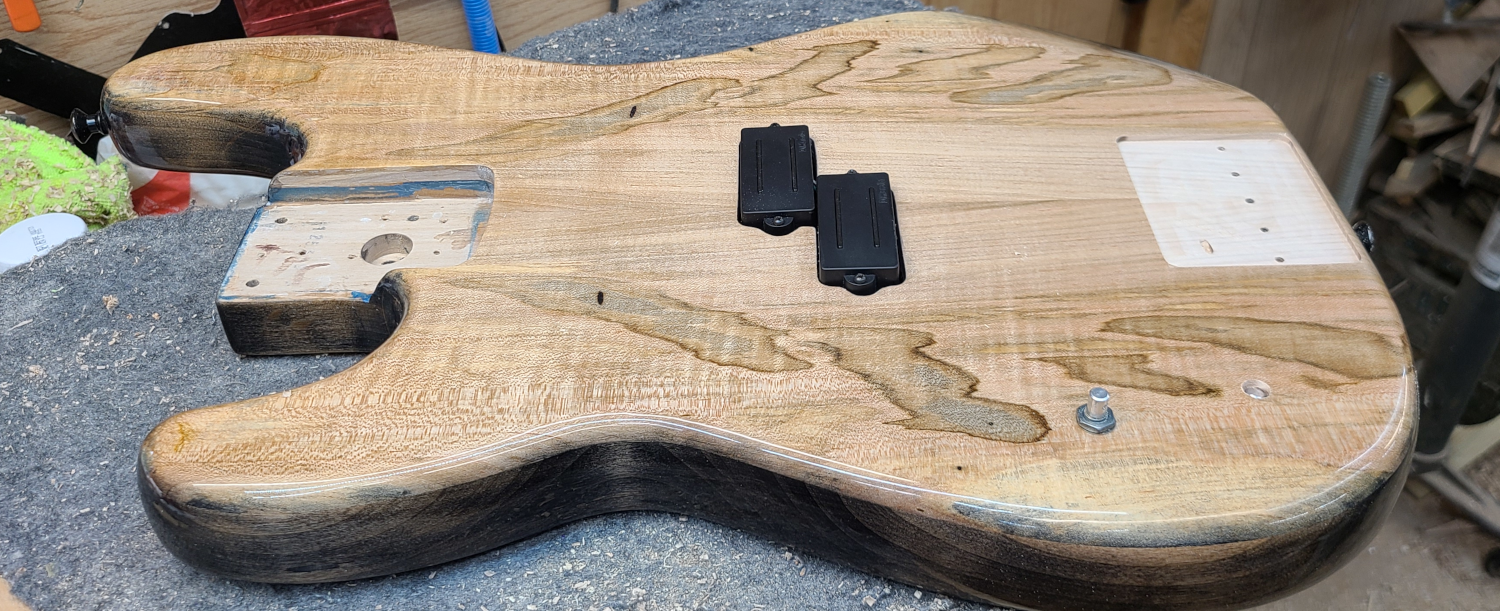
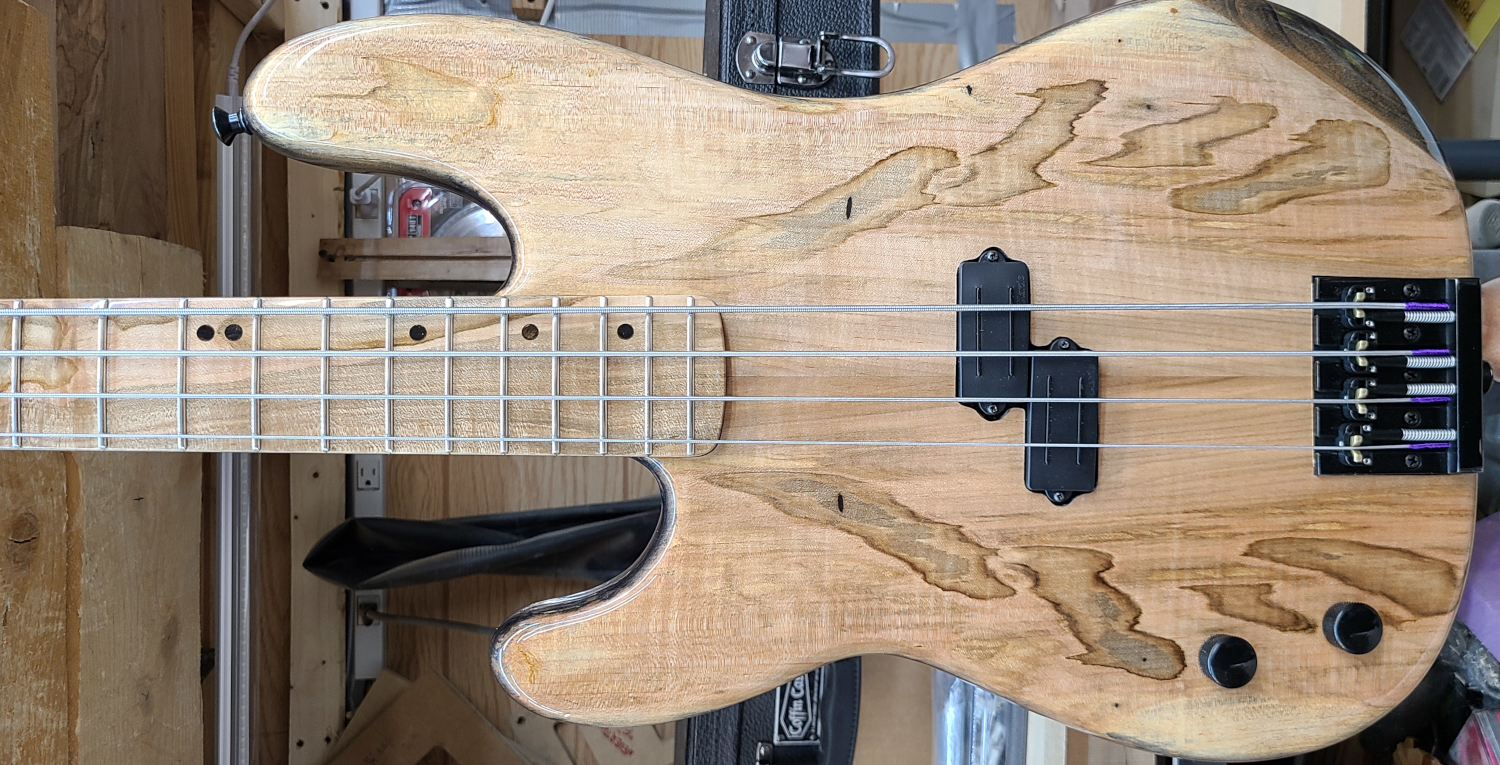
After about a week, the body was sanded and buffed out to a glasslike gloss.
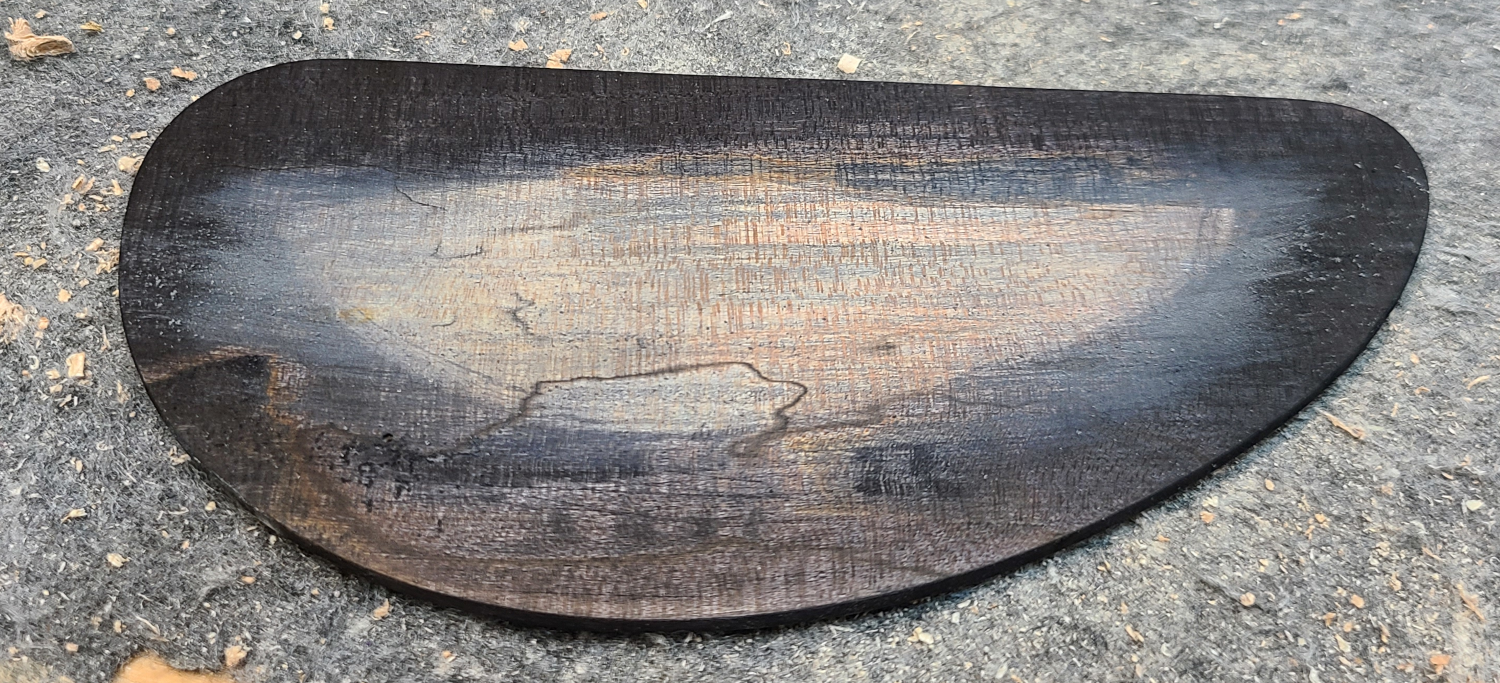
Next up is the cavity cover.
This piece of maple was routed with the cavity cover MDF template, then black leather dye was applied to the outer edges.
Once the leather dye is dry, it gets sanded back and finished in the samme manner as the rest of the instrument.
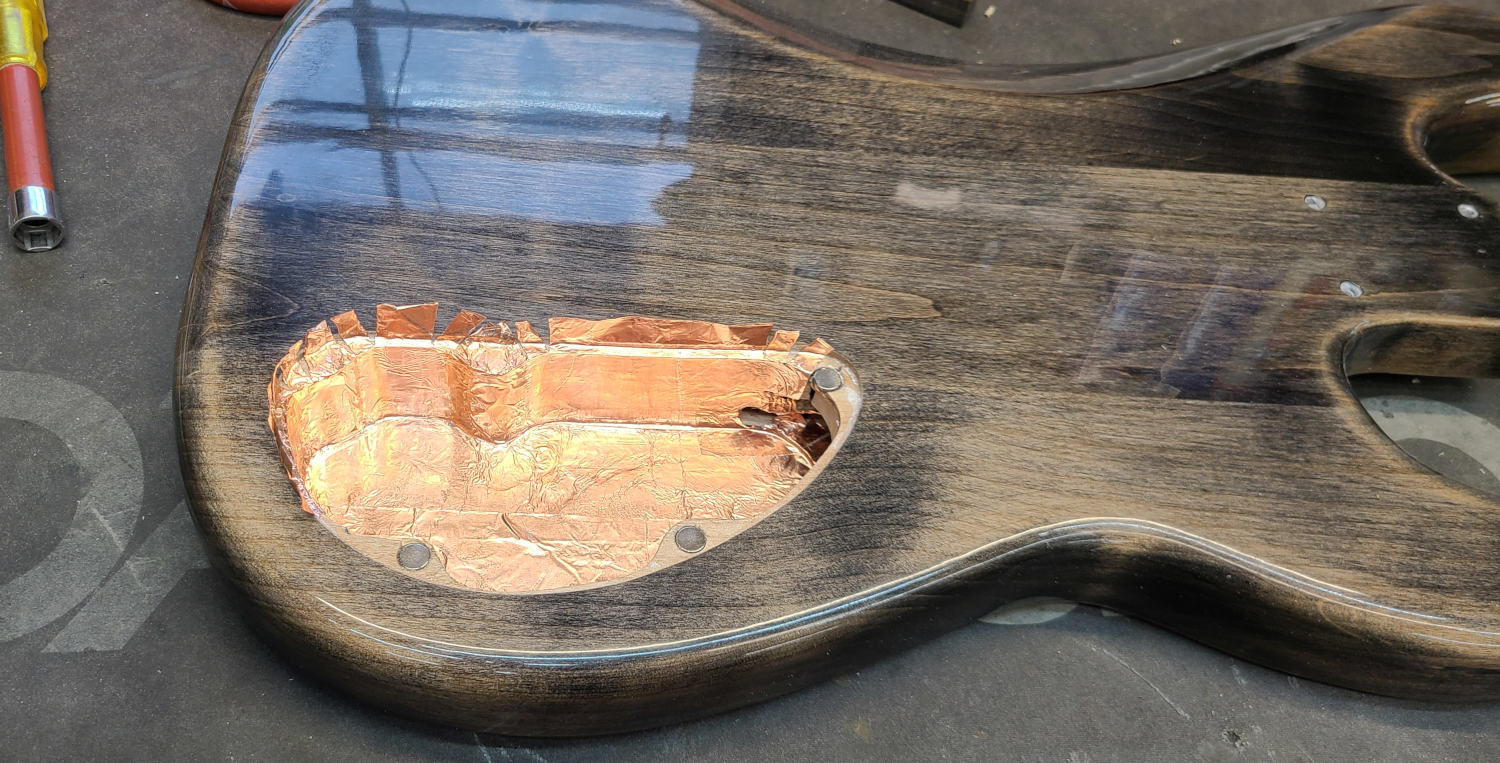
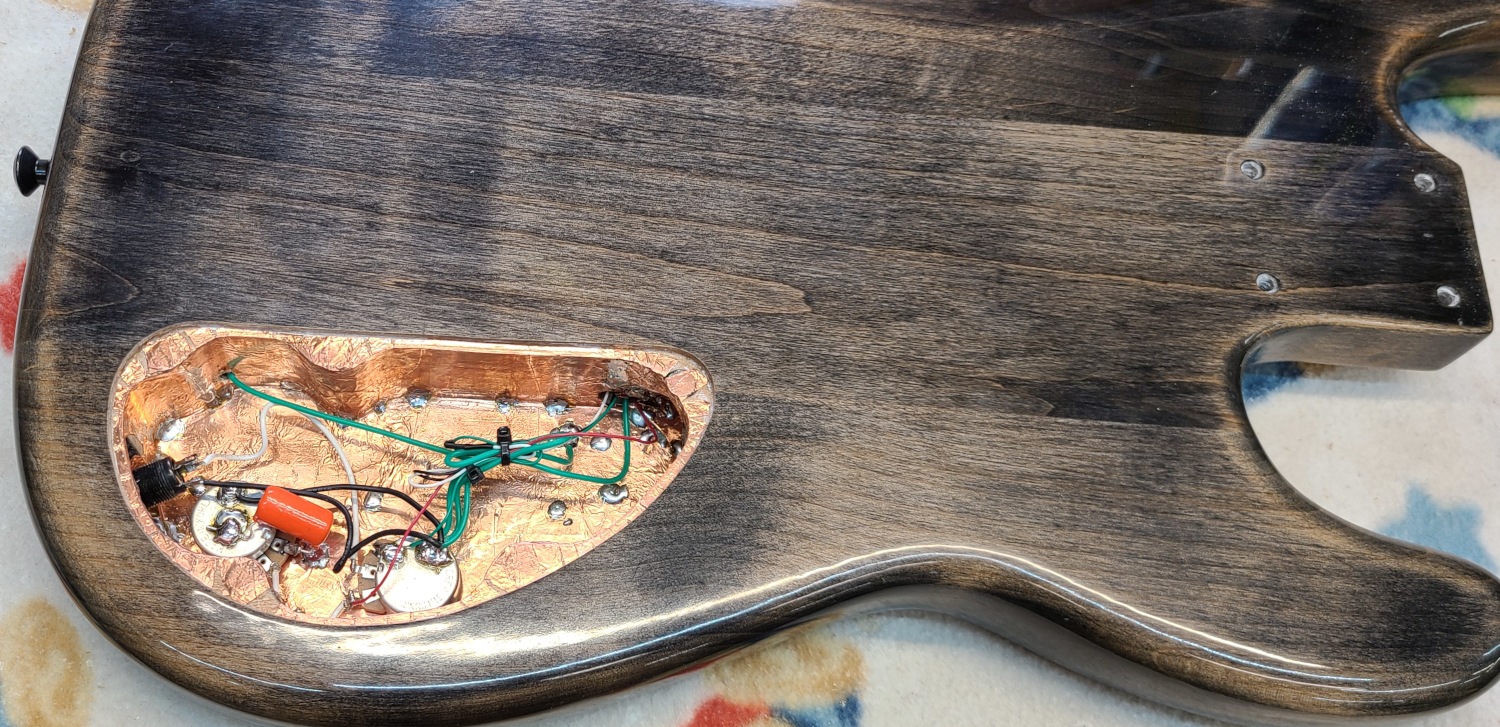
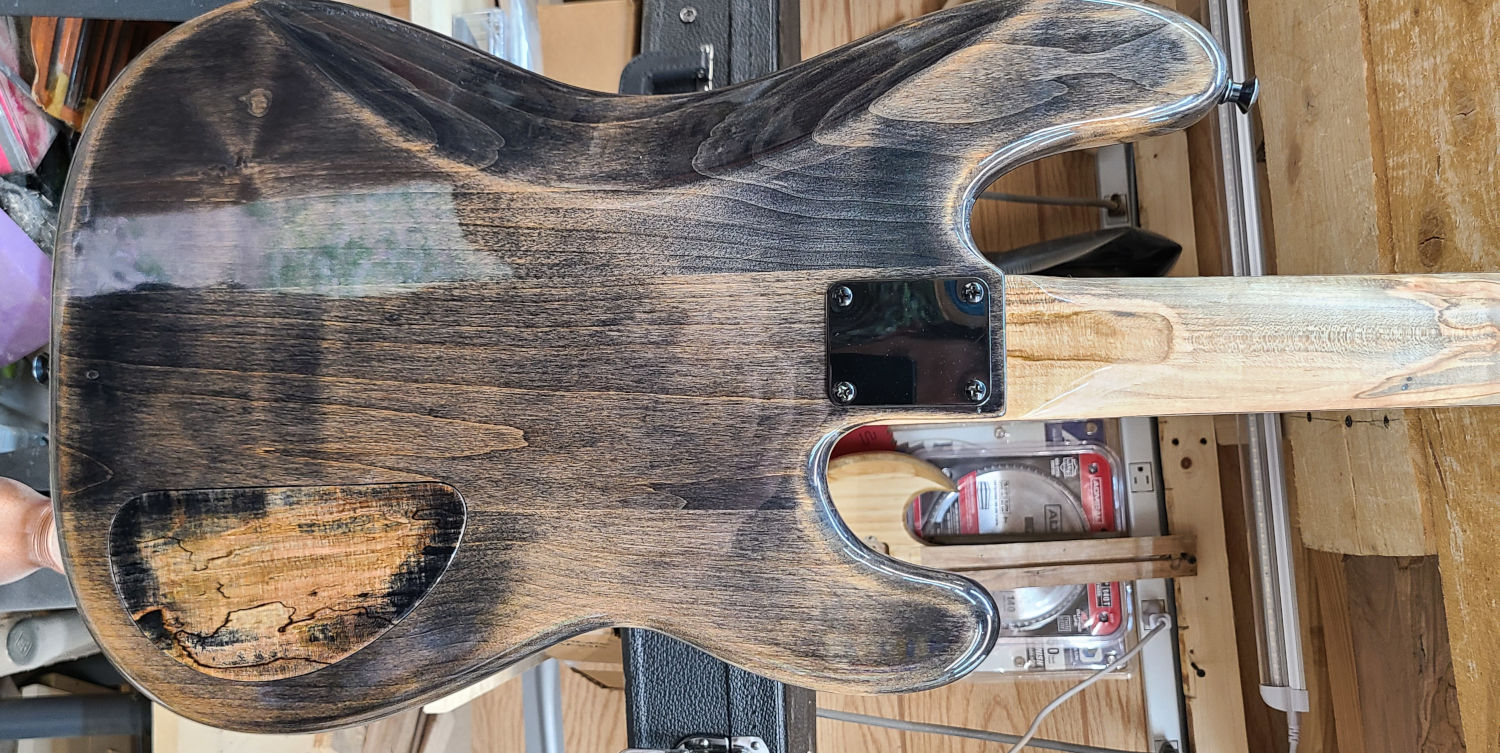
As for the control cavity itself, this was relocated from face-access to rear-access.
There was already a cavity routed, but since the top of the body got capped and the front pickguard removed, the entire cavity would have to be redone.
In the above pic, the routing is all done and the cavity is getting lined with copper shielding, and small magnets have been drilled into the areas where normally screws would go.
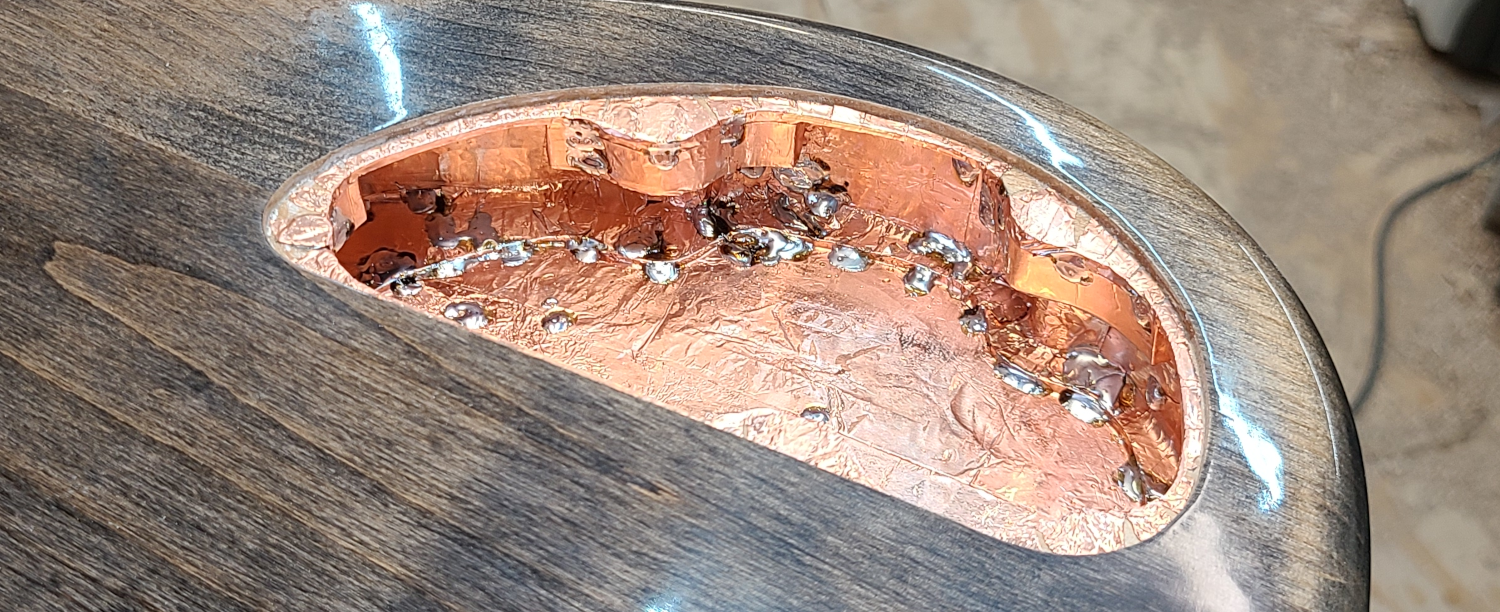
It may have been overkill since the original pickup route was shielded with conductive black paint, but the pickup cavity was also copperfied.
As you can see, shielding was rather difficult since I had to get copper inside the previous cavity.
This one required lots of solder, since there were so many overlapping copper pieces.
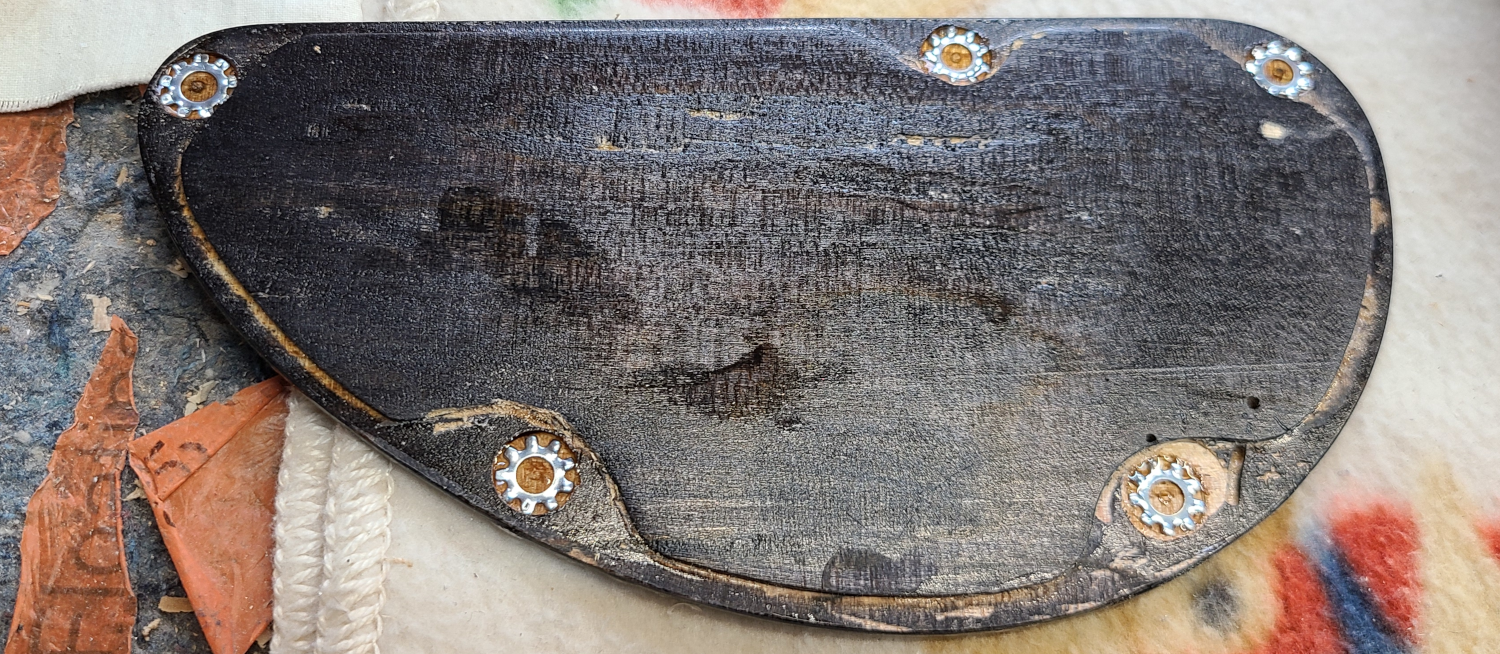
Back on the cover, these small lock-washers were embedded into the plate and held into place by a liberal amount of CA glue.
I was unable to recess the washers with any sort of drill bit, due to a combination of the plate being very thin, and the drill bits being too tapered.
Luckily a 3/8" router bit mounted into the drill press did the job perfectly.
The electronics are all wired up.
I added an Orange Drop tone cap and reconfigured the grounds to be in a star configuration (meaning all the grounds come off of one place – in this case, the volume pot).
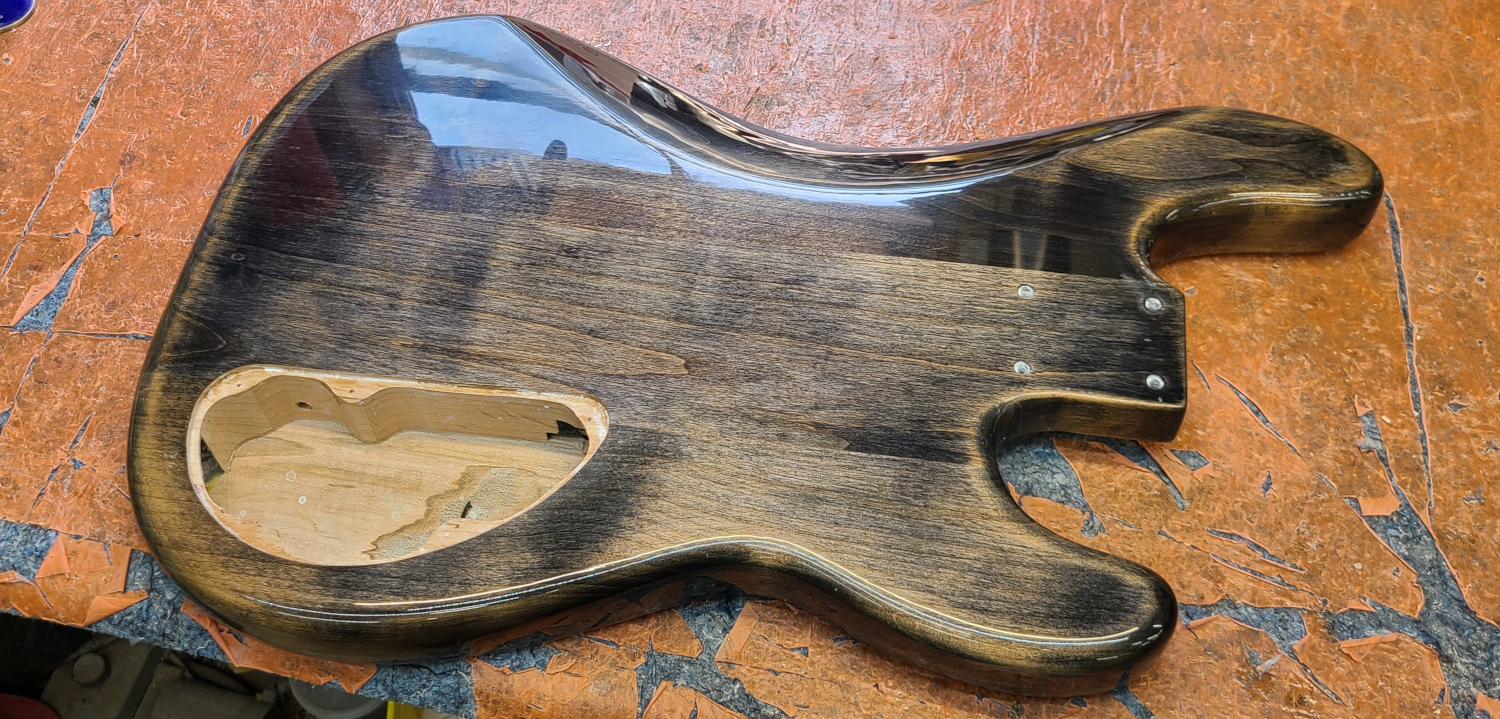
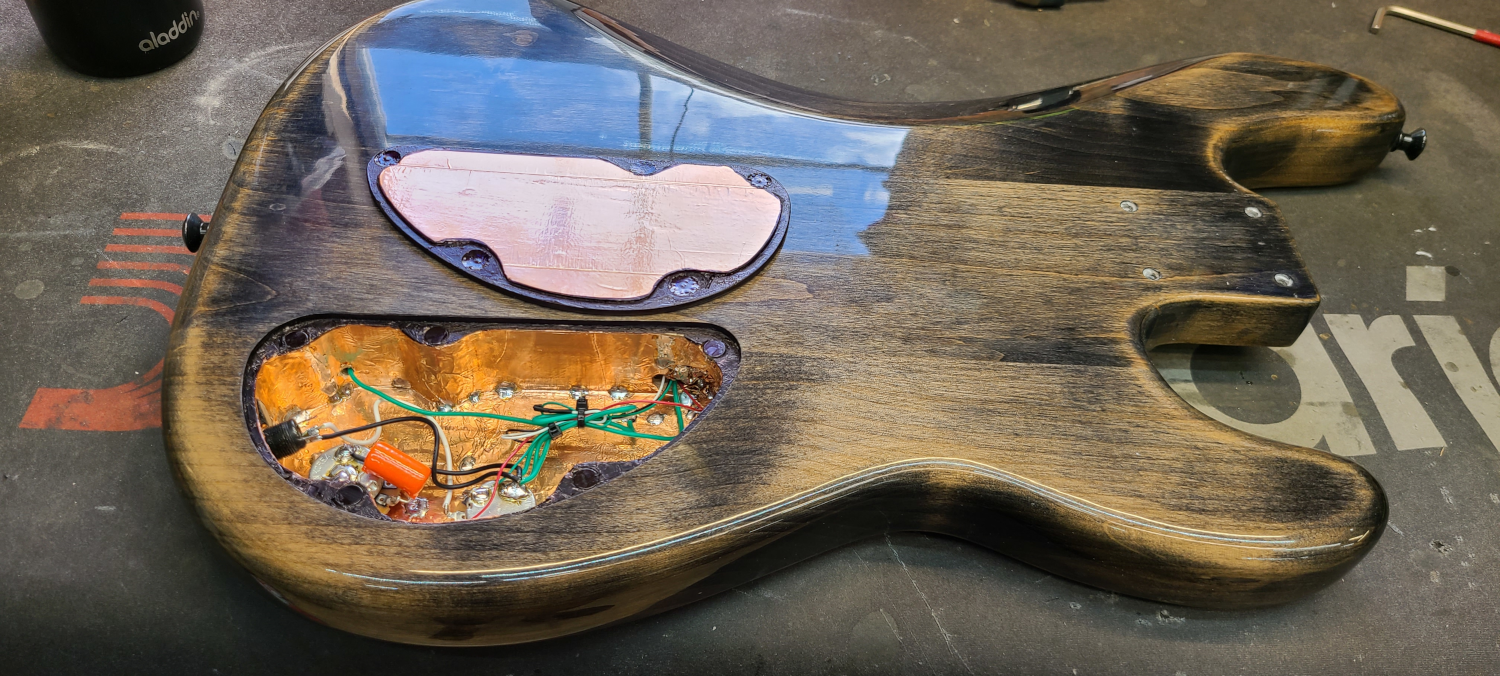
Copper is also applied to the back of the cover, and all other areas are stained black.
The final result with the cover.
The small magnets and washers combo worked out great, and the cover can be easily pried off with a guitar pick.
The nut is now finished and the bass is strung up with old strings, so that the nut slots can be accurately cut to depth.
The trussrod/relief are perfect, the pickups sound great, and the string spacing is excellent.
The only issue now, is the high action.
High action is a common problem that can be easily remedied by placing a thin piece of wood into the neck pocket, which is necessary only in situations where the bridge is at its lowest string-height adjustment, but the action is still too high.
This bass originally needed a neck shim, and since I cloned the old neck’s specifications, I effectively transferred the problem from the old neck to the new.
But neck shims are a hacky solution, they are despised by a lot of players, and are something that should be avoided anything that claims to be quality.
So what is to be done?
At their lowest point of height adjustment, the outer (G & E) saddles were about 1/16" high.
So I recessed the bridge by 3/32" – so there would be plenty of room, just in case.
After chiseling out the corners and placing the bridge into the route, it fits snugly enough that you can’t tell it was recessed into the body.
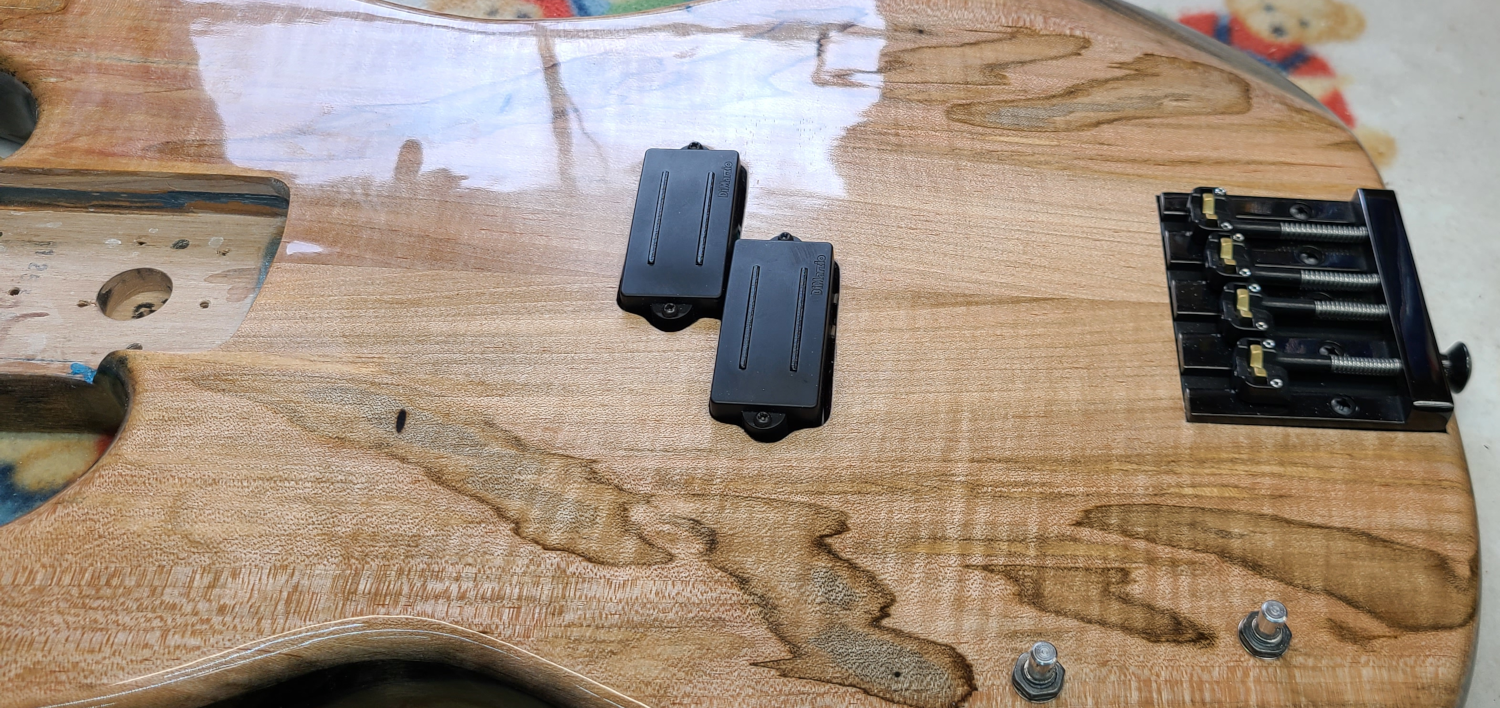
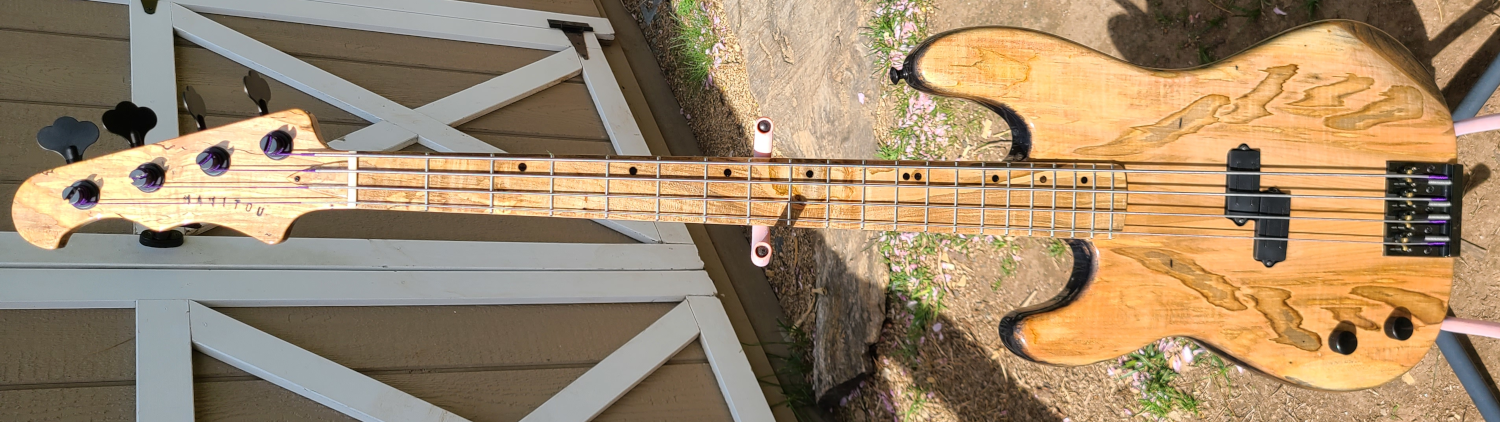
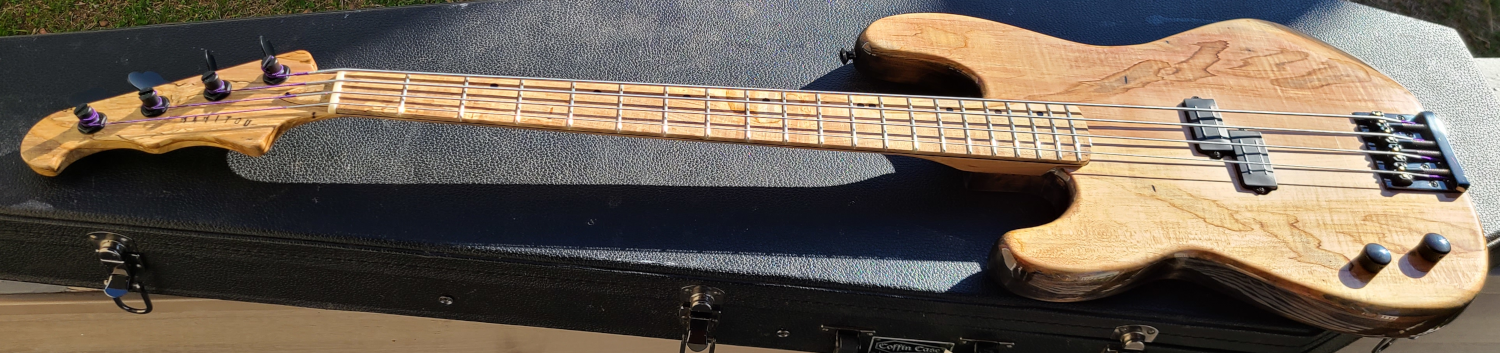
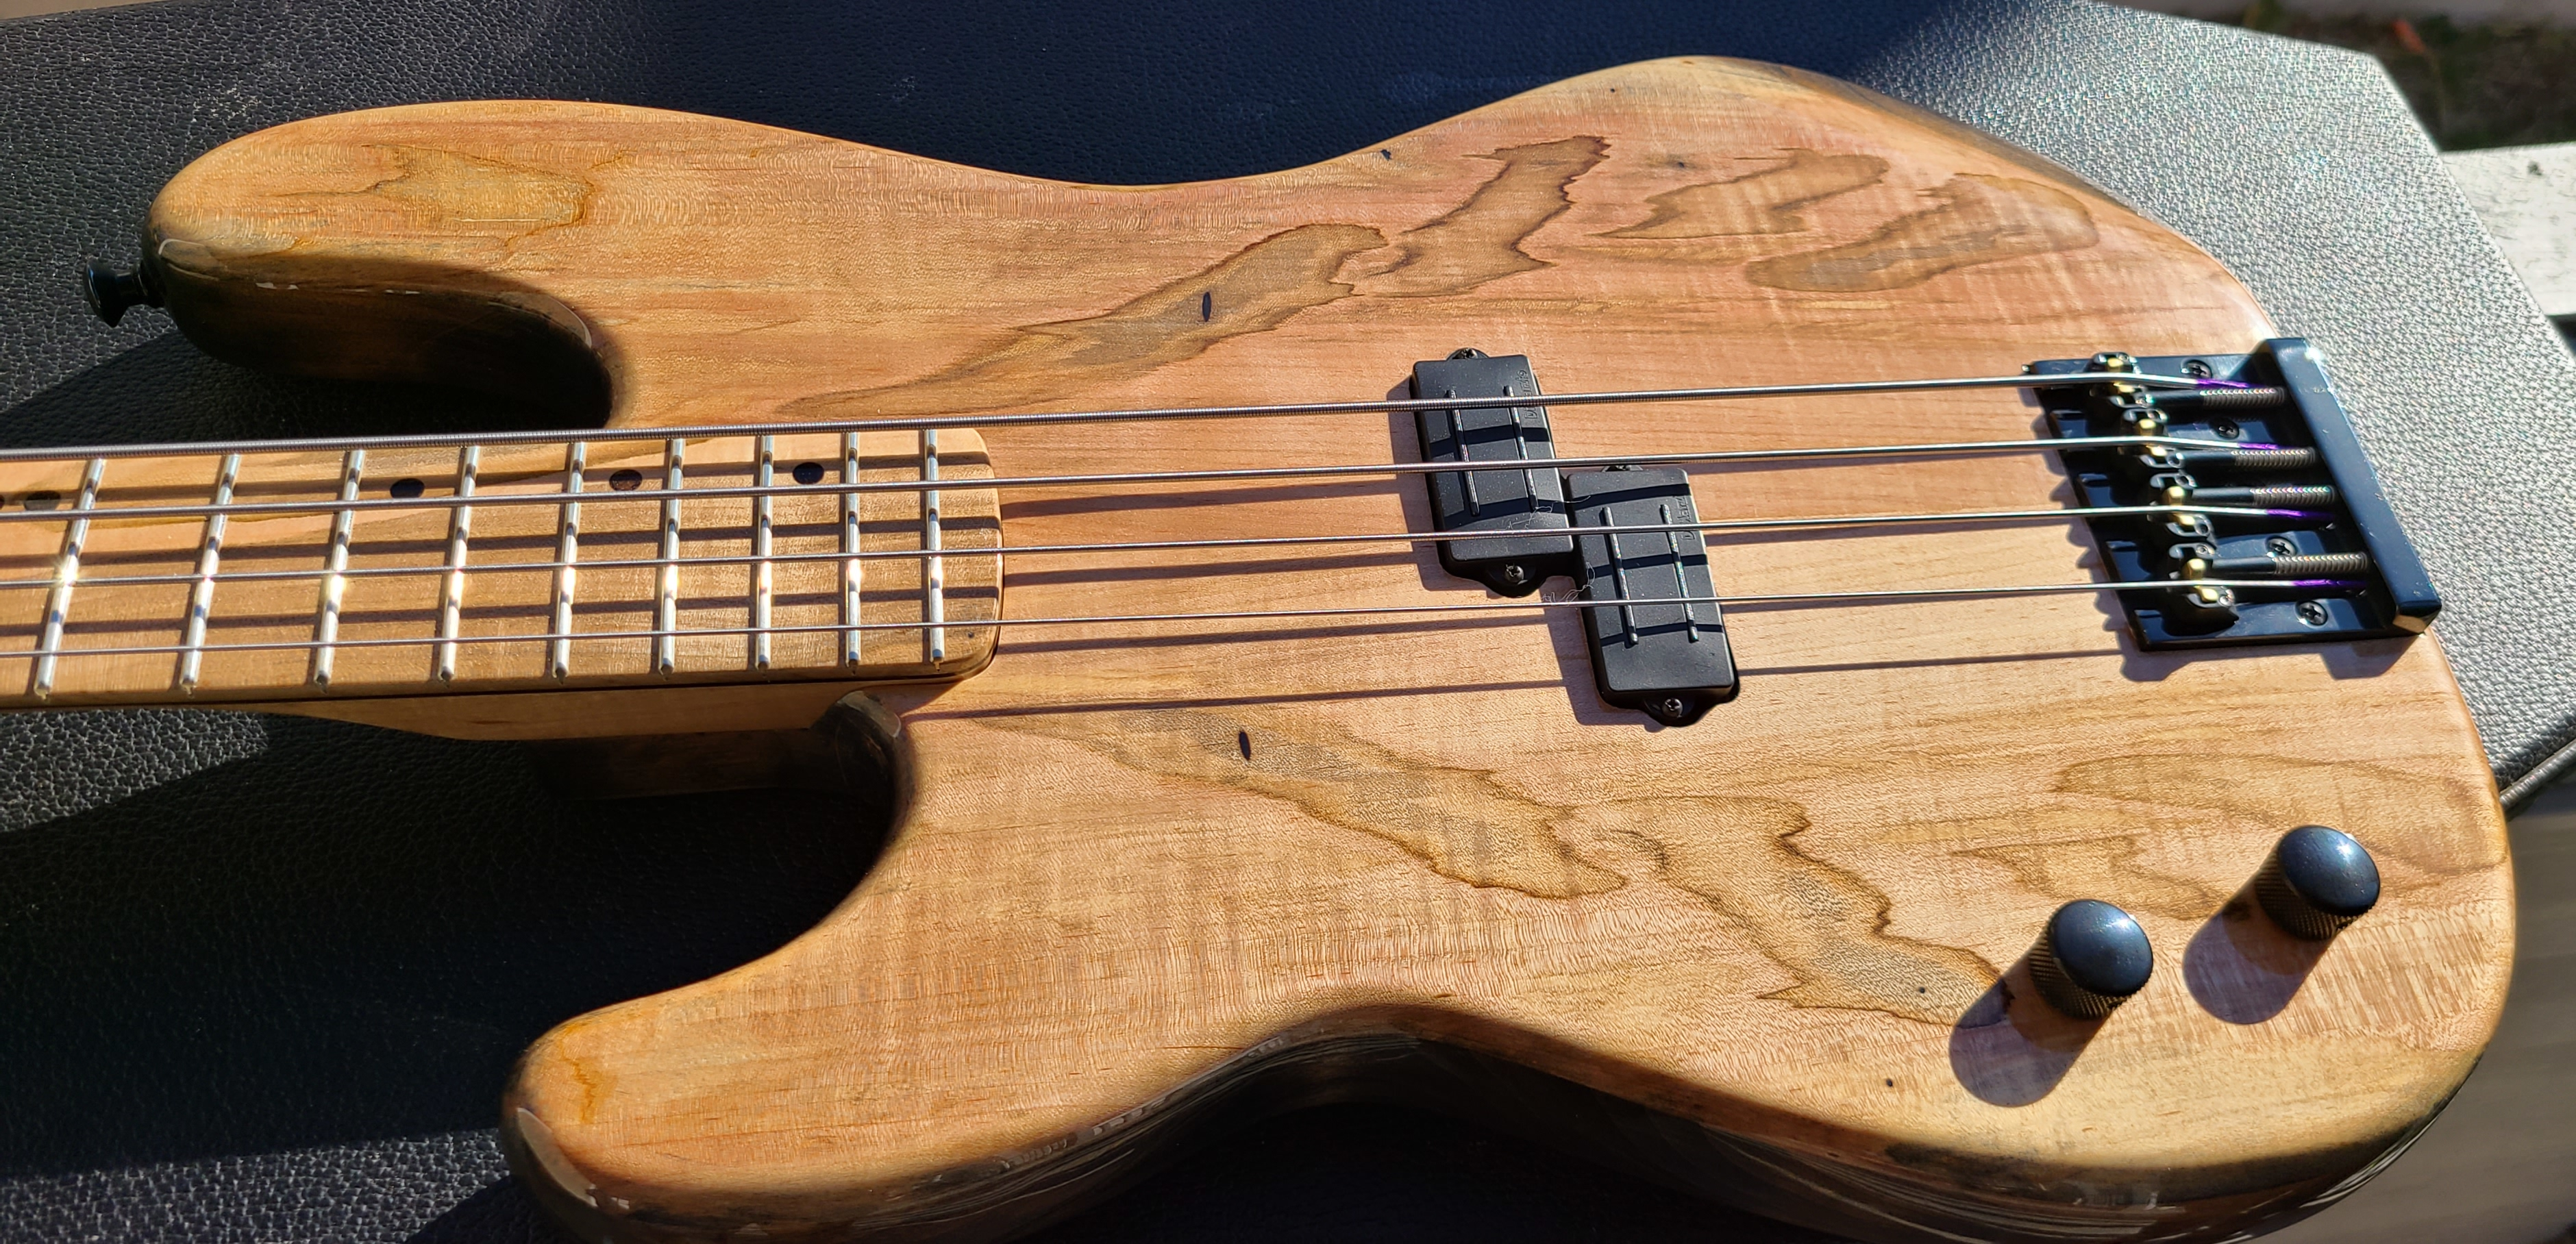
With all of the action issues taken care of, the bass is strung up with fresh strings, the knobs and trussrod cover are installed, and the final setup is completed.
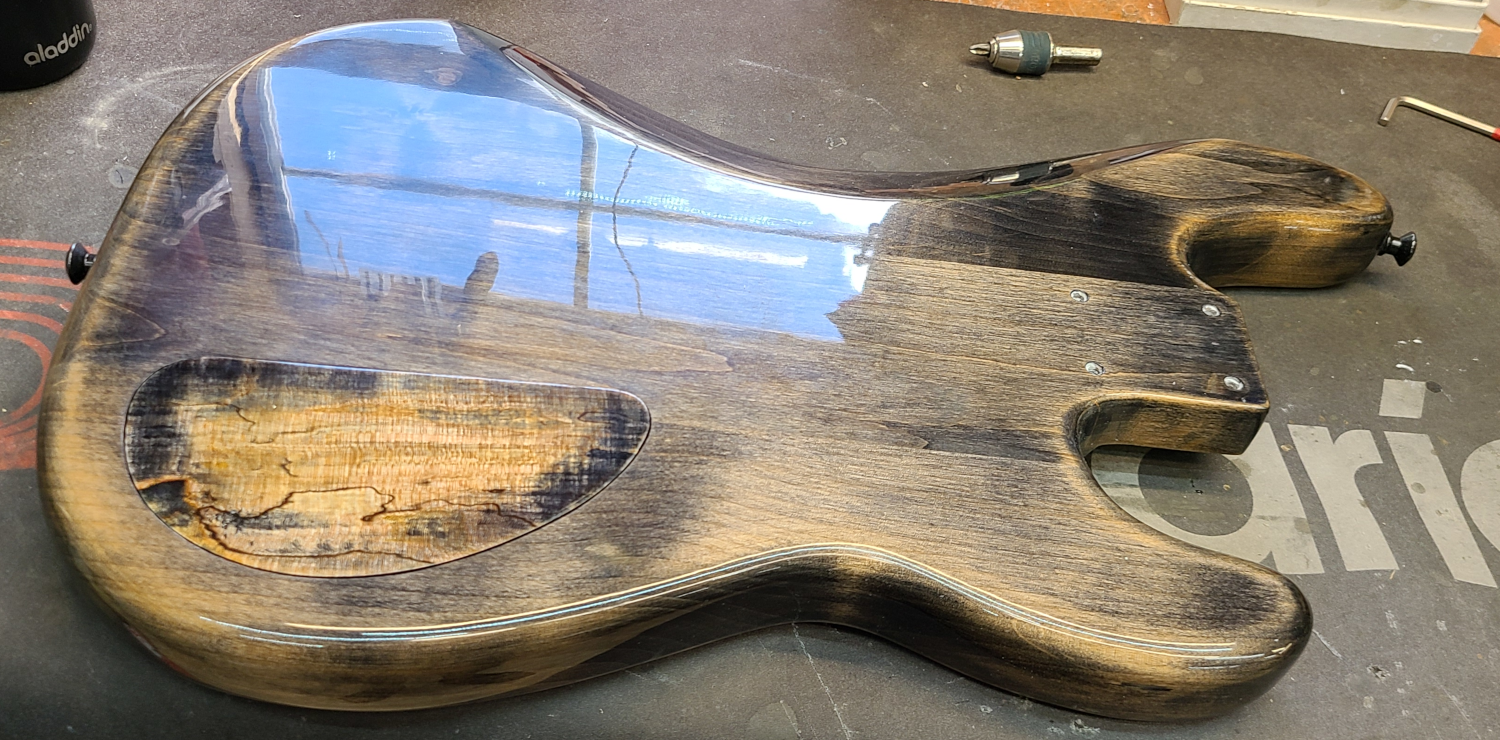
The wood looks a bit different in sunlight.
This ebony laminate between the neck and fingerboard is definitely something I’ll be doing again in the future.
Overall I feel that this yielded very positive results!