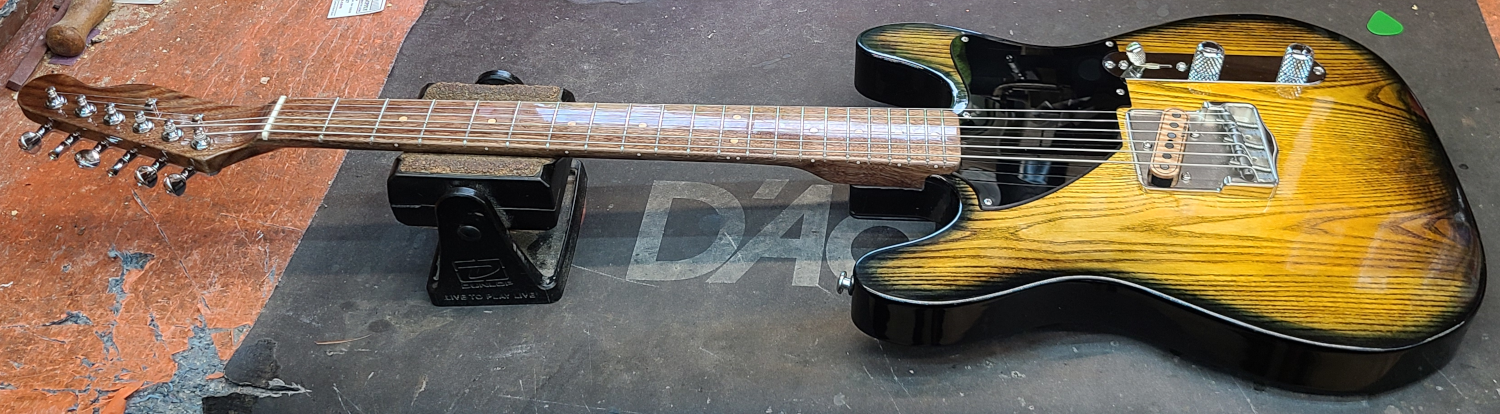
This doublecut guitar was somewhat of a prototype for us, since it was the first mulberry body and the first walnut neck to come out of this shop.
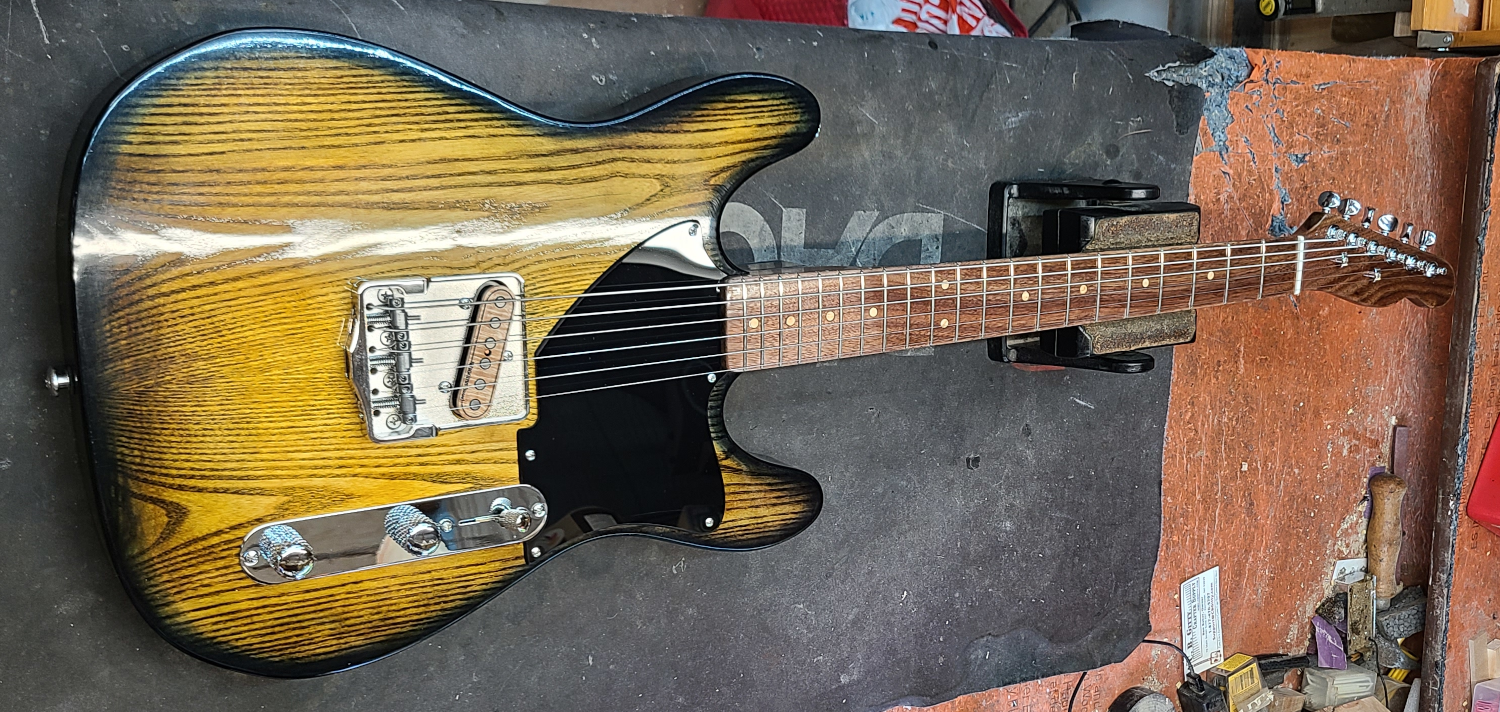
The top is a bookmatched 1/4" piece of ash, with a hand-applied analine dyed yellow-to-black burst.
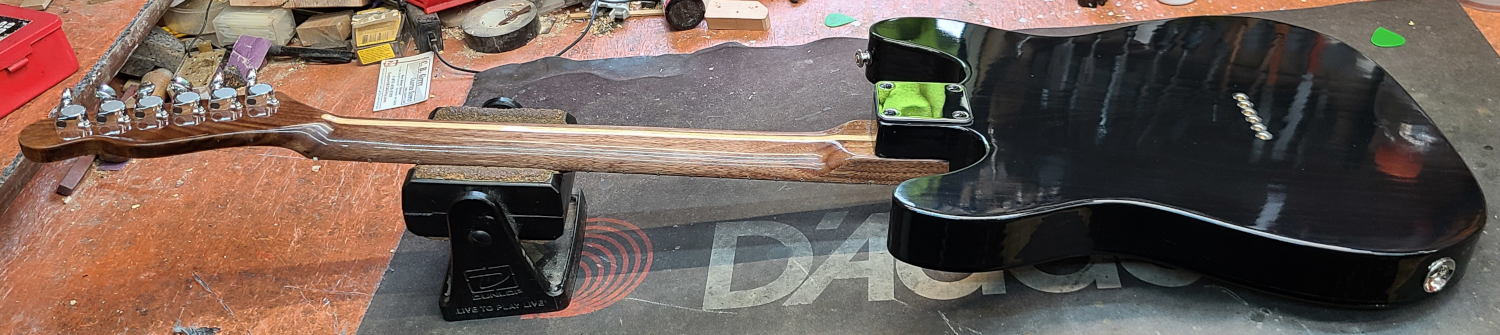
The only thing I would have done differently in retrospect, would have been to add something into the grain of the mulberry, since the beautiful grain lines got lost once the final clearcoats were on.
But the sound is very big and focused, and definitely will be using both walnut and mulberry again in the future.
This was a commissioned build and the customer was very happy with the end result.
The Process:
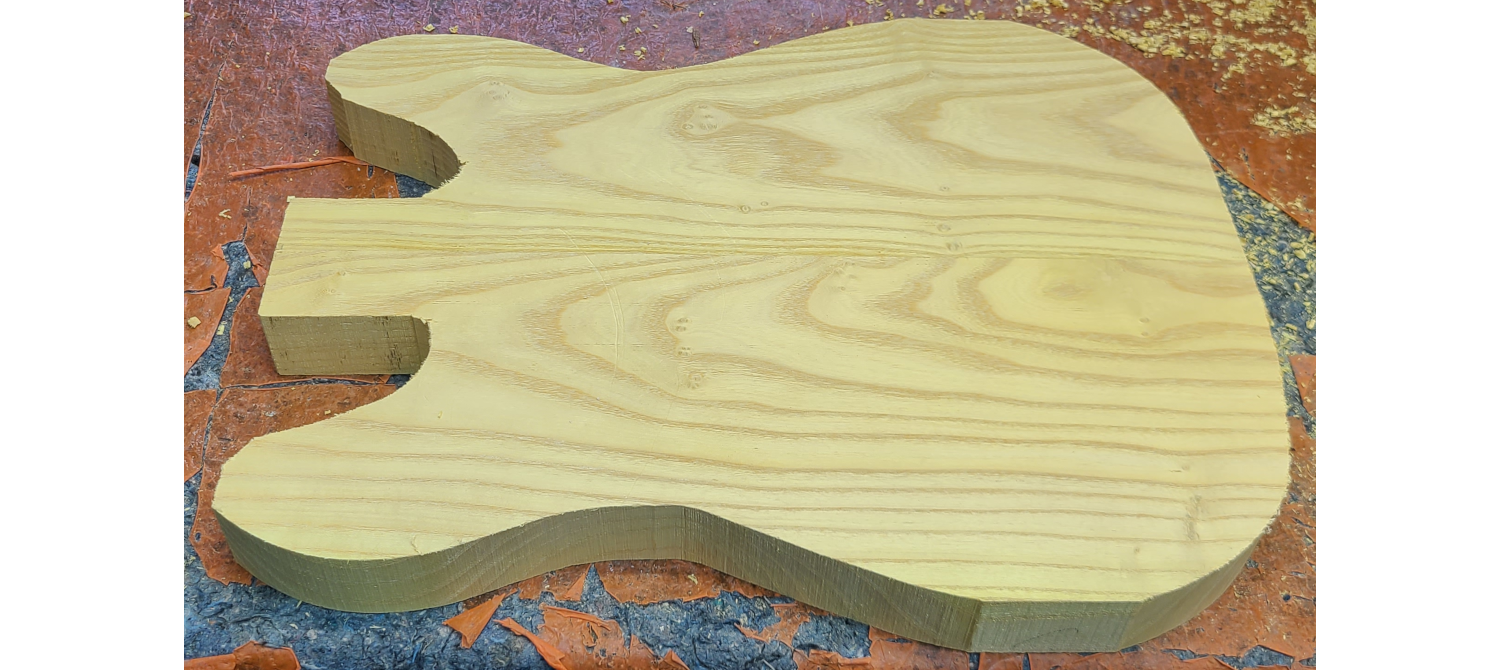
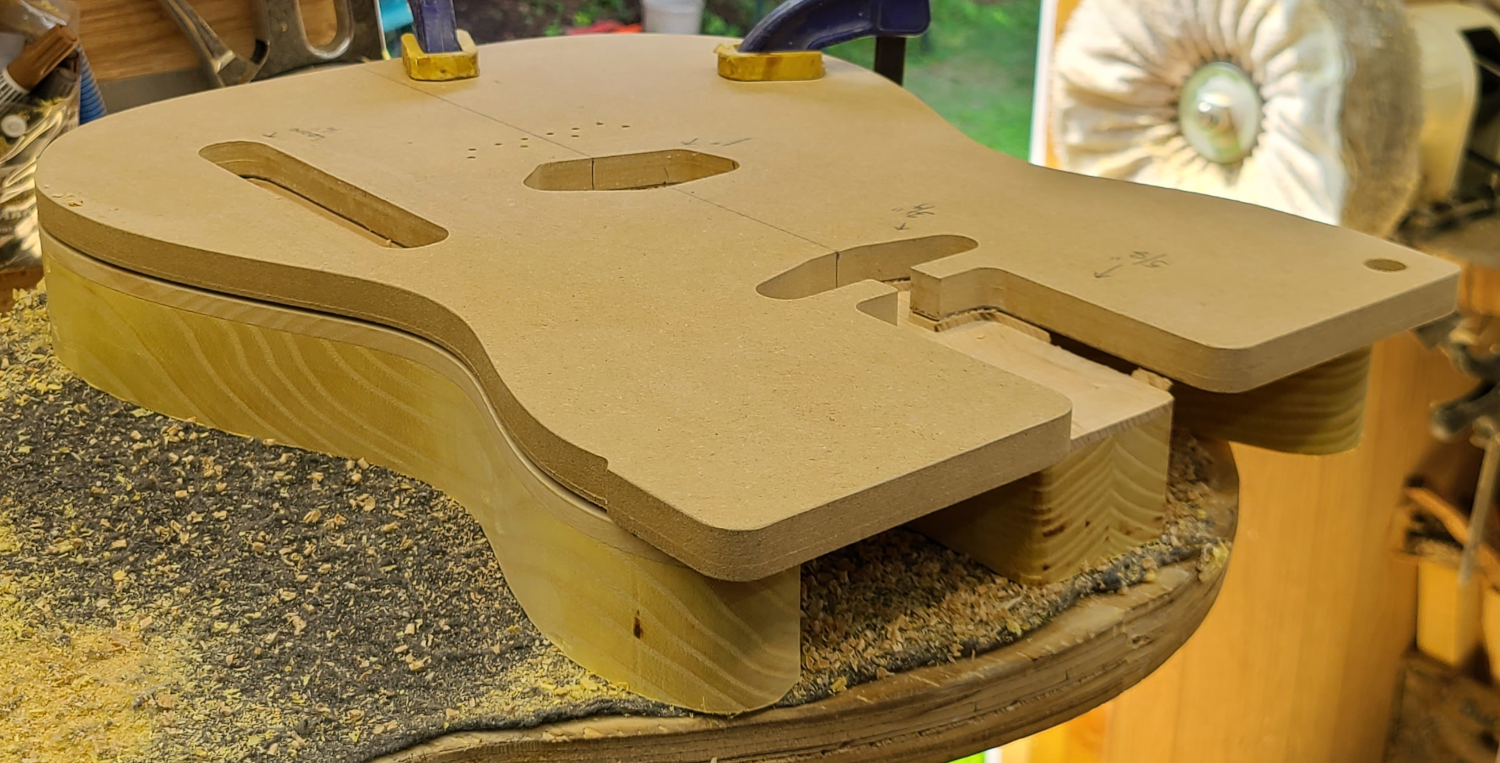
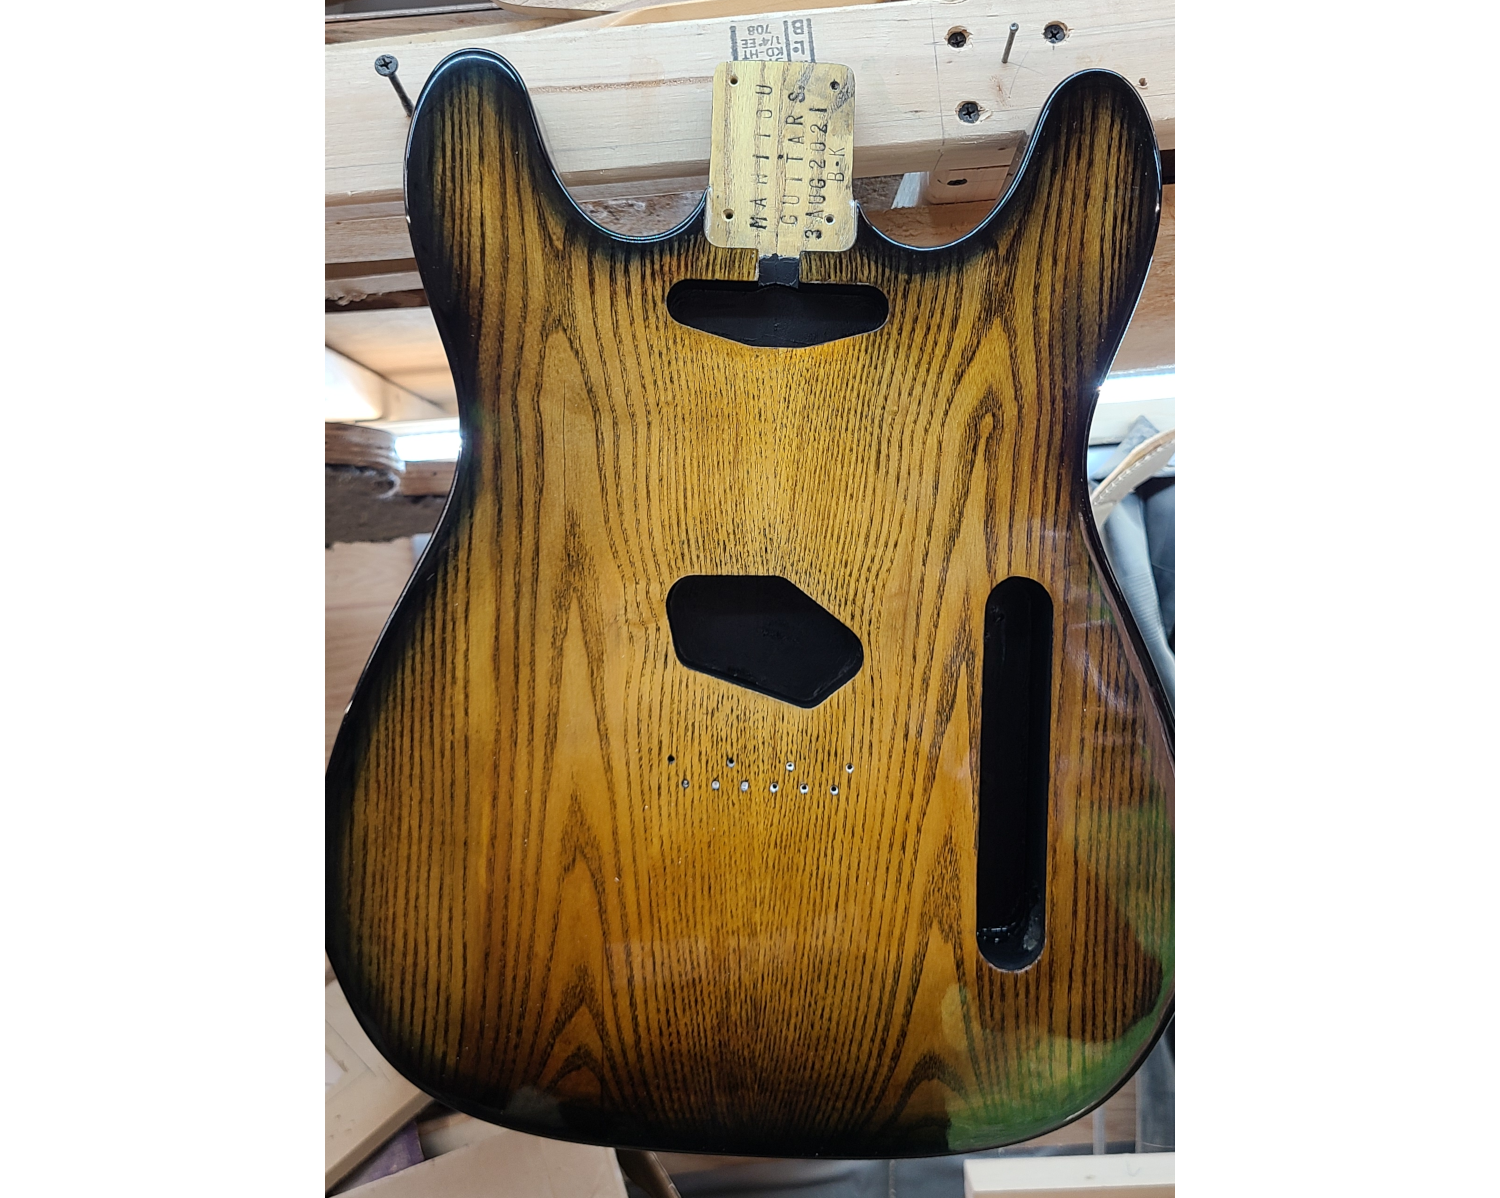
We start off our journey with a 2-piece mulberry body, joined down the middle and thicknessed to 1-1/2" and roughcut to shape.
The body billets were cut on the slab and have some pretty nice looking grainlines.
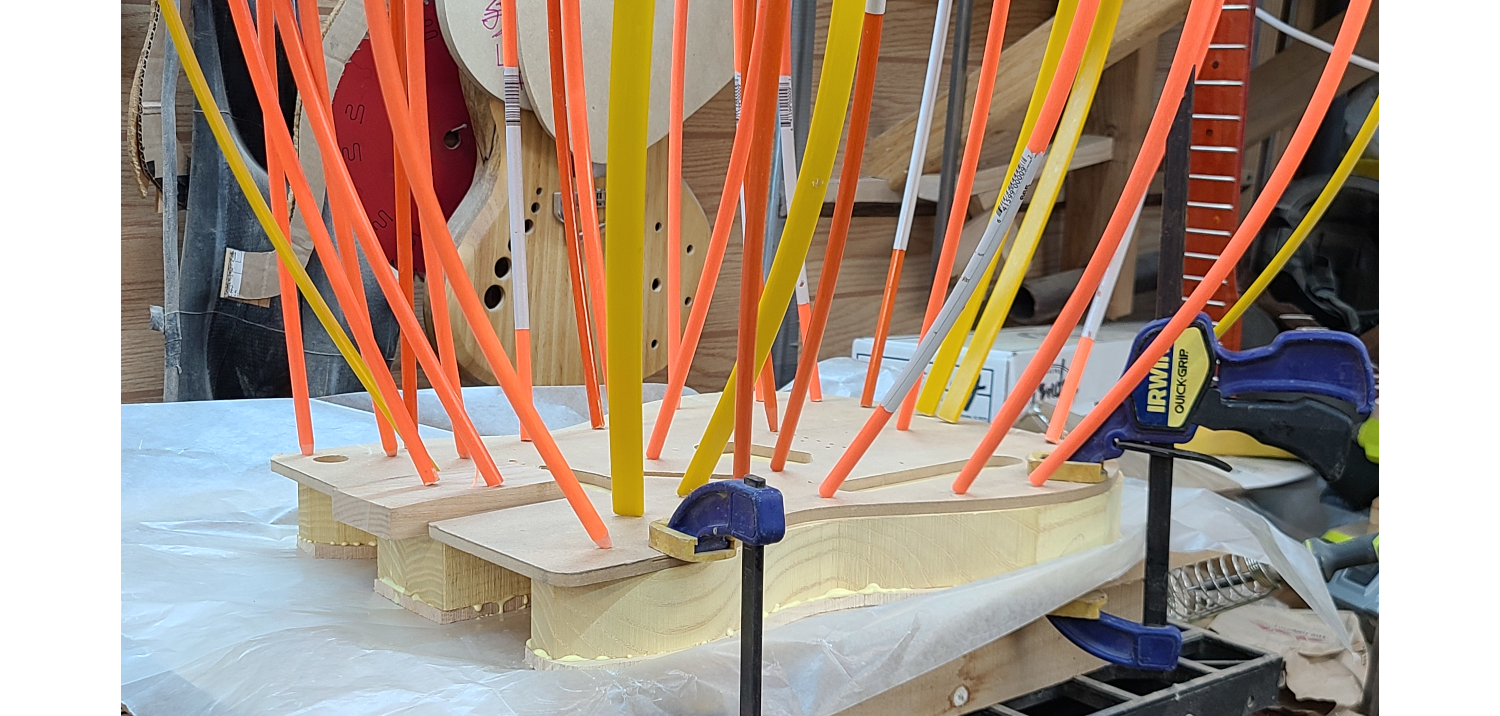
Next the 1/4" ash cap is glued onto the mulberry body in the gobar deck.
The routing template is flipped upsidedown and used to spread the pressure of the gobars.
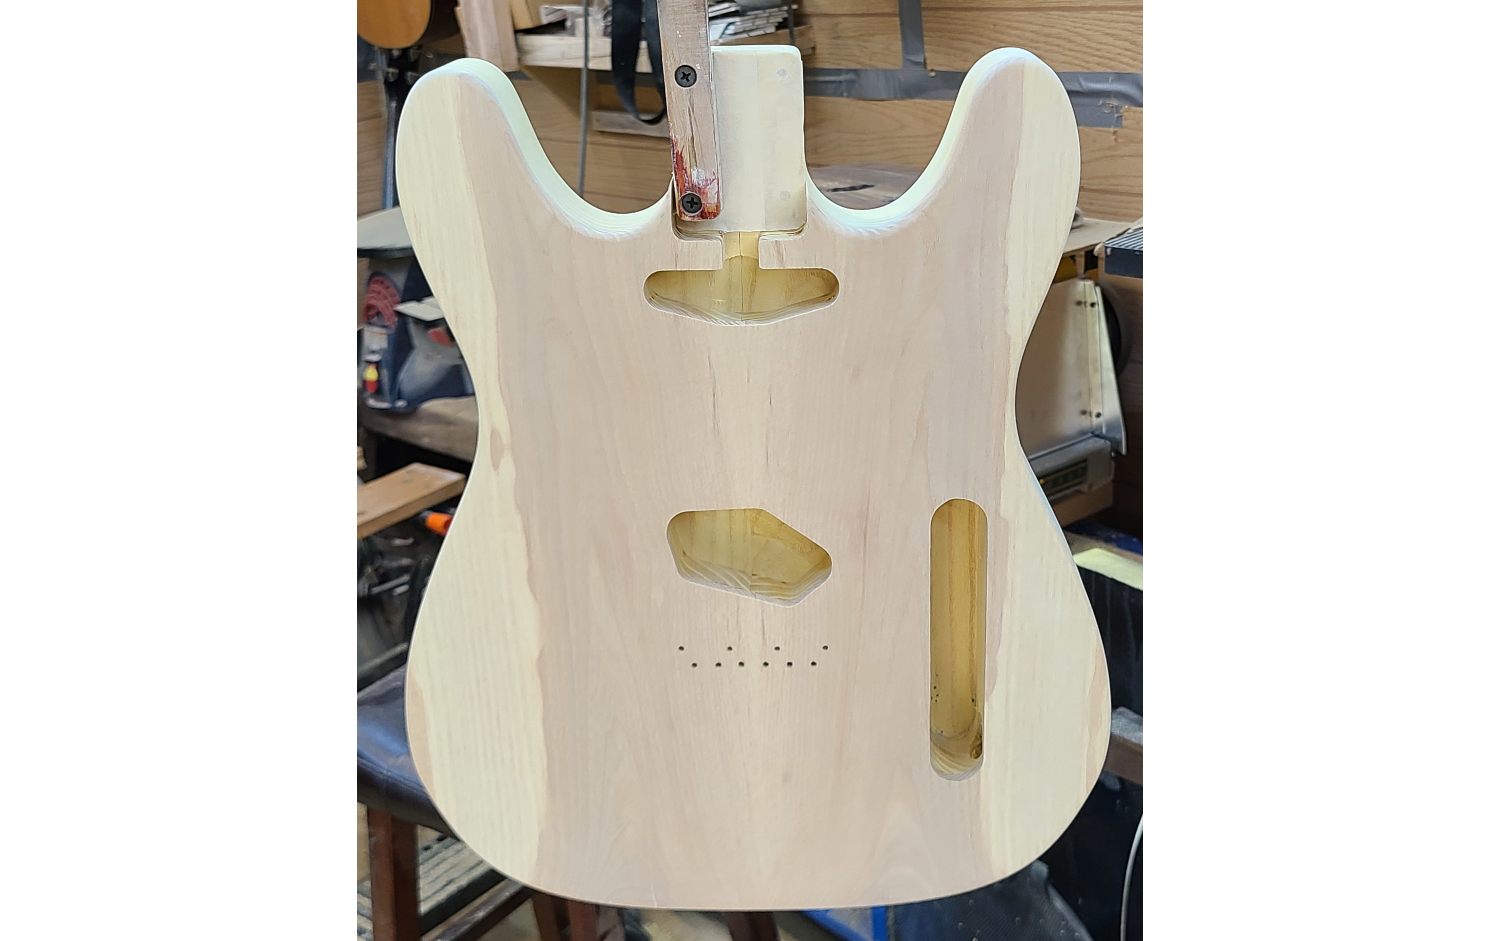
With the cap on and the body routed to shape, next up is routing the neck pocket and the electronics cavities.
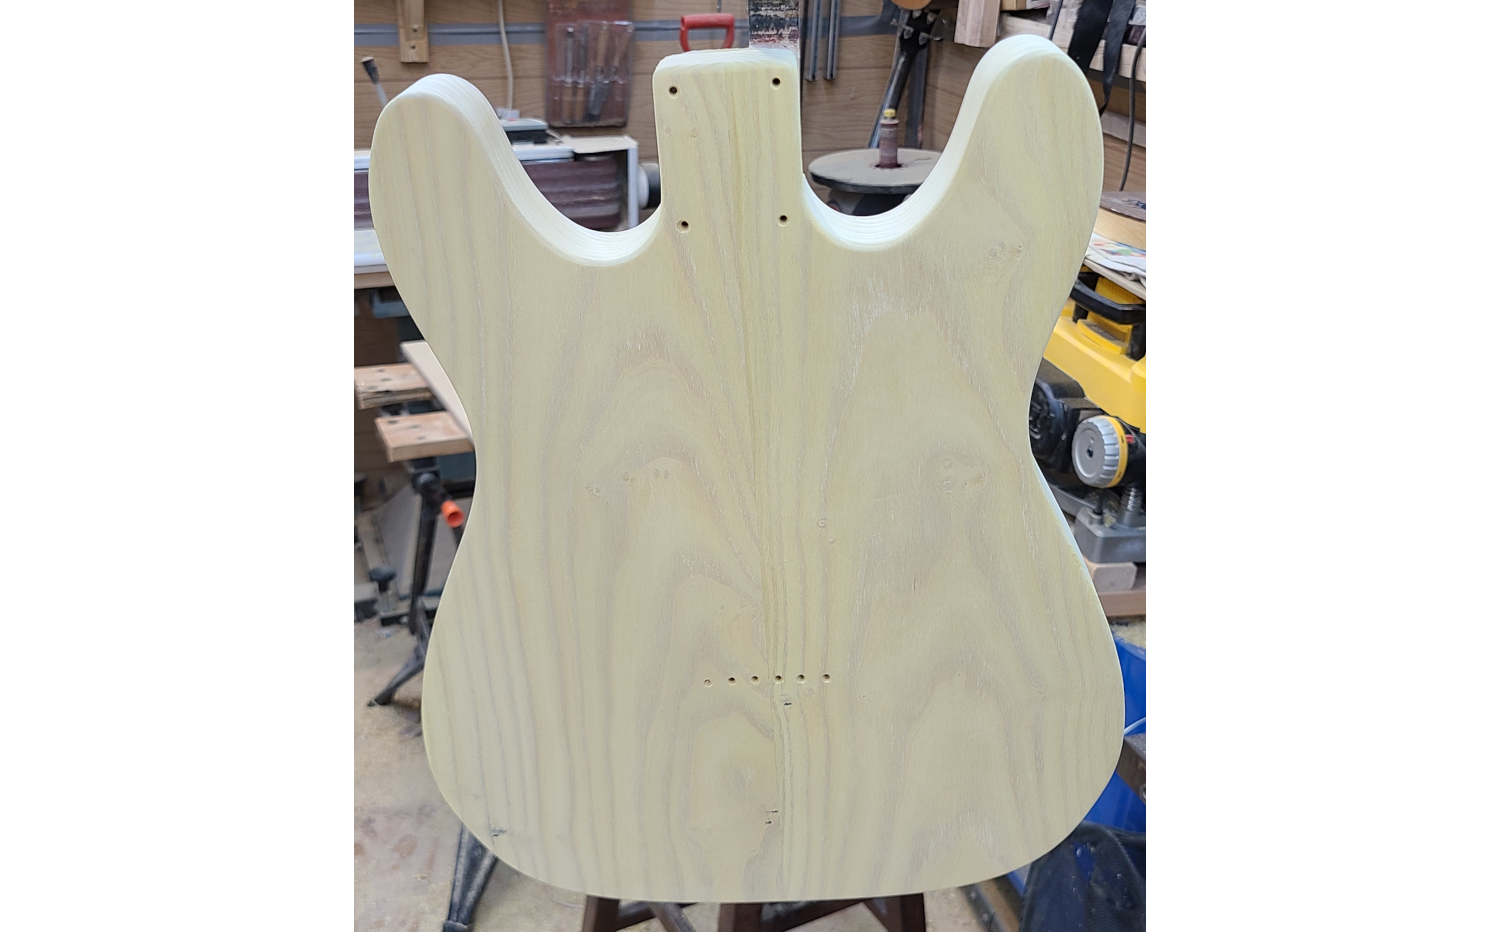
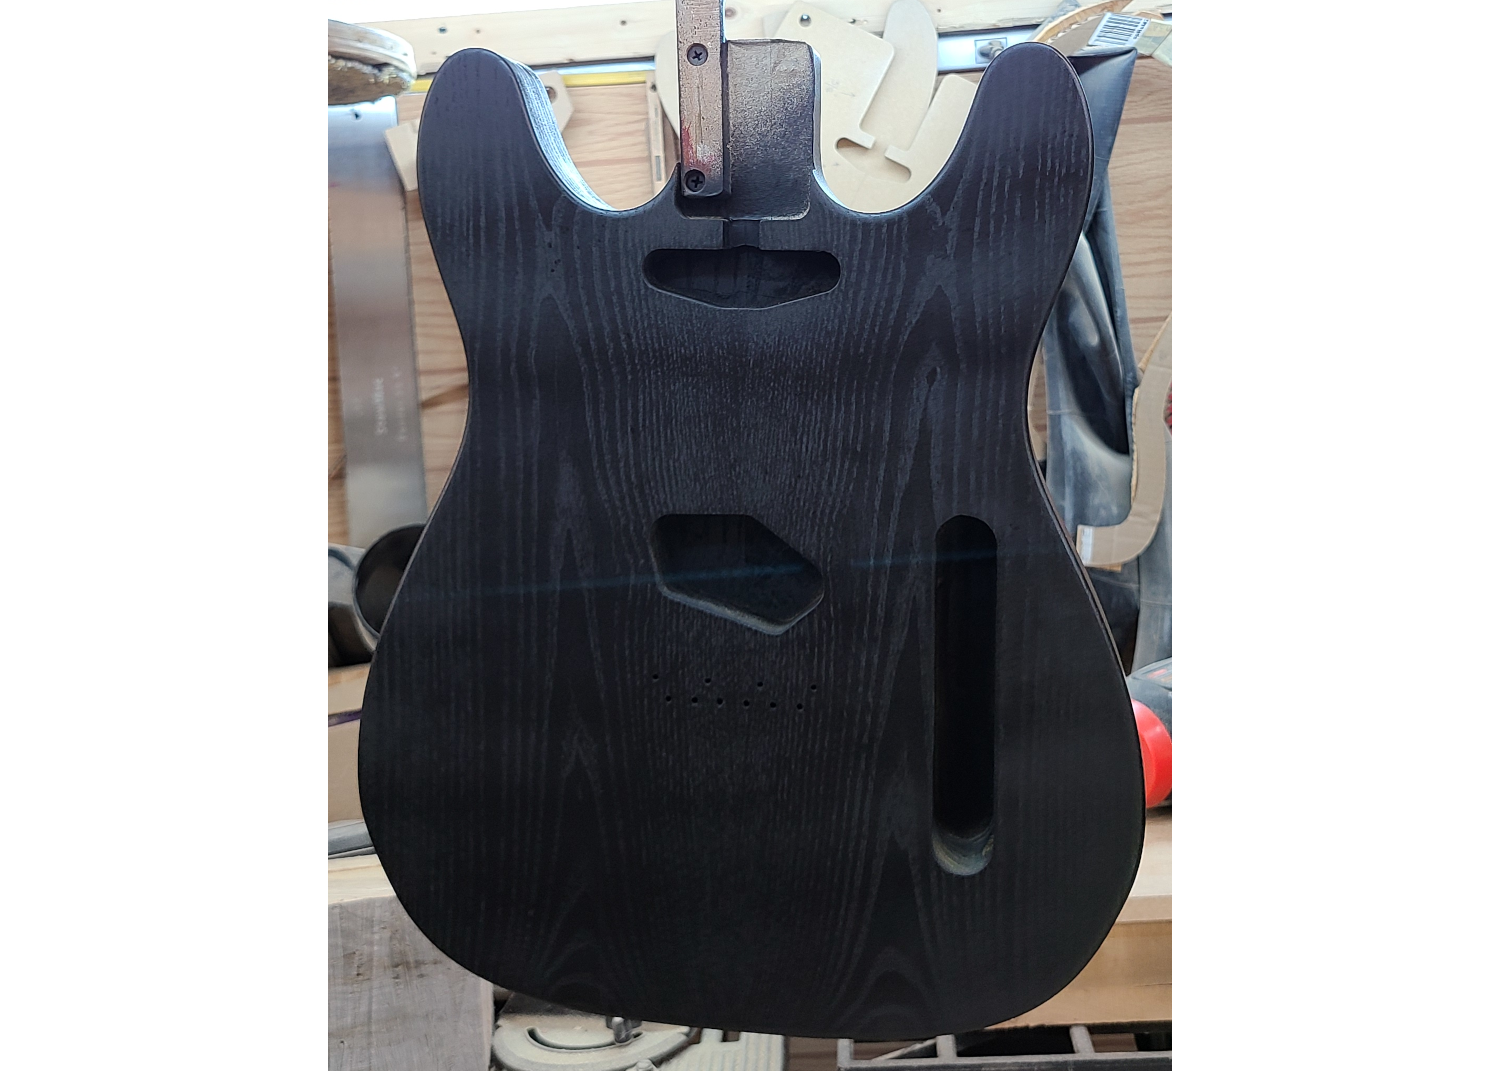
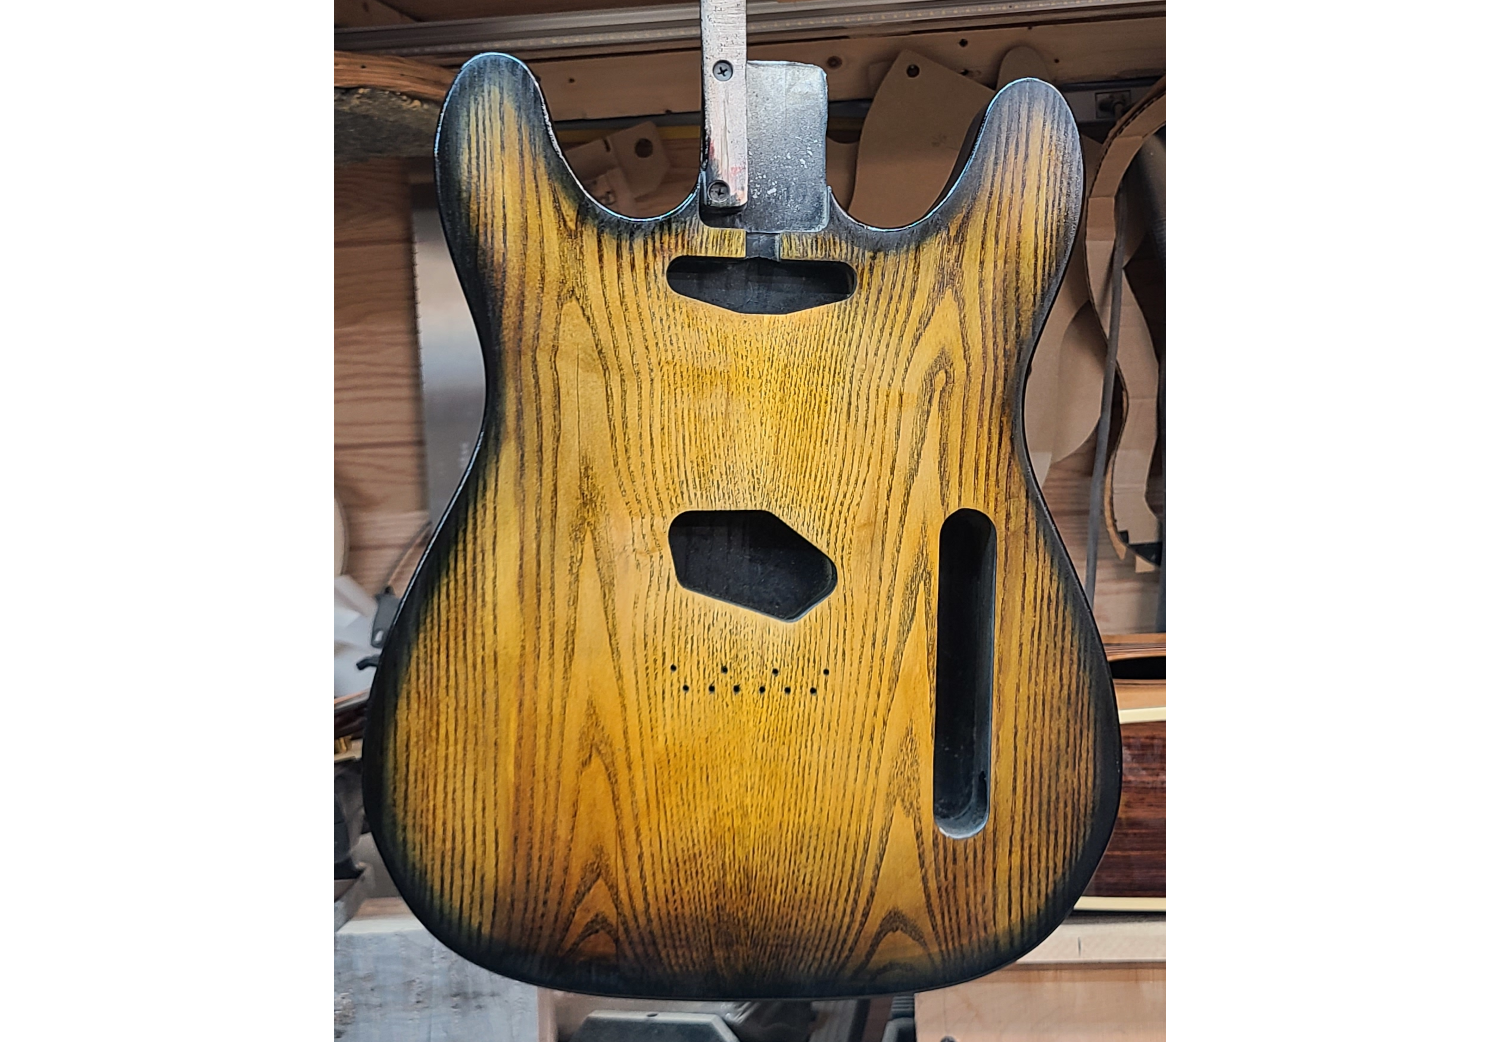
The body is routed, sanded and now ready for color.
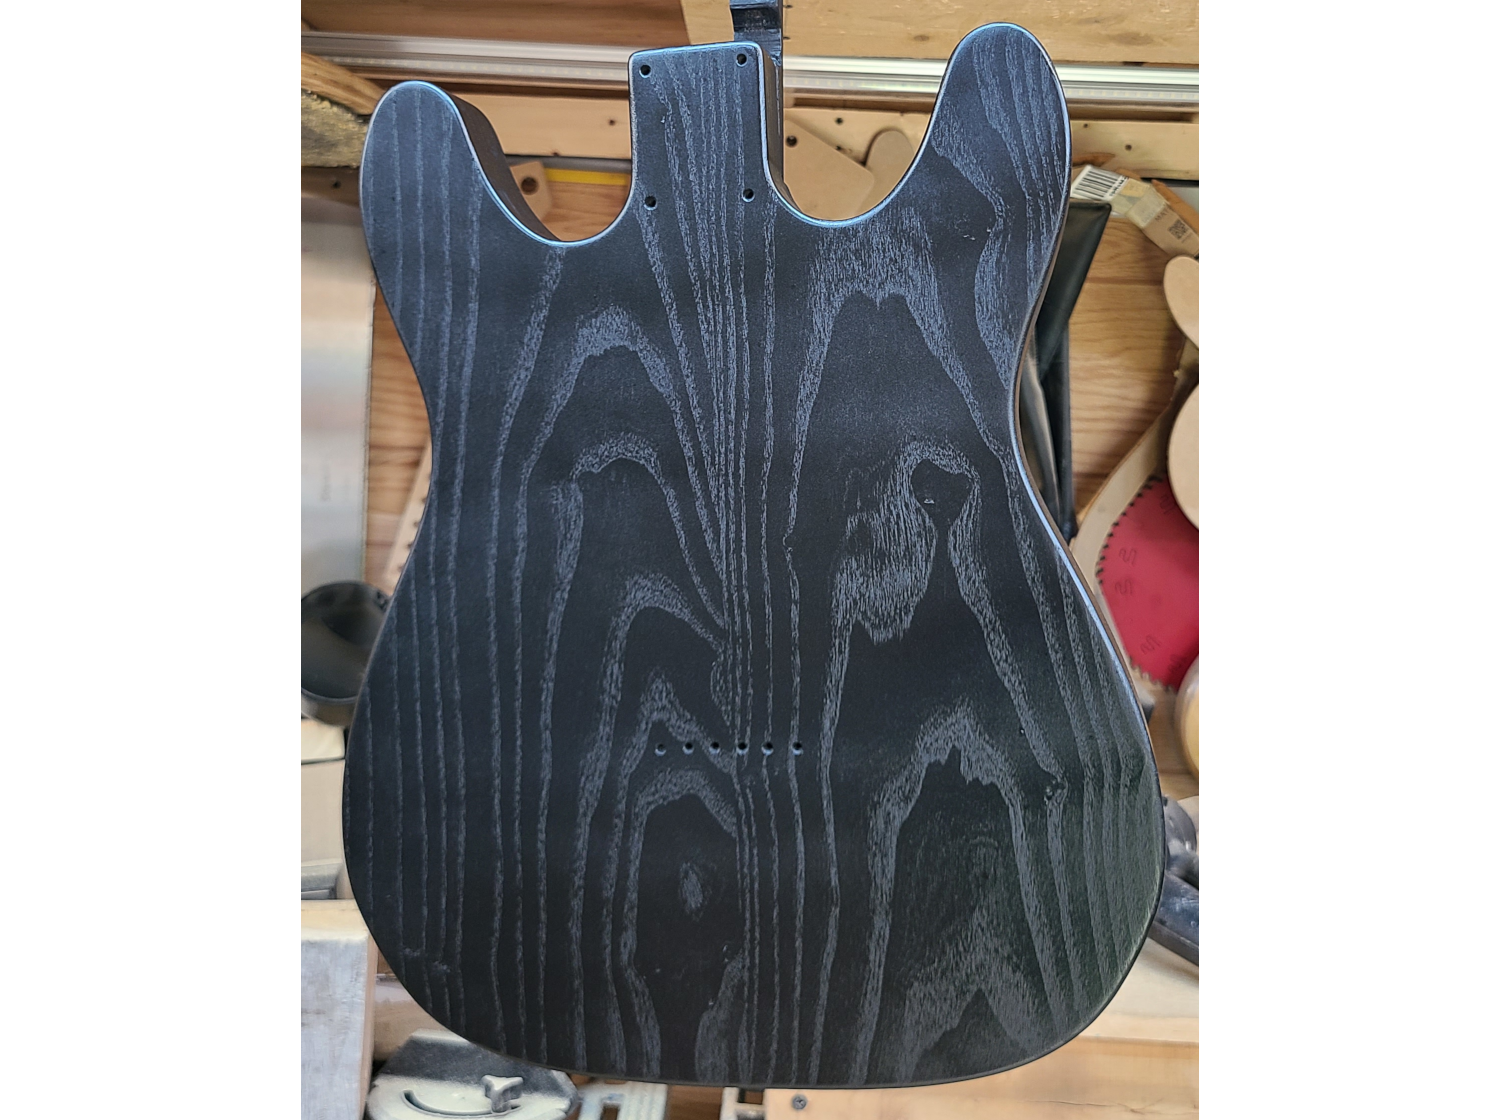
First up is spraying the entire body flat black.
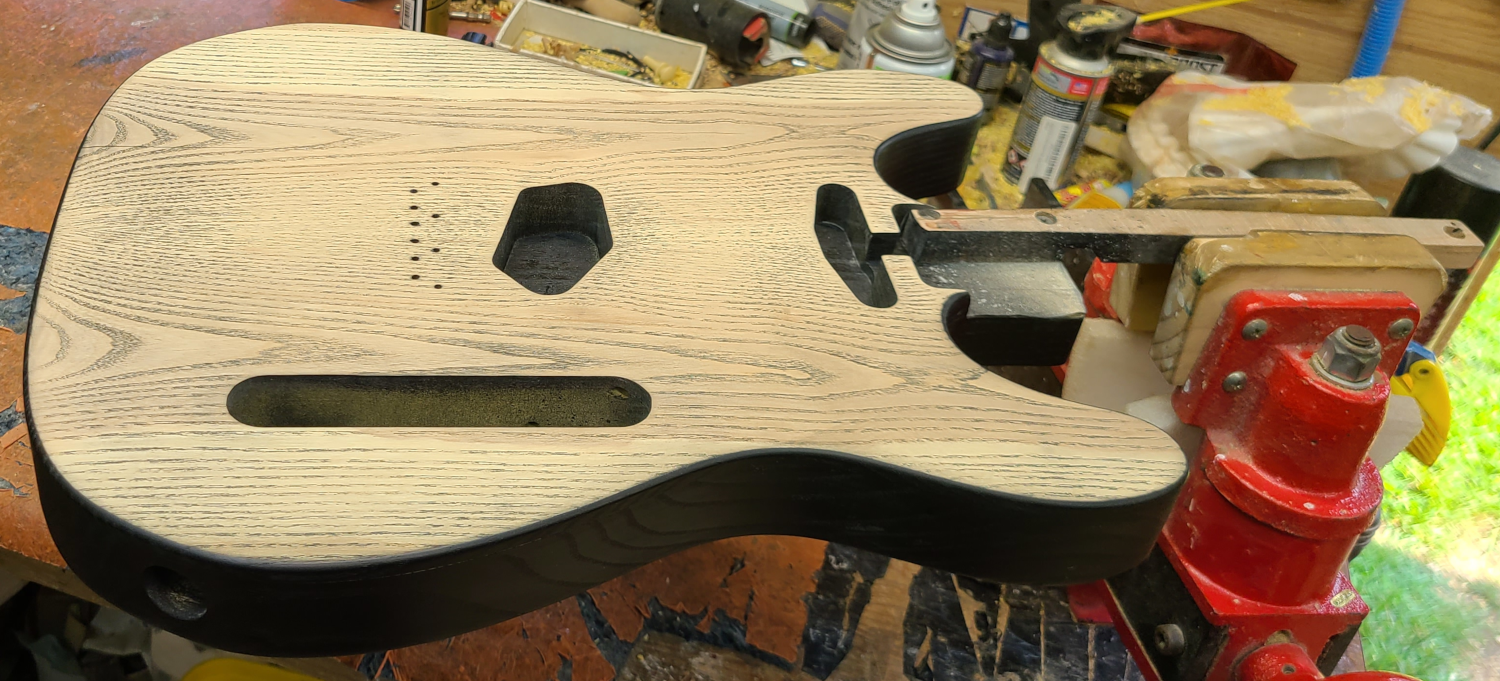
The grain lines on the mulberry look wild.
The grain of the ash top is no slouch either, but there are bigger plans for this surface.
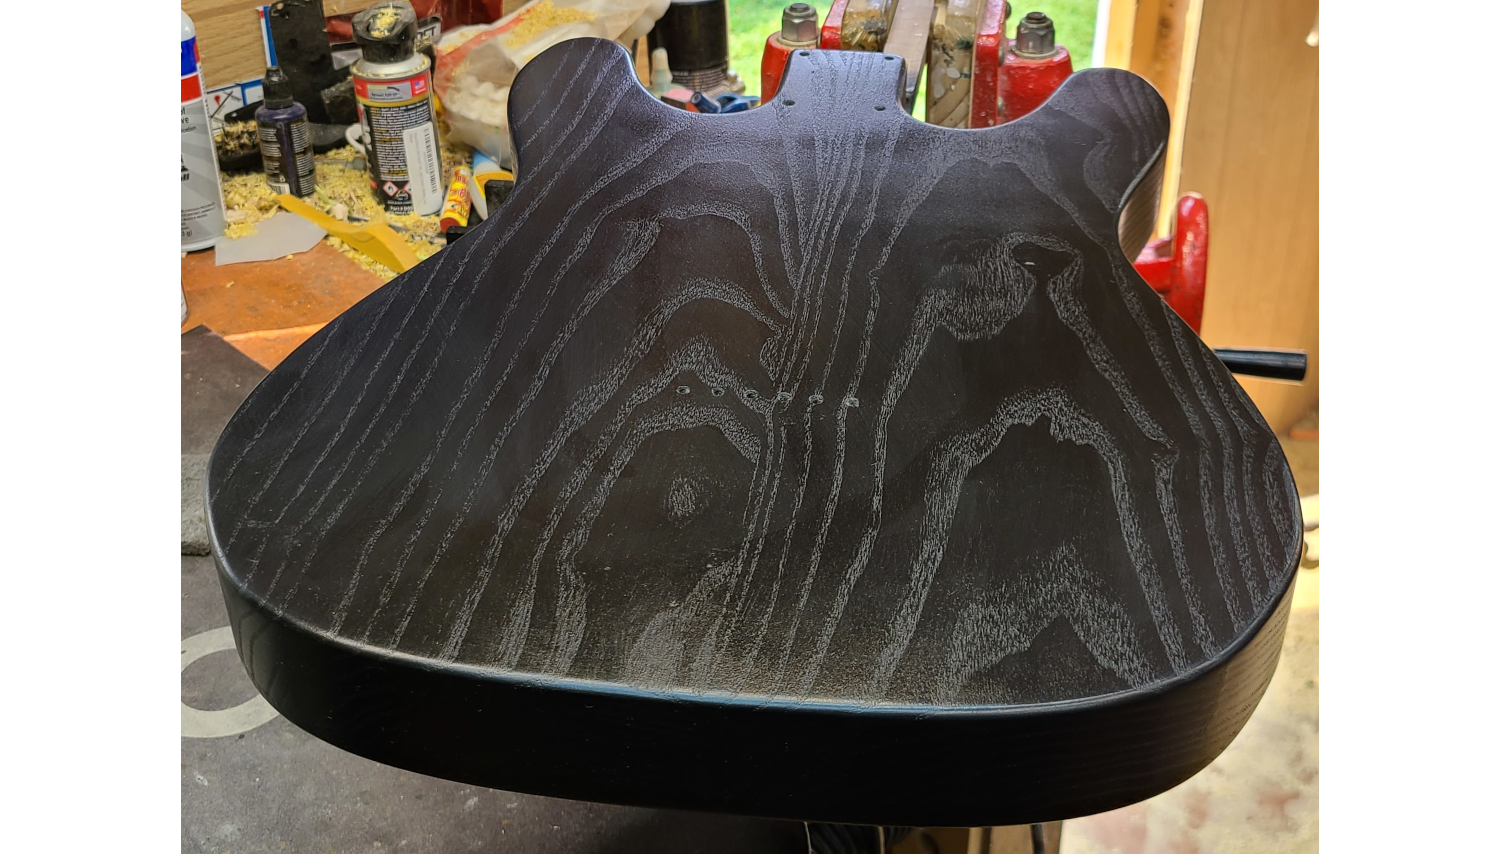
The top is sanded back so that the sprayed enamel paint is left filling the recessed pores, acting as a black grain filler.
This is only done to the top; the back and sides will remain black.
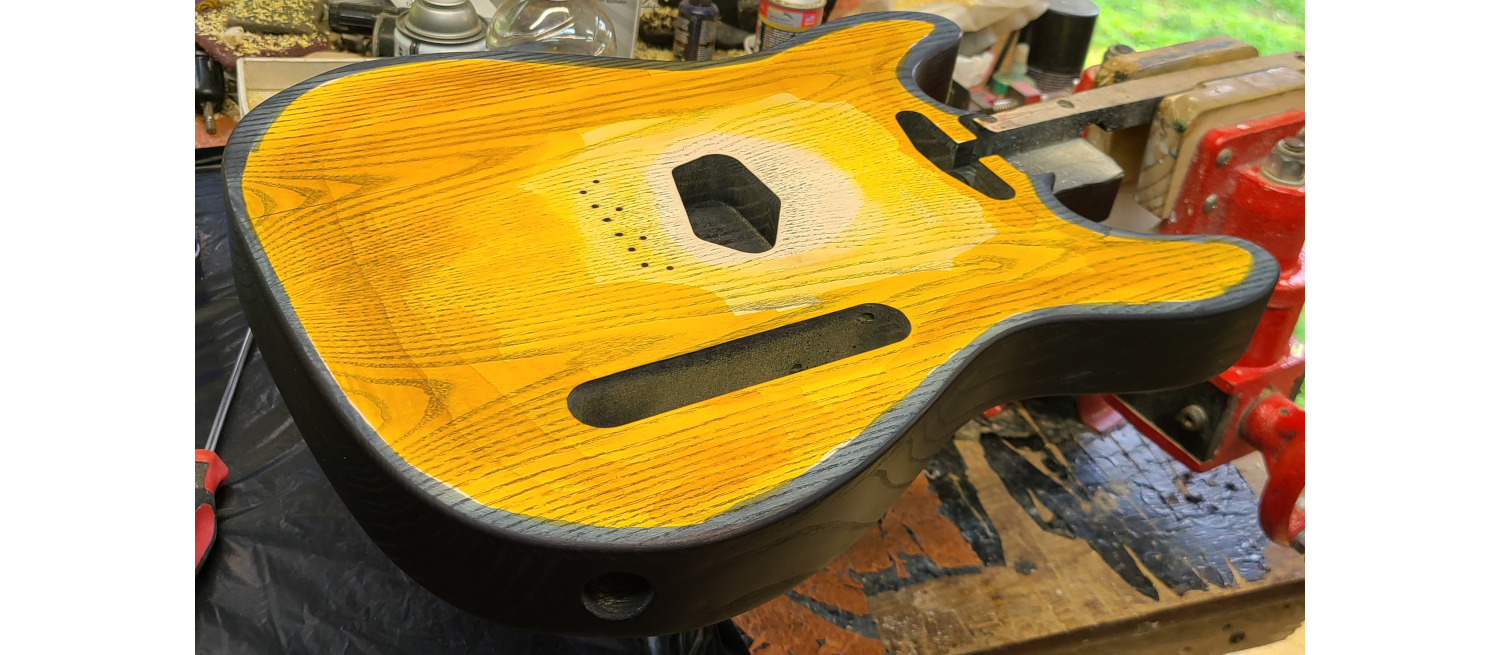
Now the dye is added in, starting with yellow, then a thin band of black around the outer edge.
Blending yellow to black is one of the hardest transitions you can do with a hand-applied burst.
This is because the color black is really just a mixture of all colors, and when blended to yellow, it draws out the individual colors in often unpredictable ways.
Here you can see it’s drawing out the greens, adding a greenish tint to the body.
The way to get rid of this greenish tint is to utilize color theory.
Green is a mixture of yellow and blue, so the way to neutralize it is to add its opposite color on the color wheel, which in this case is red.
So the entire top was rubbed with a gradual amount of red, until the green was gone.
This is also known as “warming” the color since we’re adding red.
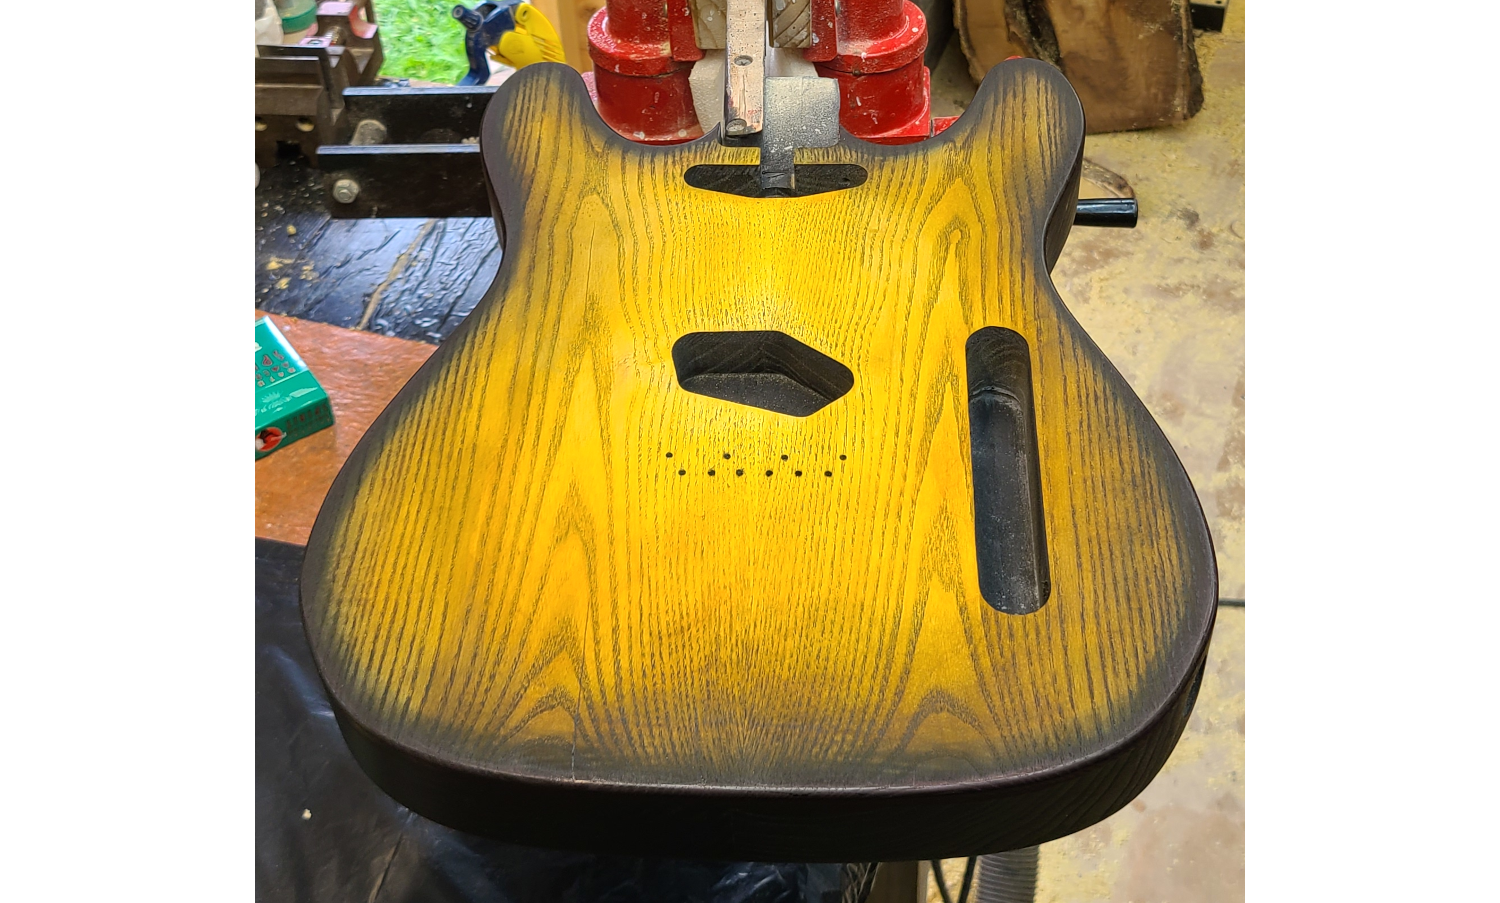
Conversely, making the top “cooler” would involve adding blue, according to color theory.
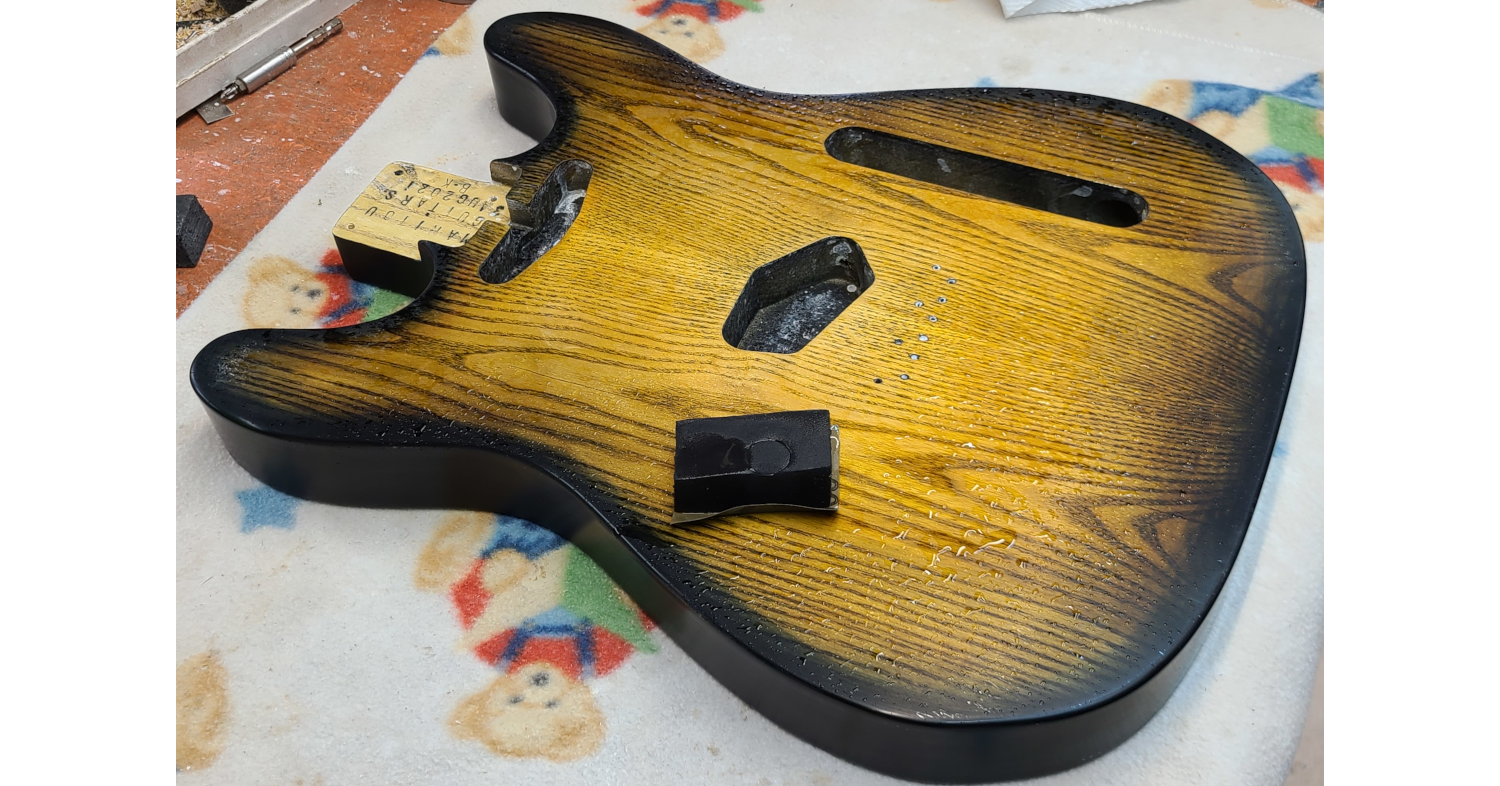
Now a few coats of sealer are added to lock in the color and allow the finish coats to build properly without absorbing into the wood.
It was at this point that I was (falsely) confident that the finished back would have these exposed grain lines in the mulberry, just like in the above pic.
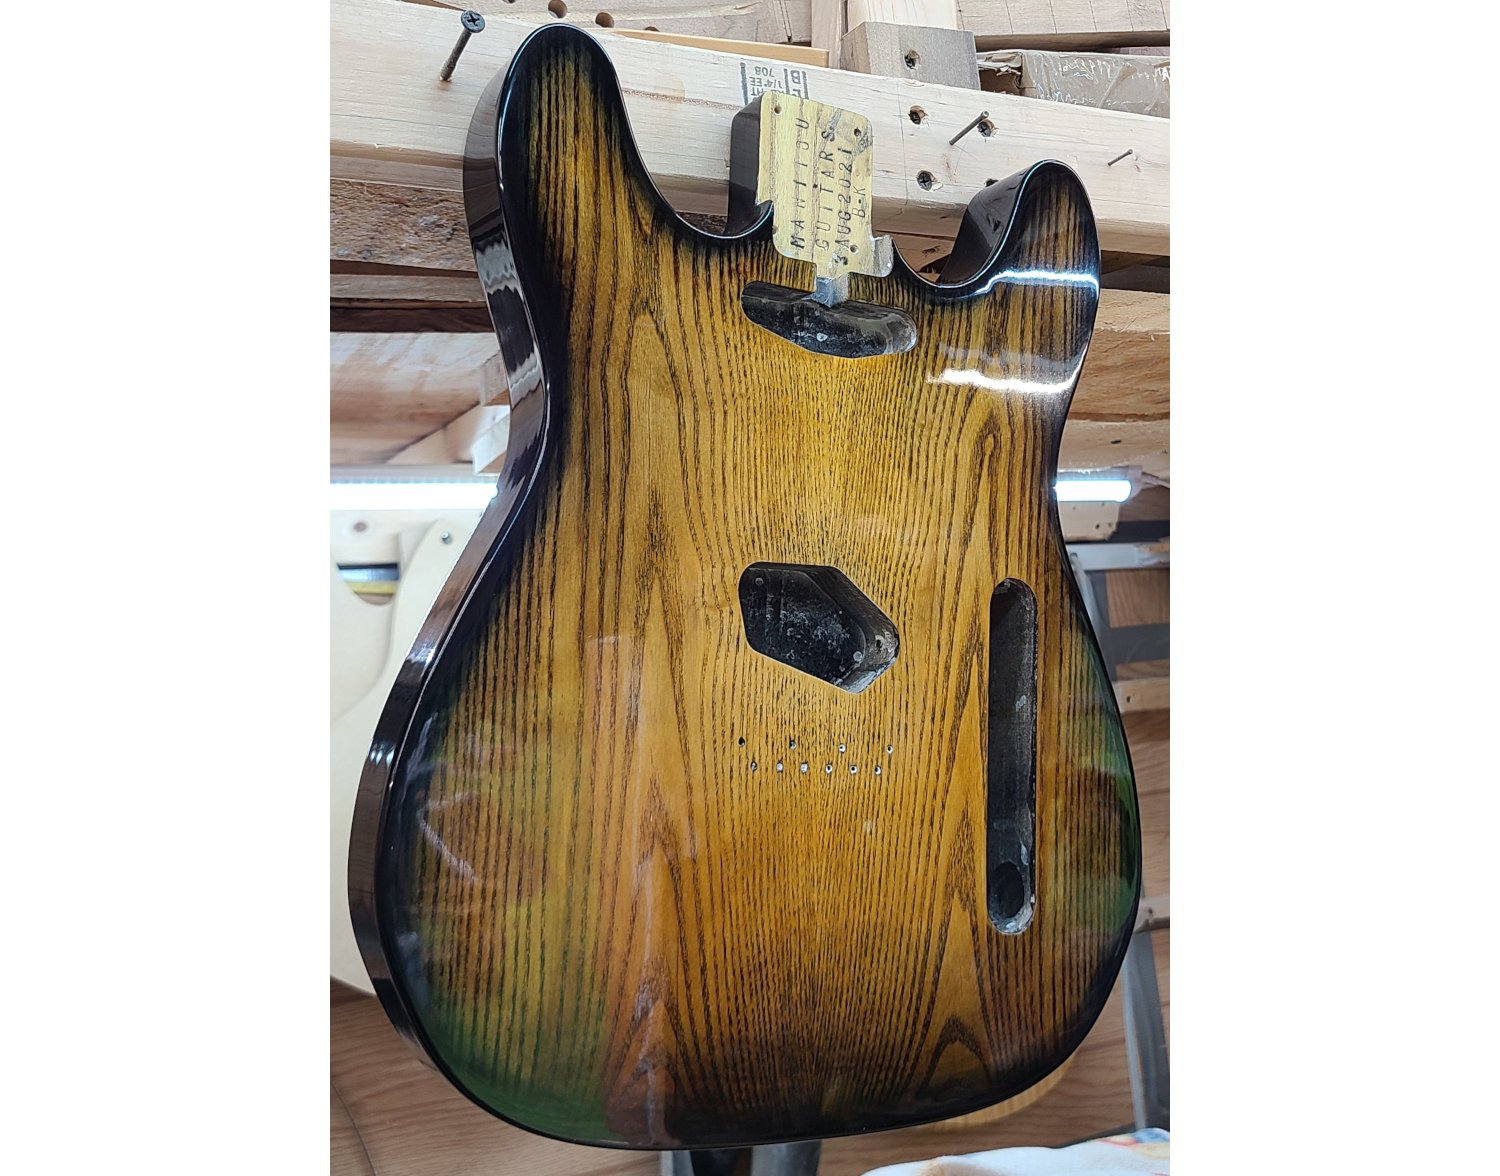
The finish is on, cured and now being leveled out with 1000 grit wet/dry sandpaper.
Body is buffed out and ready to roll.
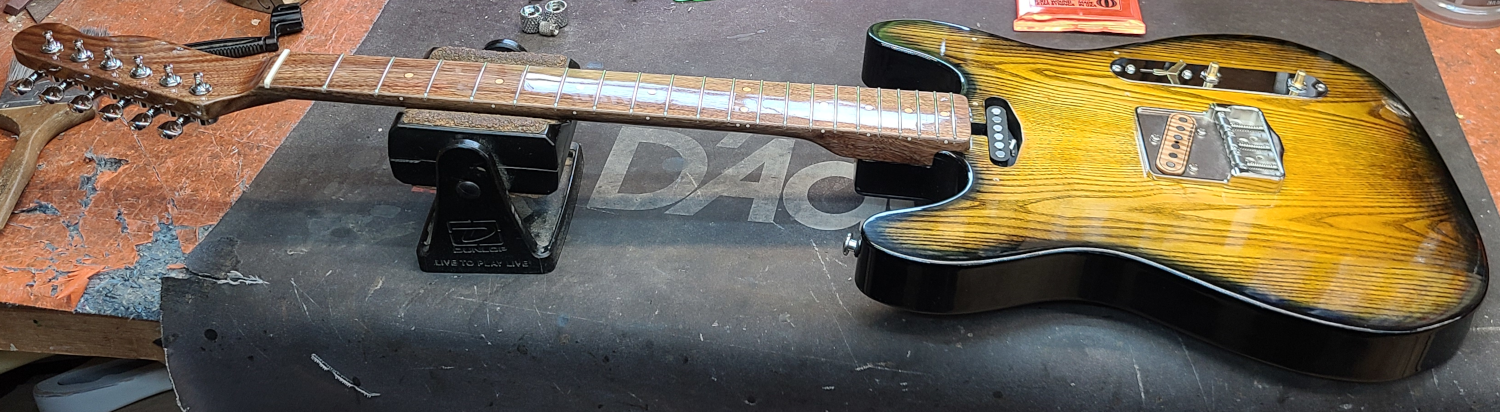
Earlier I made a walnut neck, basically to Fender spec but with a few tweaks to the profile, and with a 12" radius instead of the normal 9.5" – so nobody has to worry about bends on the high E string fretting out under low action circumstances.
Aesthetically it seems to work, too.
The neck pickup is getting hidden flush underneath the pickguard, so it’ll look like an Esquire, but the switch will actually do something useful.
The guitar is done, and the sound is really indescribable.
This is a wood combination definitely worth revisiting in the future.
Stay tuned!