Paulownia/Ash T-Style + Walnut Neck
This was a lot of trial-and-error to get the body color right, but it worked out in the end.
The Process:
This started out as a sub-2lb. Paulownia body, and the customer wanted to beef it up a bit, and make it purple. Since Paulownia is notoriously bad at taking color – not to mention how soft and therefore prone to denting it is – we opted to cap the body with a 3/16" bookmatched Ash cap.
Pictured below is after the cap was glued on, and the black filler coat was applied.
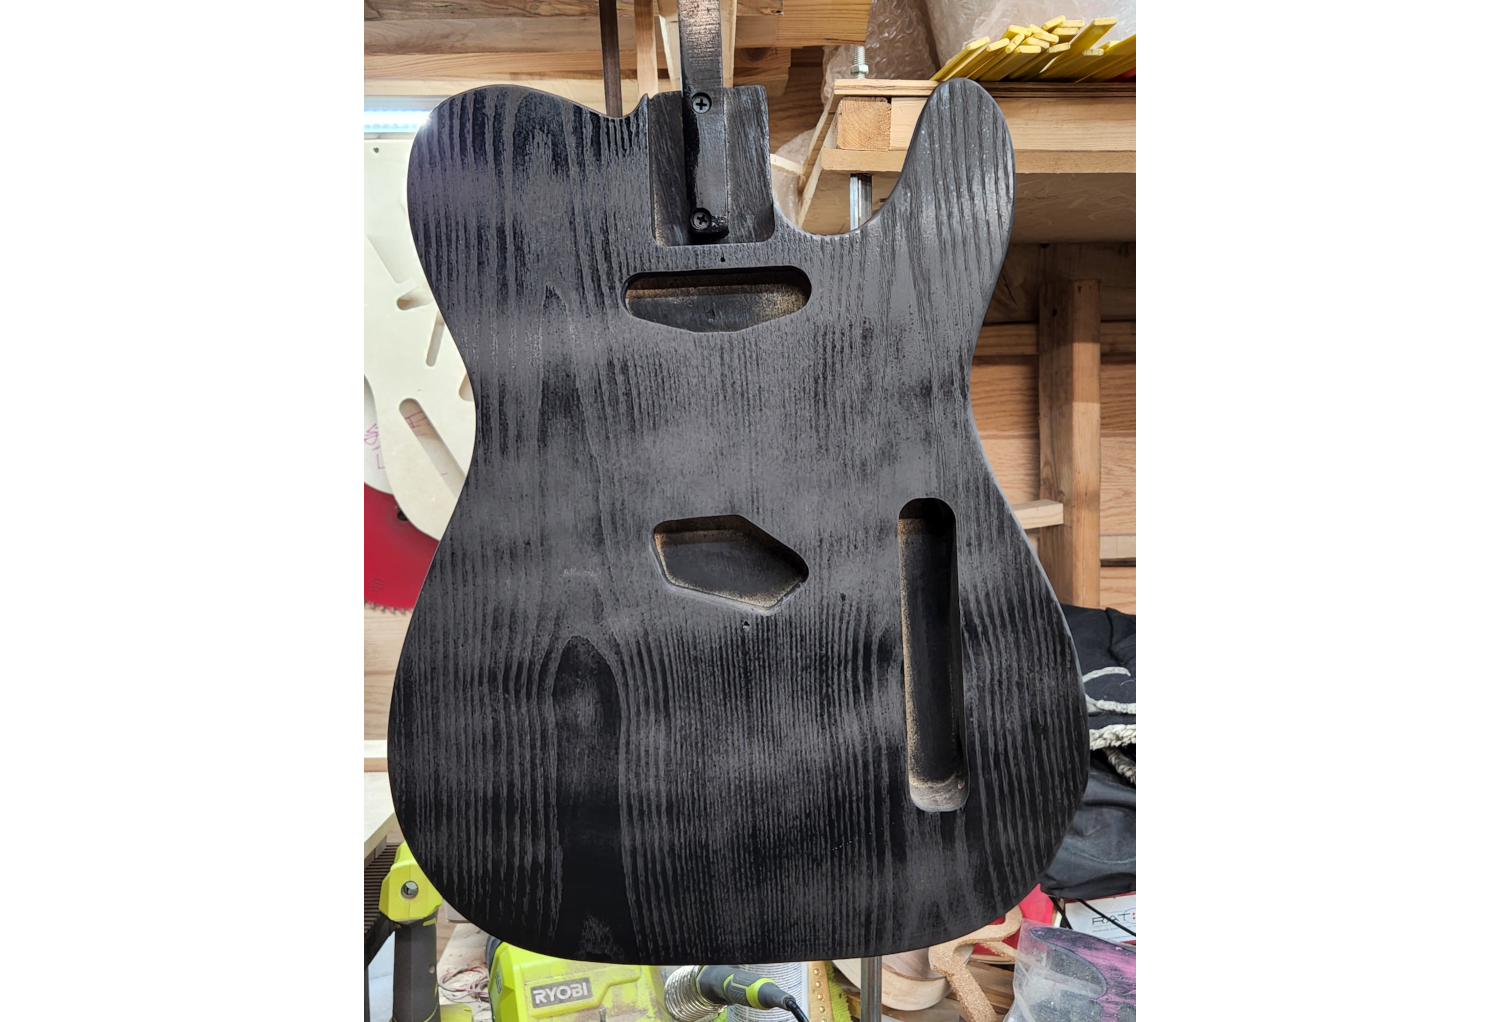
Once the filler coat was dry, it got sanded back with 150-grit, leaving the black only in the recessed areas of the pores.

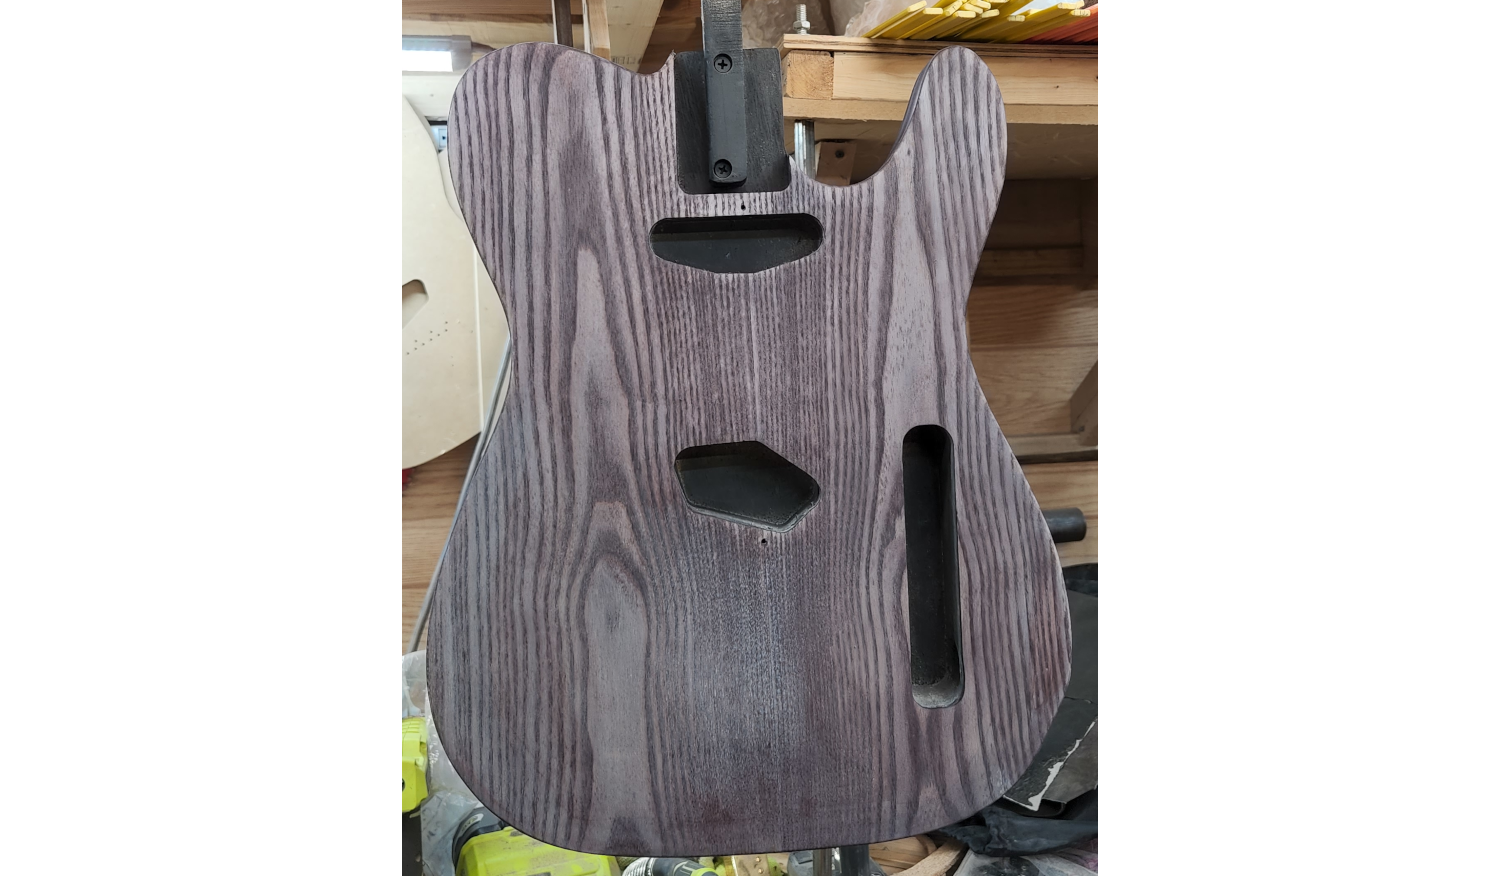
Take #1.
I was going for a lighter purple, but this analine dye mixture, while light, ultimately looked too washed-out.

So the dye was remixed, a tad darker this time.
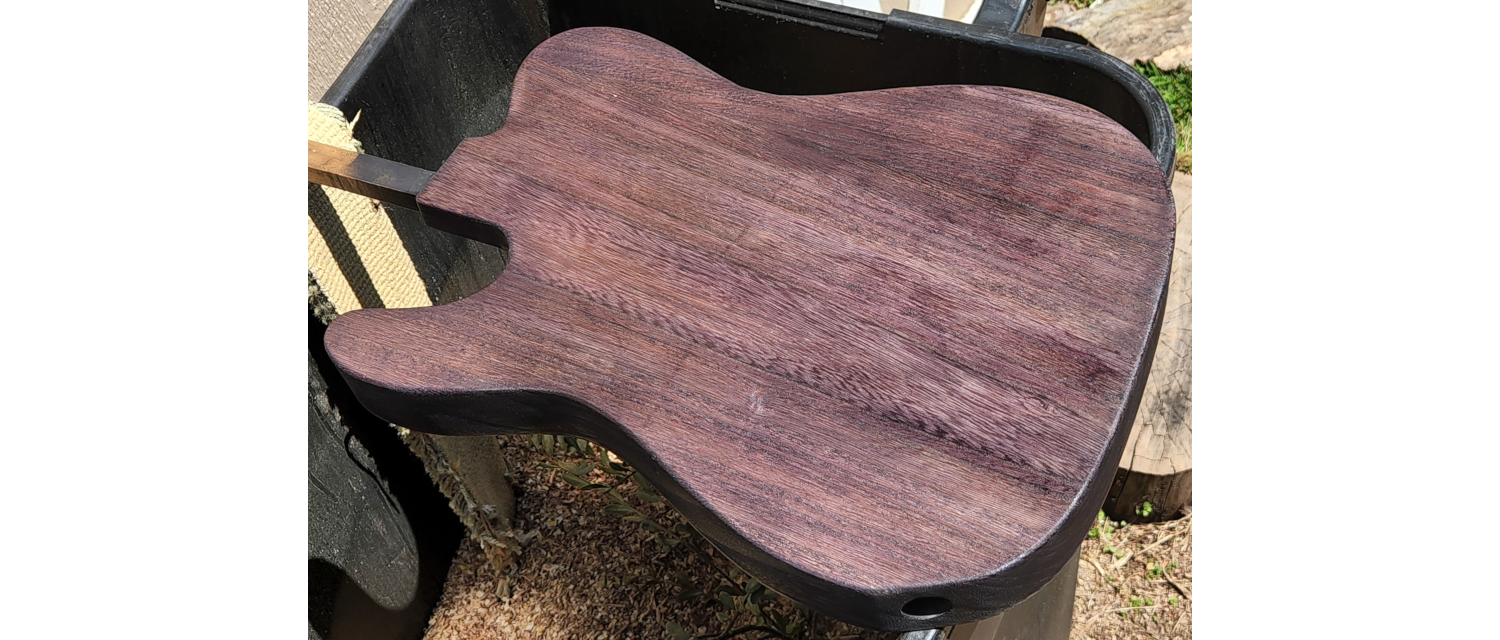
Oddly enough, the back doesn’t look too bad!
But the front was not usable, so it was sanded back, re-porefilled, and the procedure for attempt #2 was revised to make the purple in 2 separate applications. In this fashion, the blending of the two colors (red + blue) would happen on the body itself, rather than in the mixing cup.
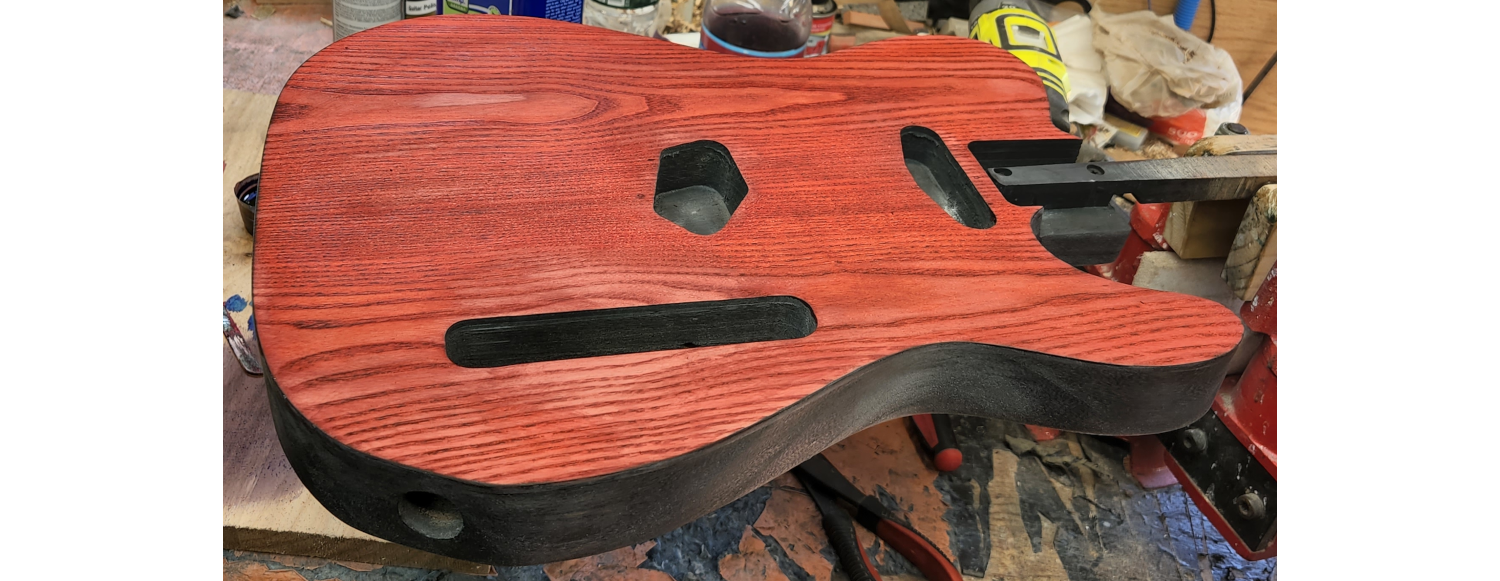
The lighter color goes first, so here’s the red:
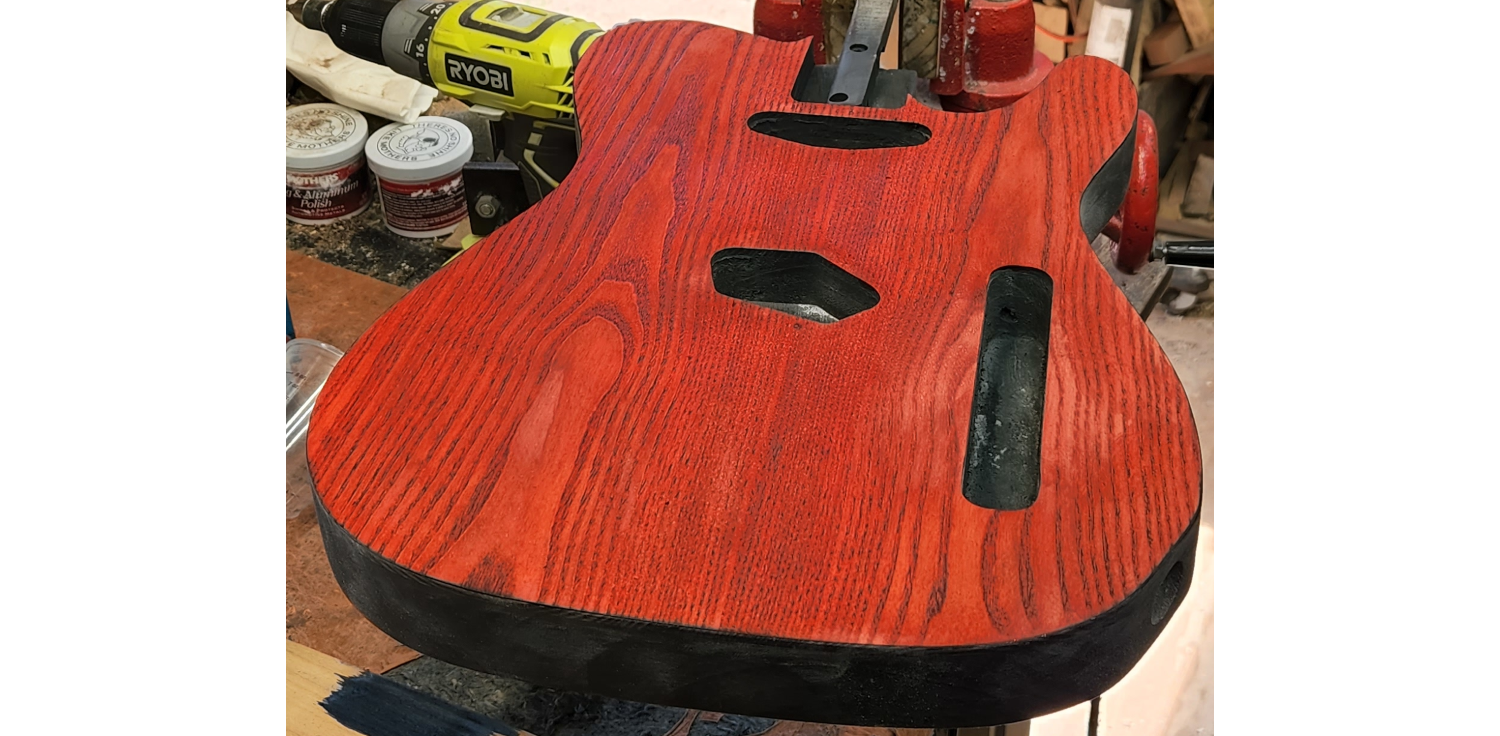
Way too dark.
Let’s dilute it back with some alcohol.
Ok, now for the blue.
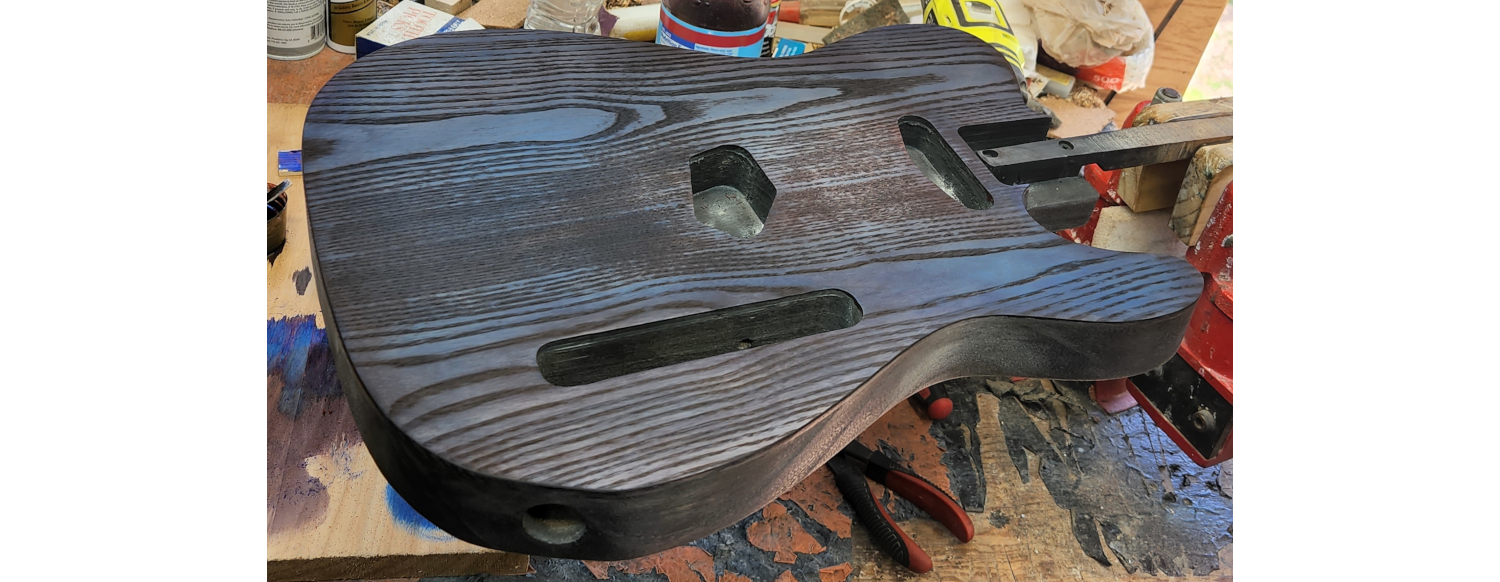
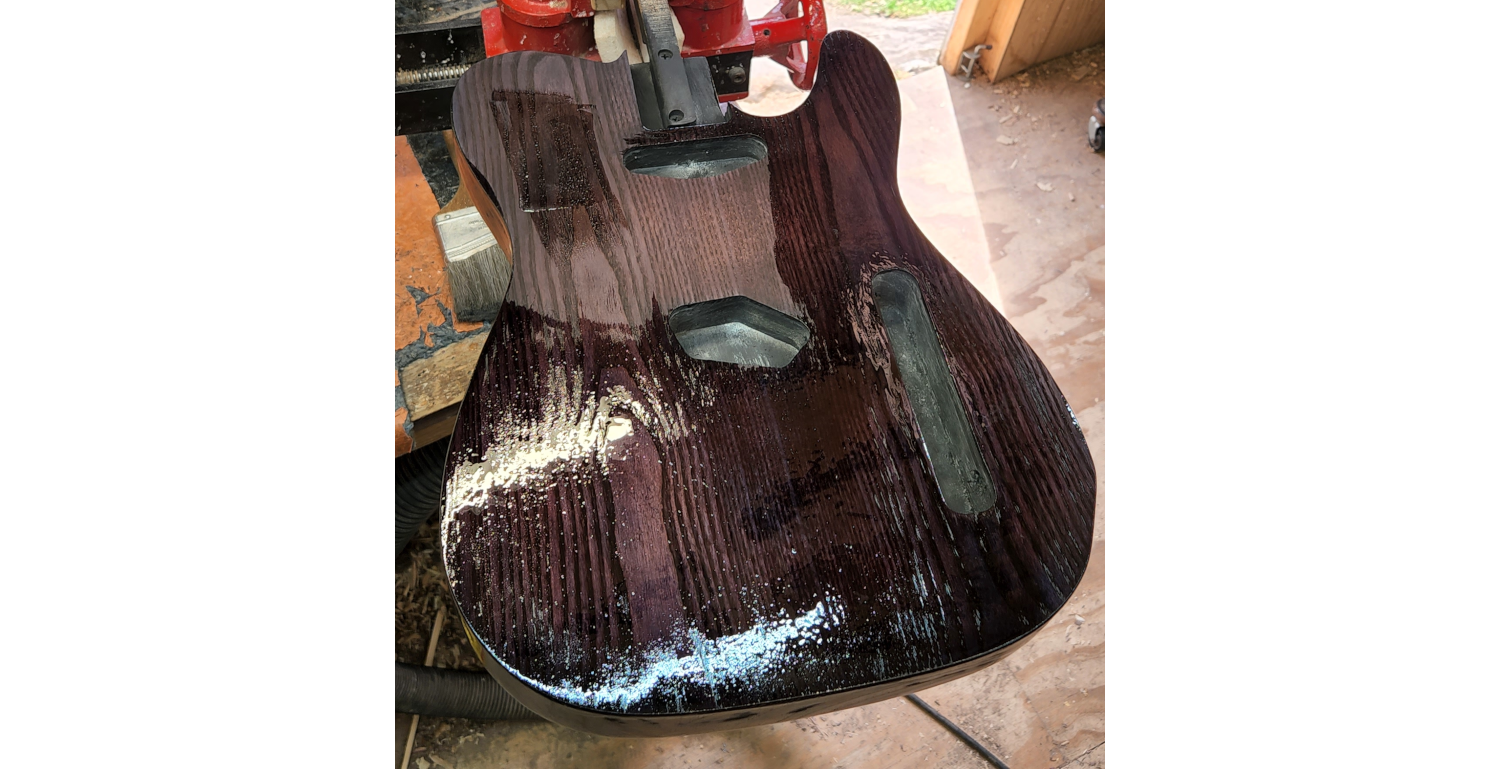
My God, this is more of a disaster than the first attempt.
I call the customer, who is without a doubt exhausted from all the back-and-forth, so he tells me to “just go with what I think looks good.”
Here’s what it looks like at this point in time (still bad).
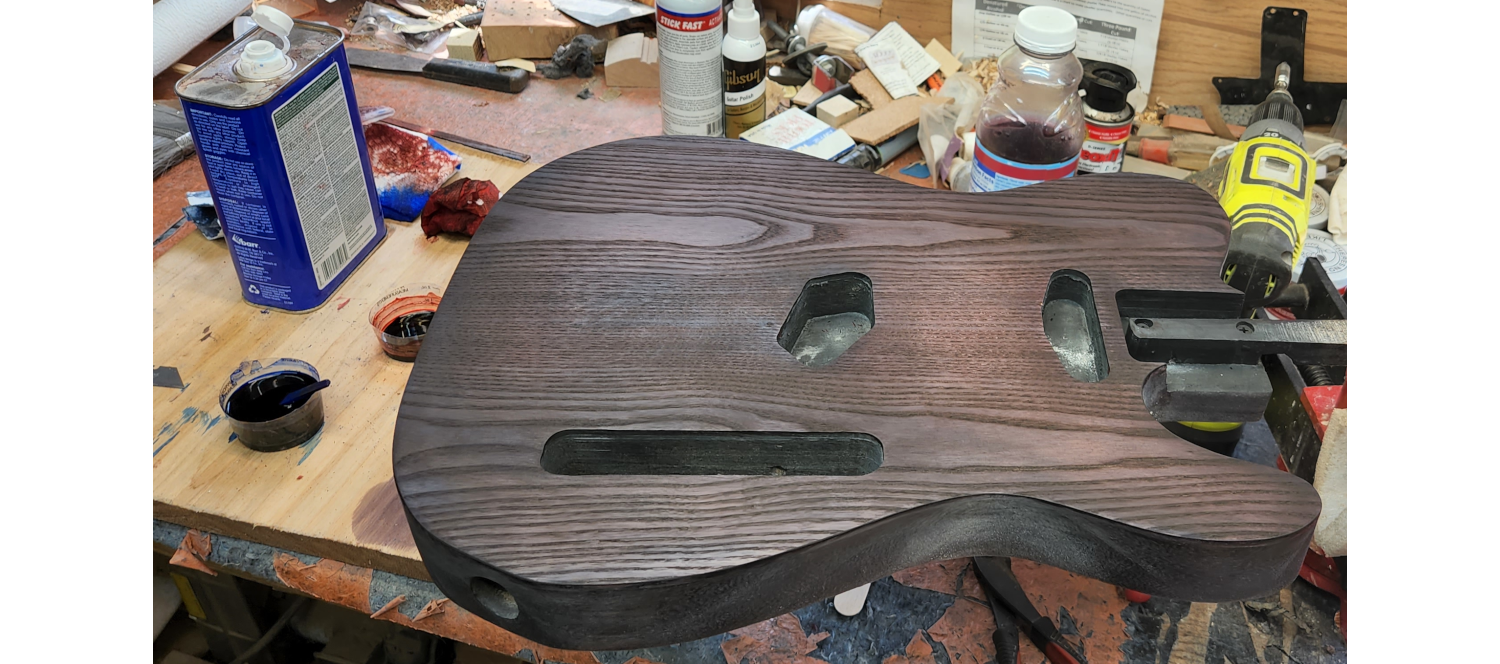
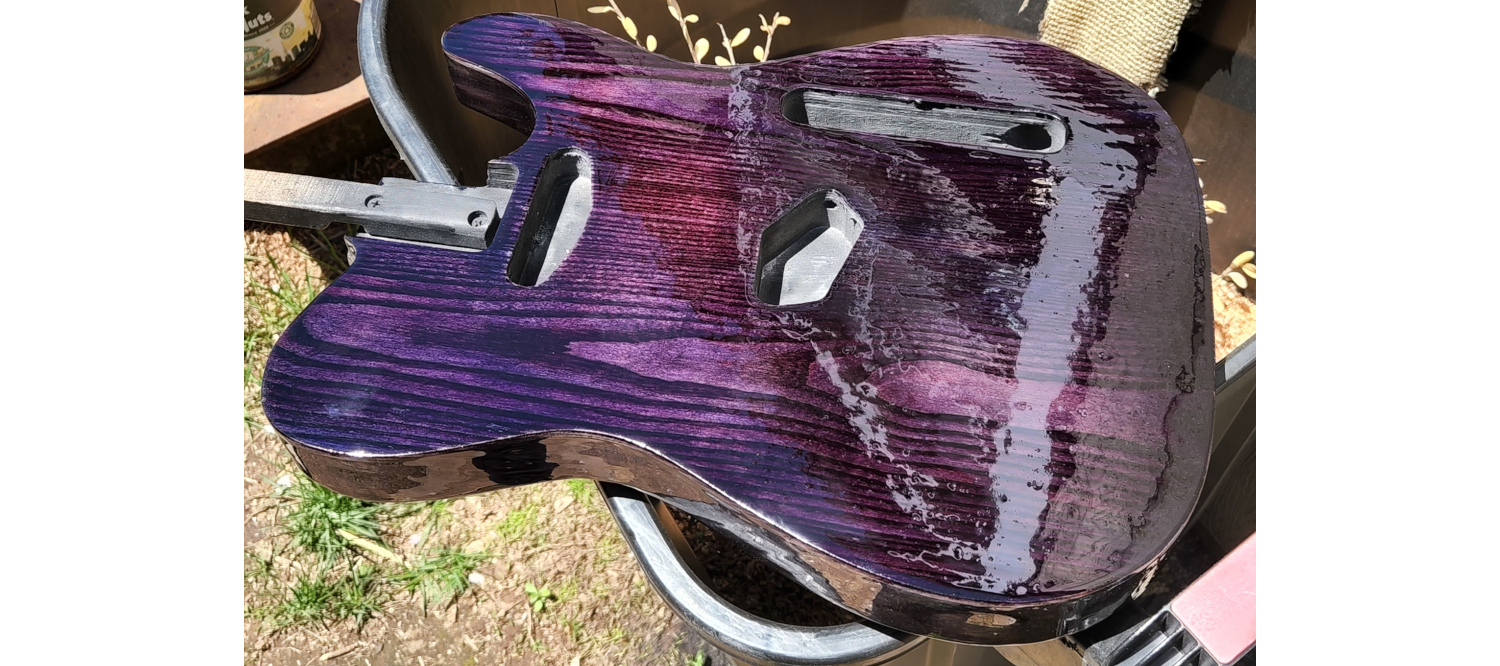
Heeding his advice, I spend another couple of hours finessing the purple, on the razor’s edge between “not too dark” and “not too washed-out”.
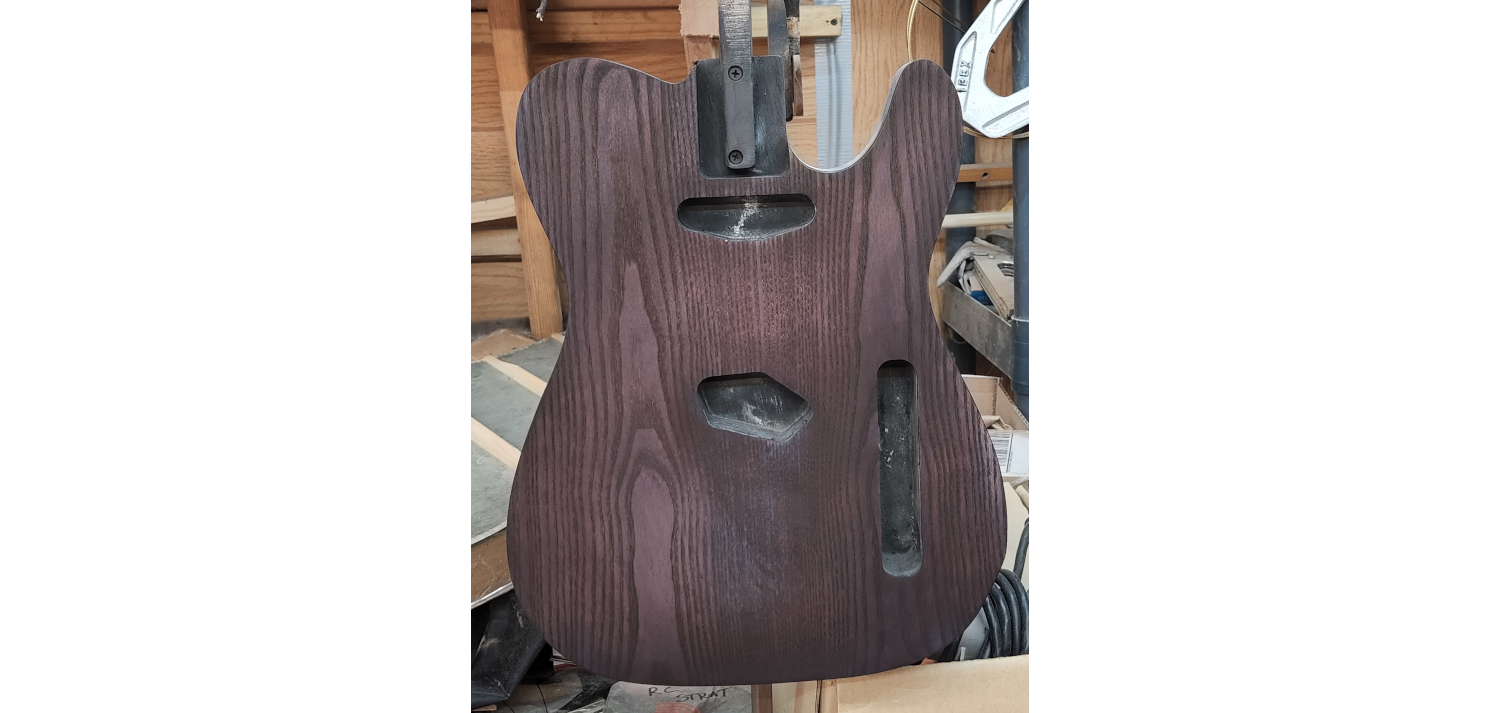
It’s starting to look decent, taking into account that the clear-coat finishing process will saturate the color slightly more than how it looks now (pictured below).
Since the majority of the body wood is Paulownia, I wanted to use a harder, more durable finish than the normal Crystallac.
Epoxy was the answer.
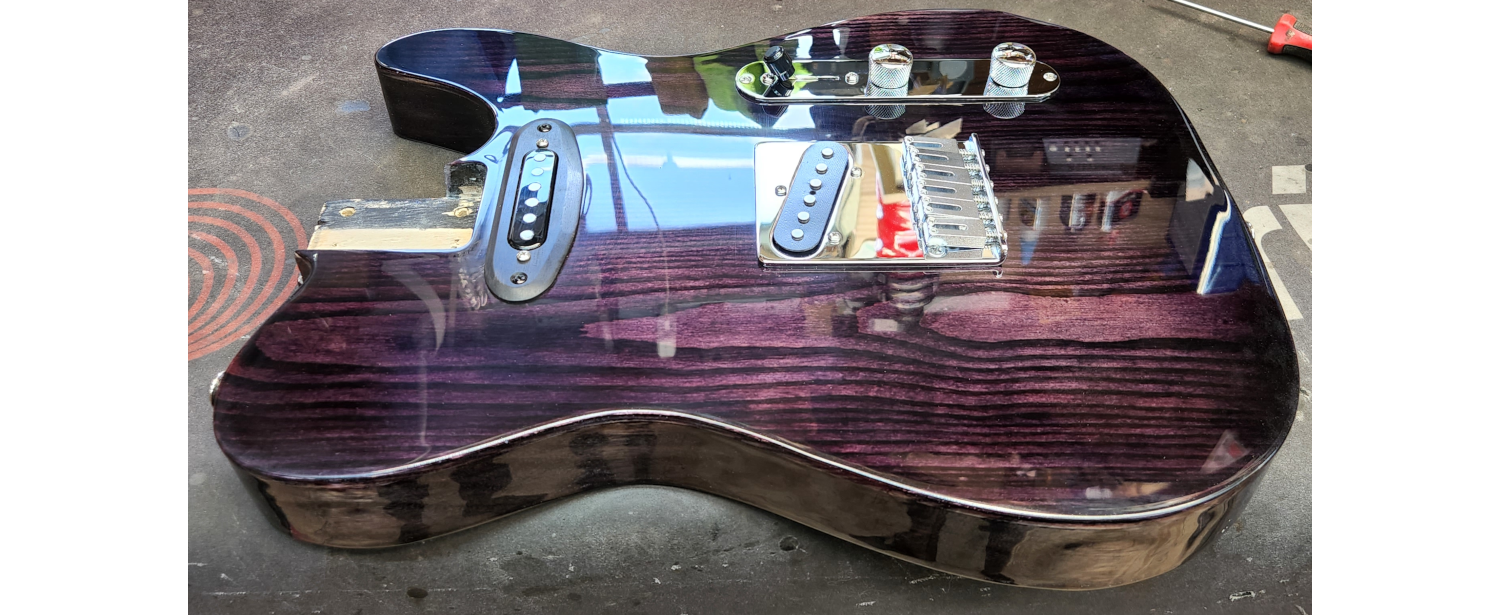
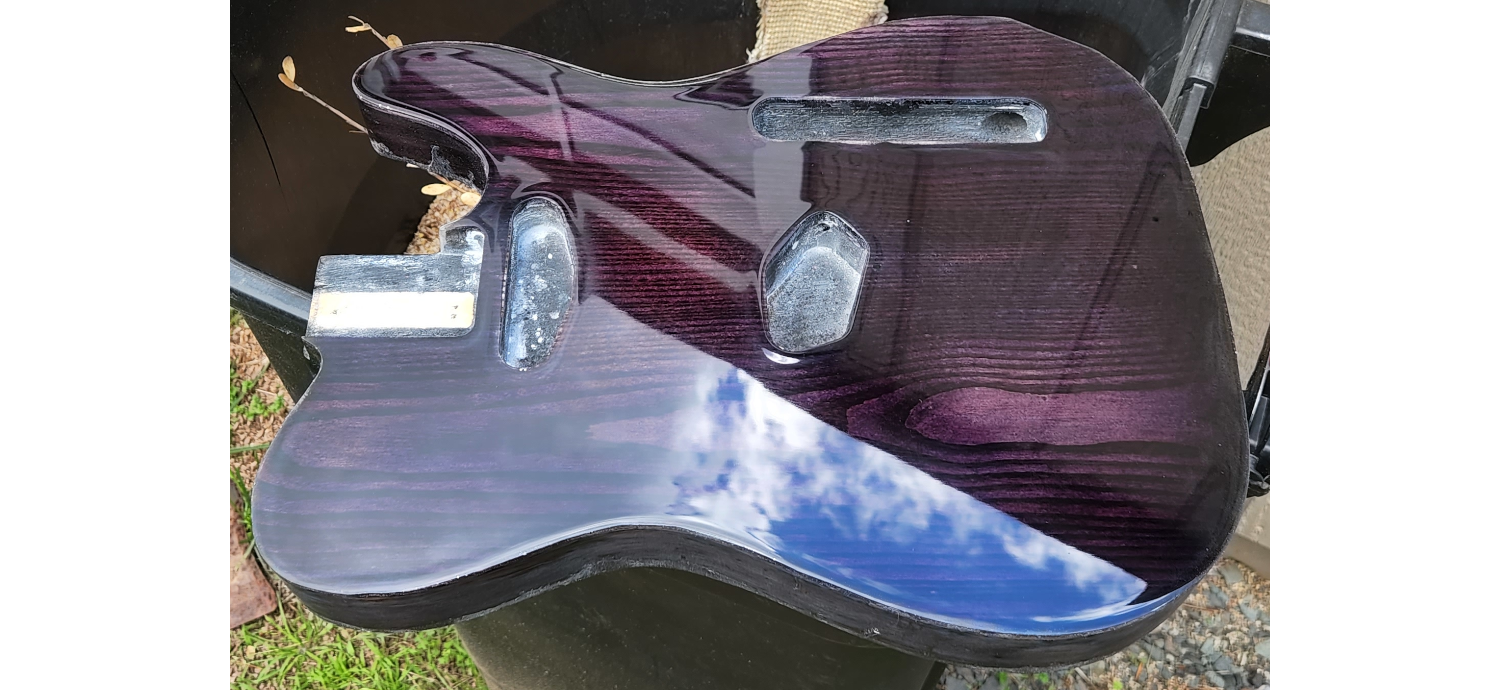
After allowing the epoxy several days of curing, I am quite happy with the result.
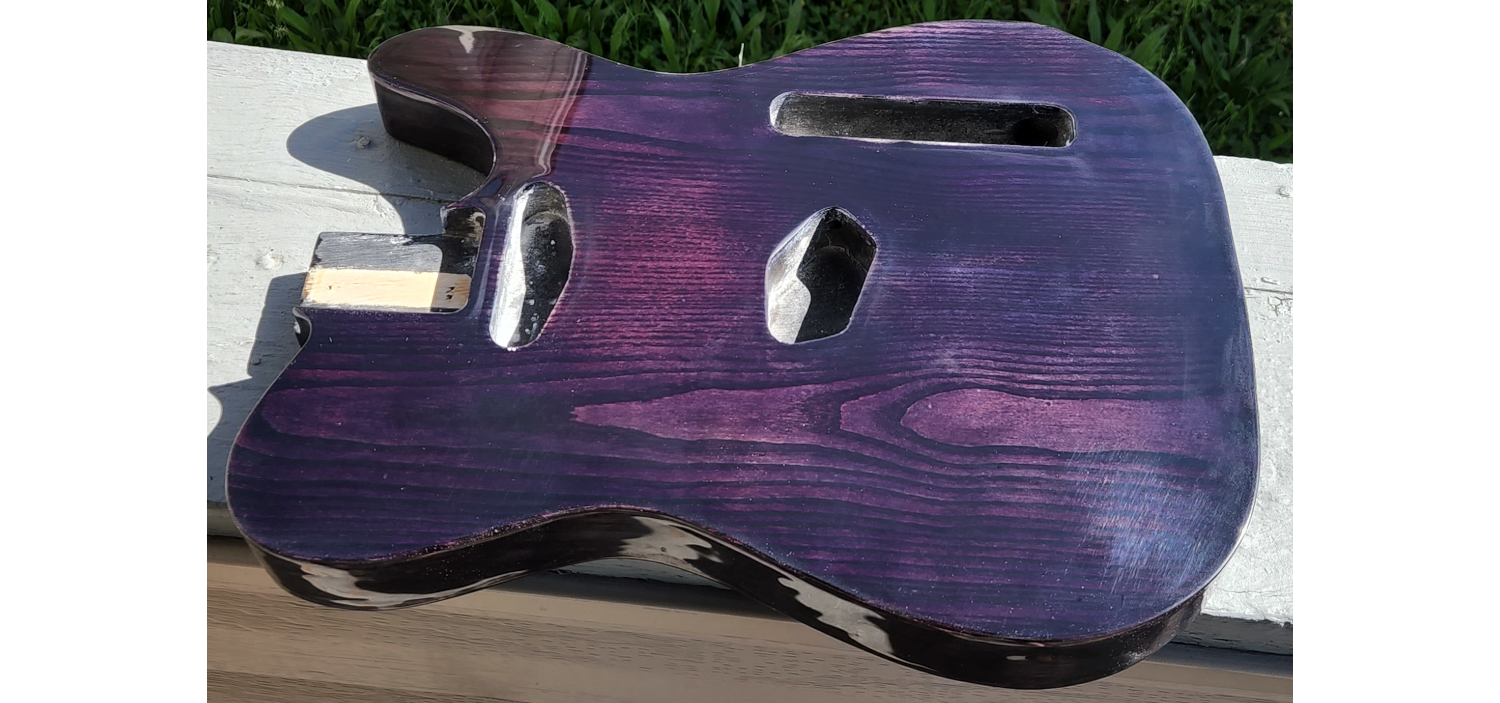
The only problem is that, while the above picture was taken in direct sunlight, the picture below is how it looks without direct sunlight.
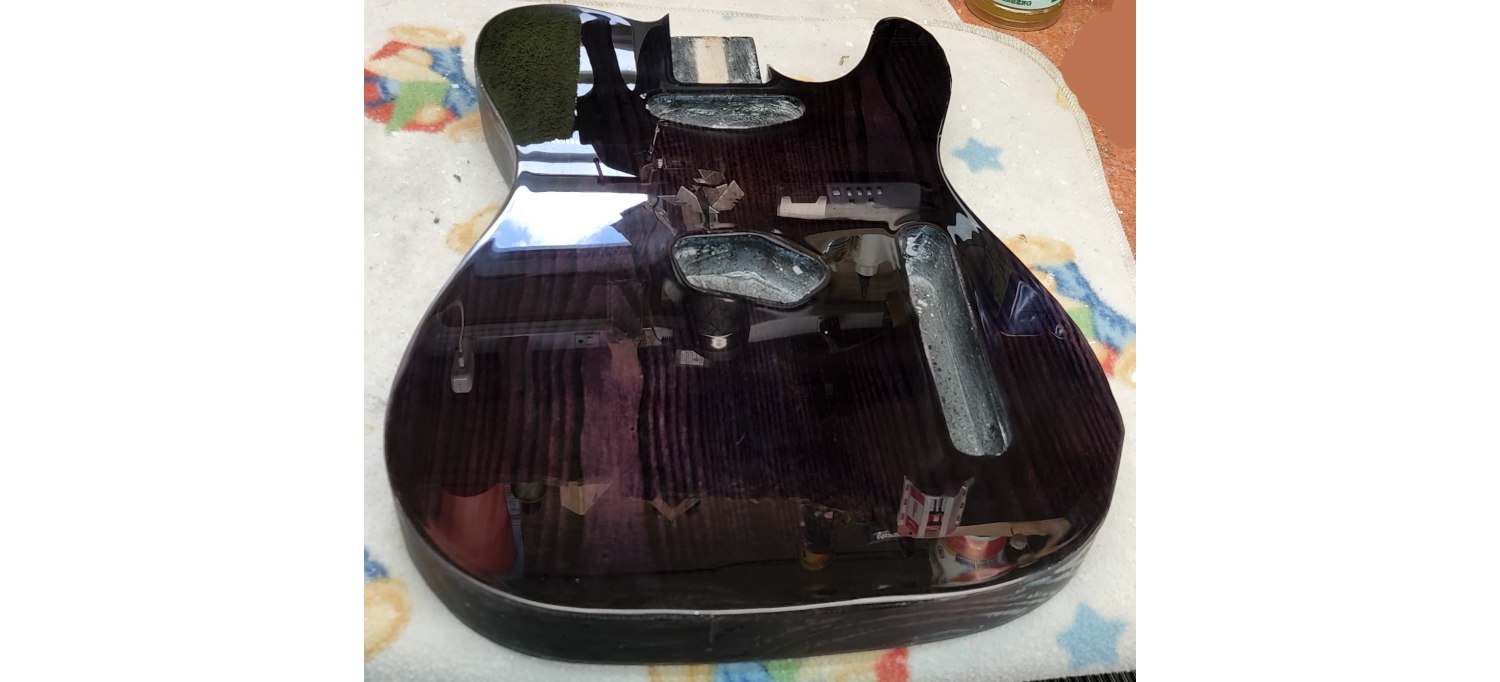
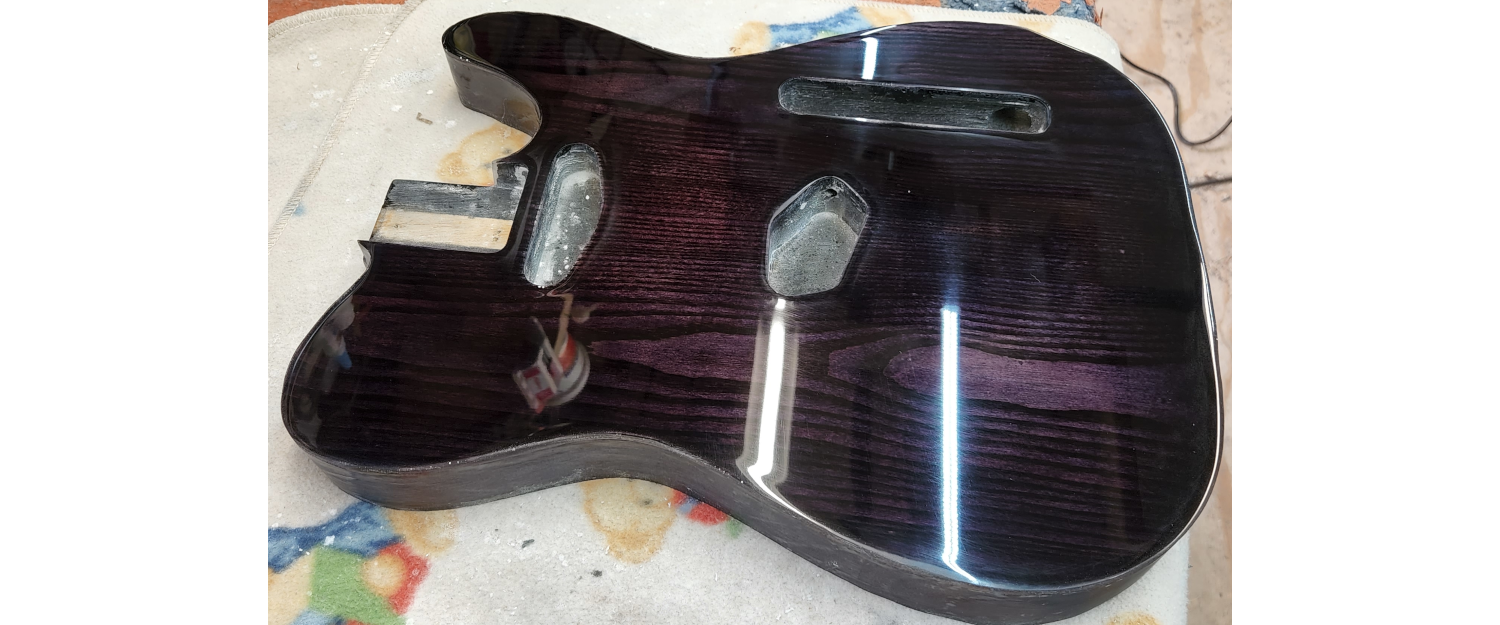
Still, it’s not terrible though, especially once everything is sanded out to a glass sheen.
At this point, I show it to the customer, who after some deliberation decides that despite the grain and color looking cool, he ultimately wanted a lighter color.
Fortunately for me, other people had expressed interest in the body, from all the time it spent in the shop as the epoxy finish was curing.
So, customer #1 agreed to sell the body if someone else was interested in it, he got a small profit from it, and all obligations to him for this body were released.
The customer interested in buying this body was given the go-ahead, and I started on carving the walnut neck for it.
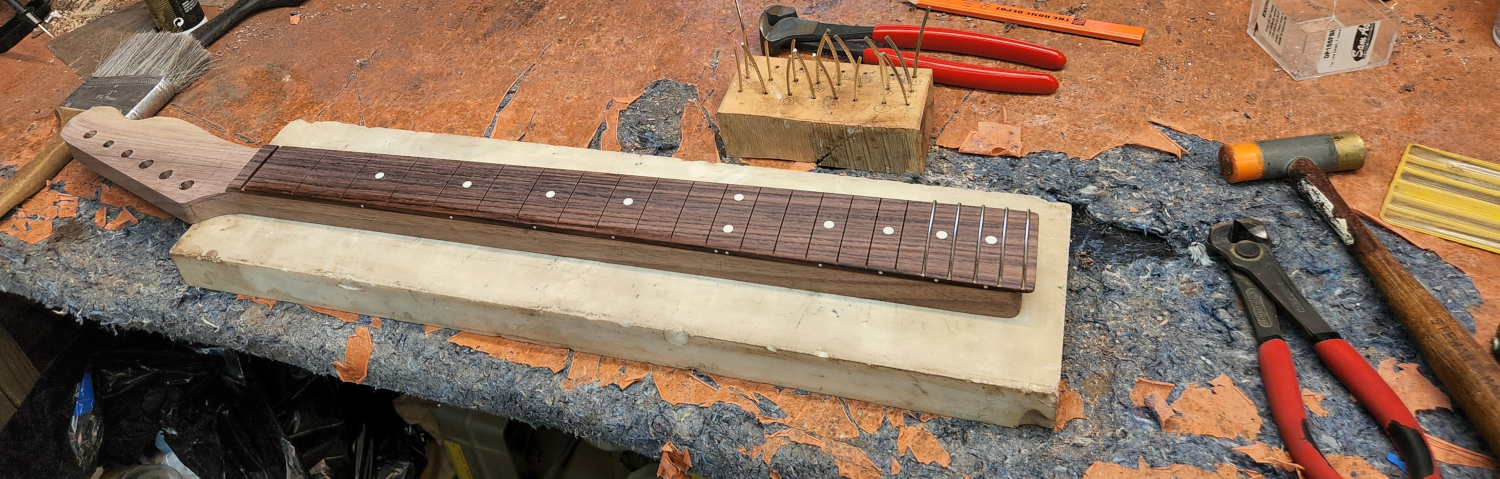
The trussrod slot is done, and the rough shape is cut.
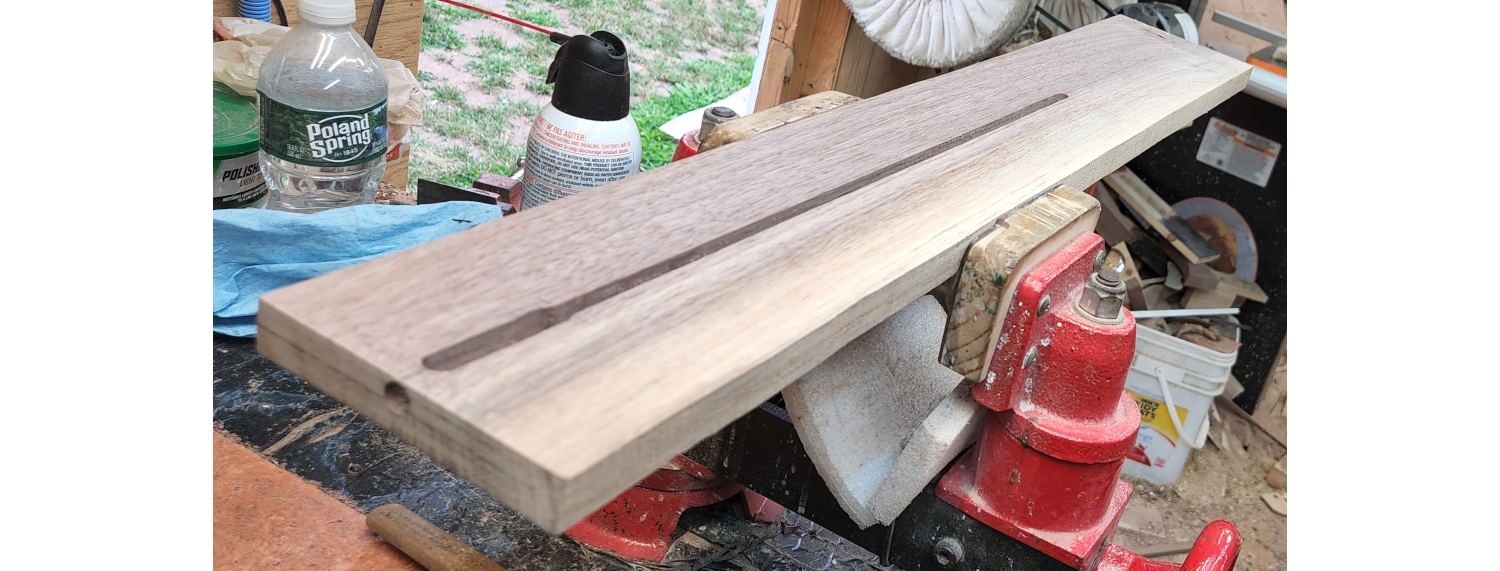
Now the rosewood fretboard will be slotted for a 25.5" scale.
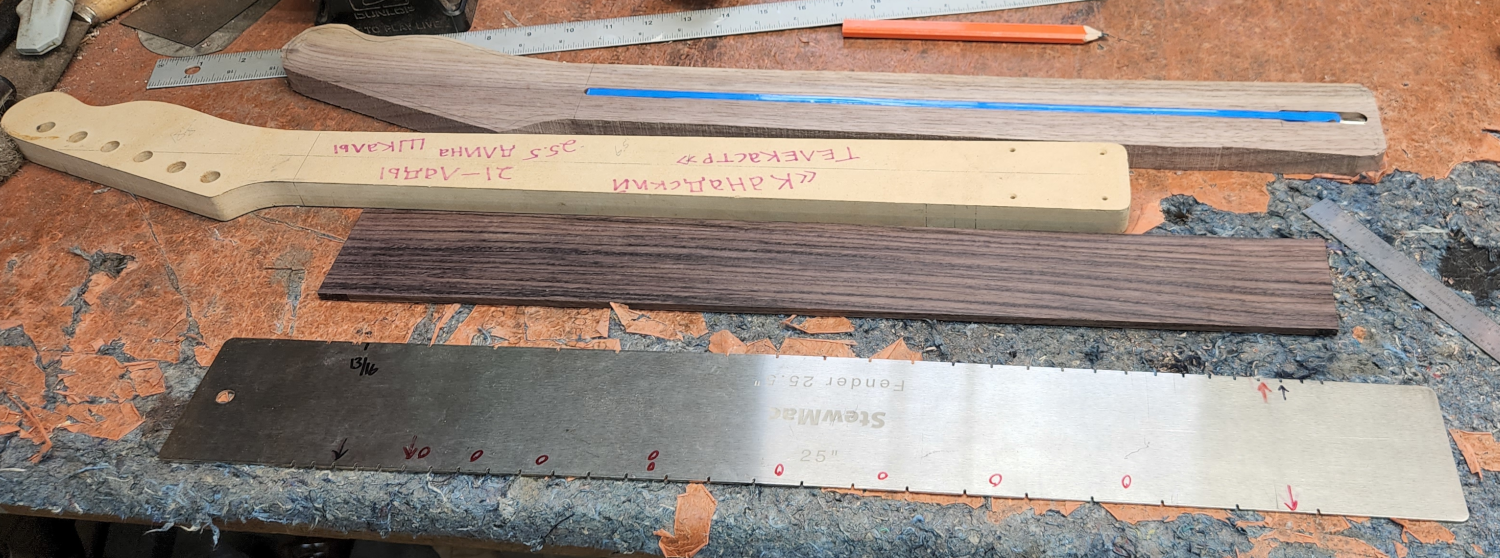
The fingerboard is glued, final shape cut, face + side inlays are done, fingerboard is radiused to a 12" – time to install the medium Nickle/Silver fretwire.
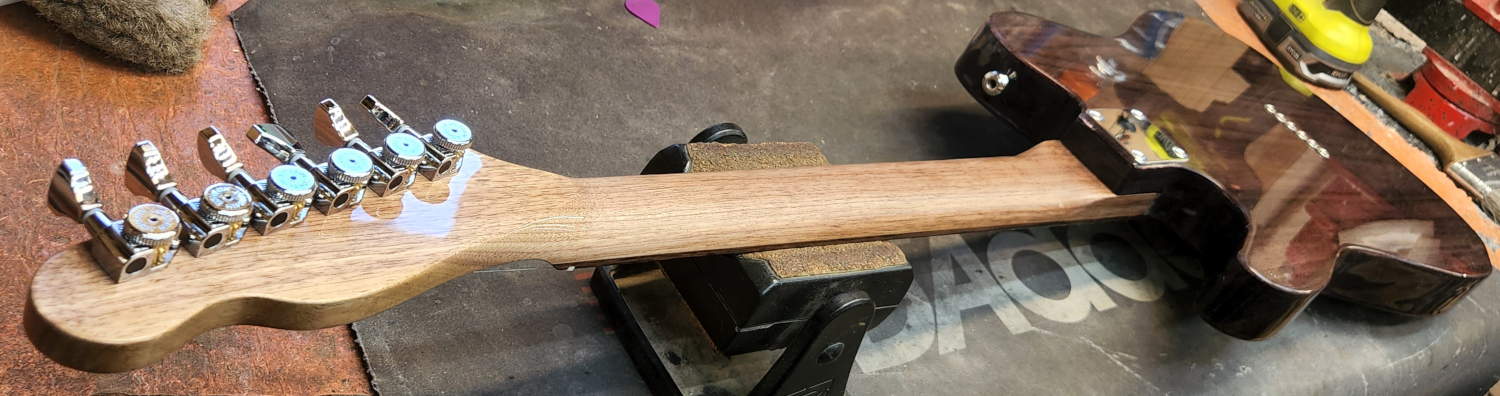
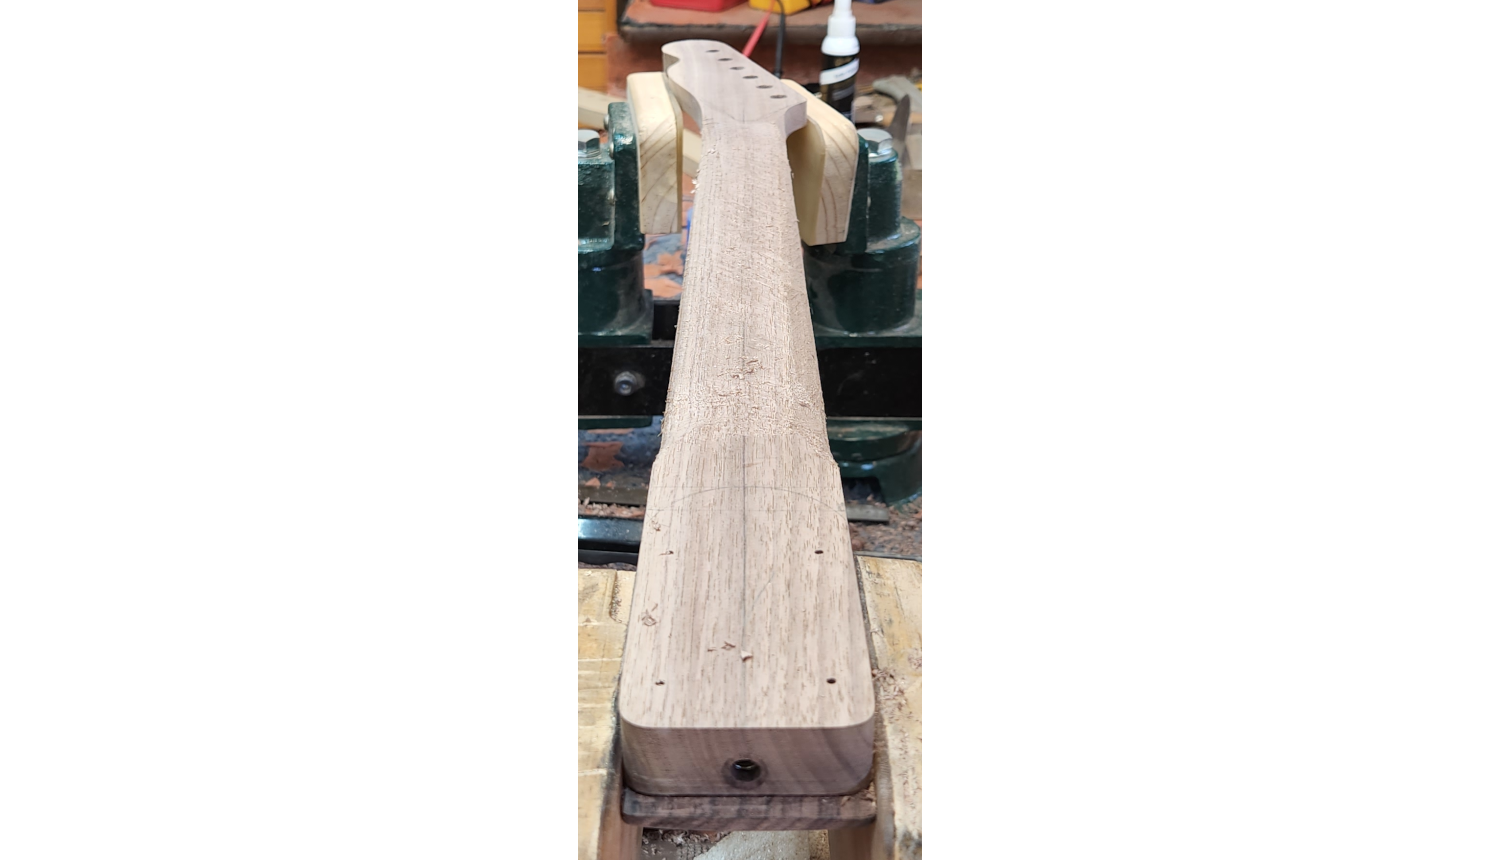
Hand-carving the neck.
Walnut is a joy (not sarcasm) to carve.
Everything is carved, thus begins the finishing process.

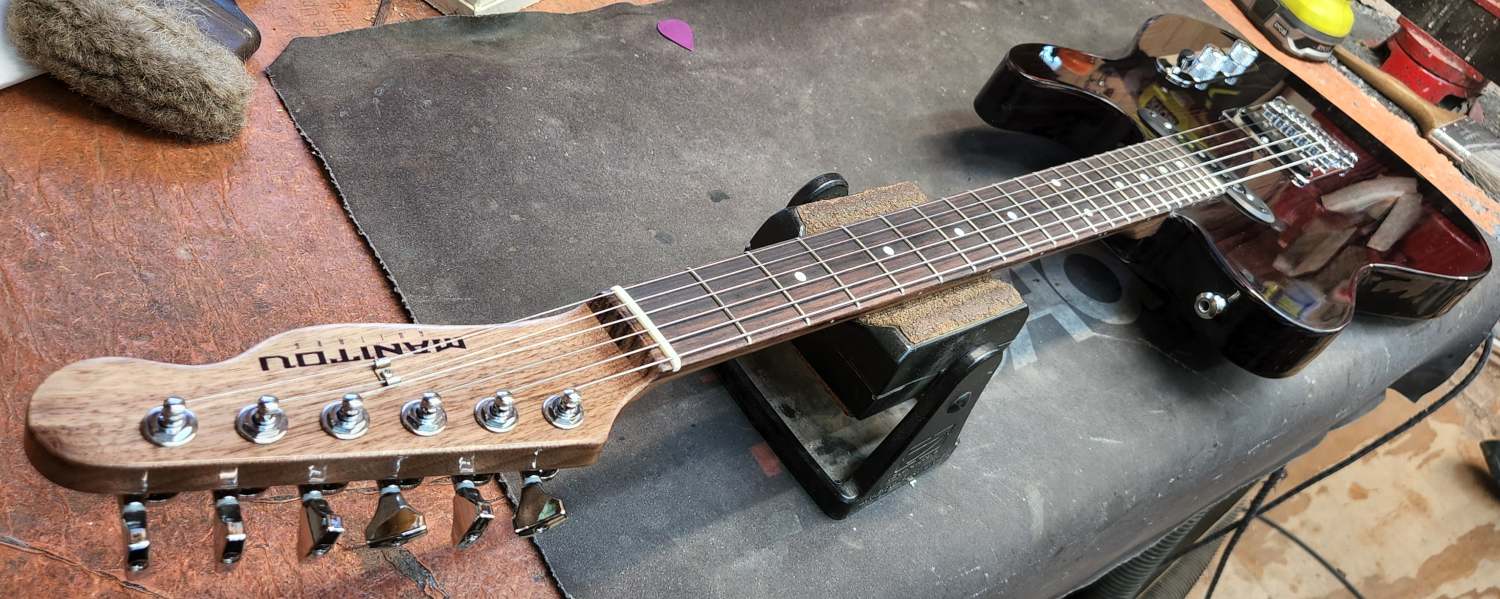
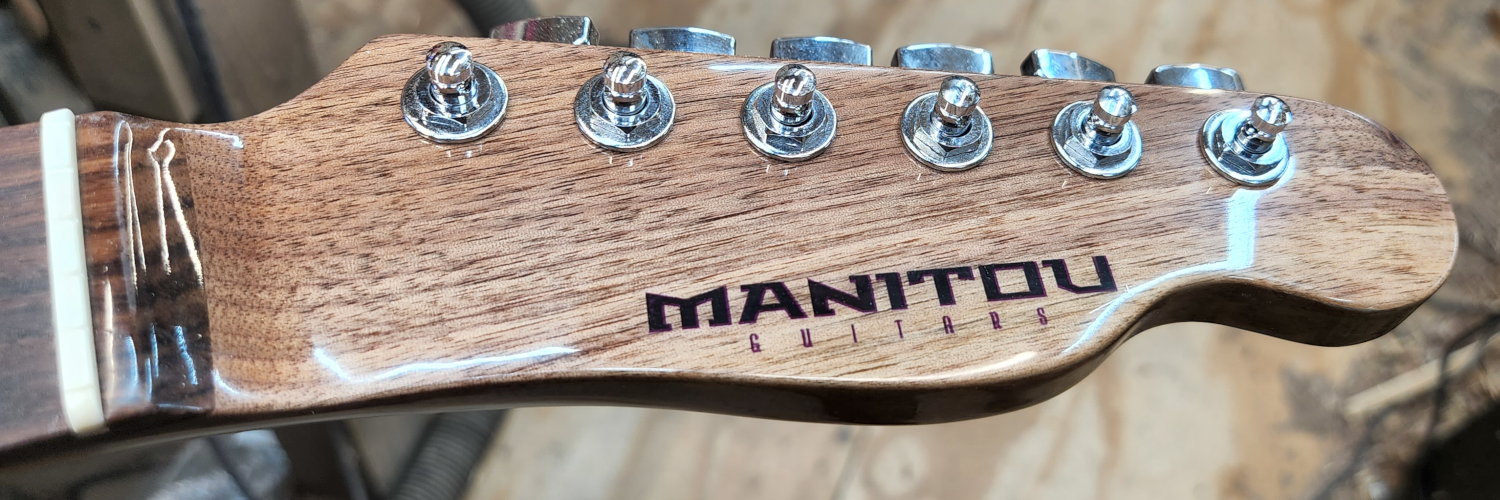
Customer requested a different logo from the stamped variety, so this is what I came up with.
The neck pickup cavity was slightly too big and therefore needed a pickup ring.
The one pictured below I carved from Ebony.
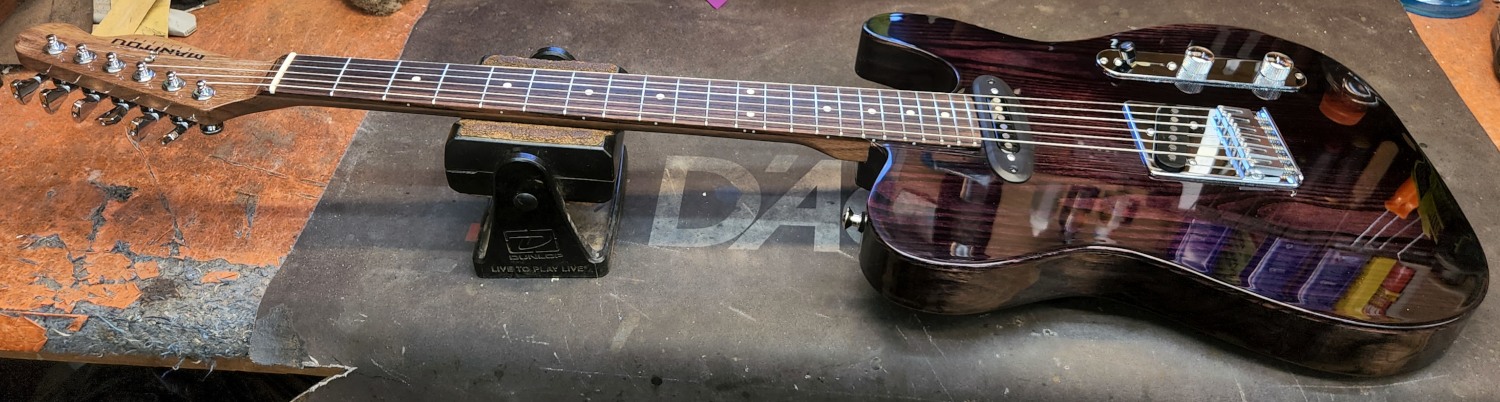
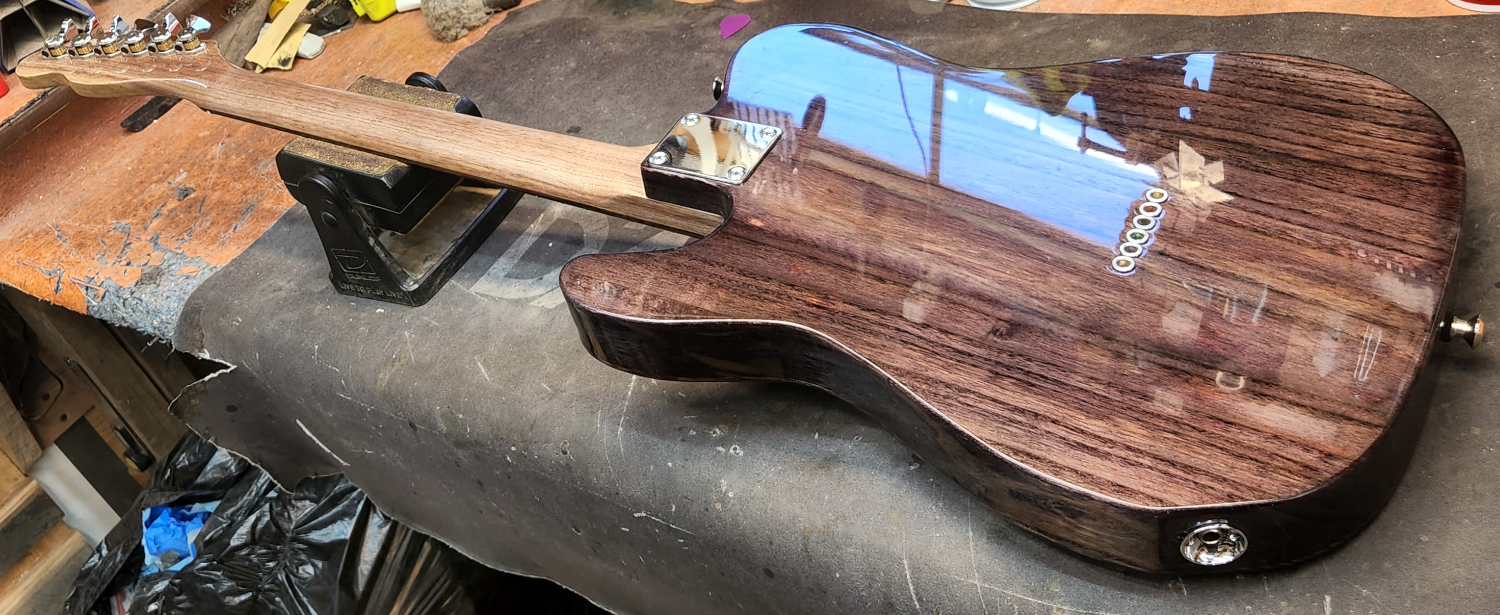
Definitely looks better than having a pickguard obscuring the finish.
Here’s what it looks like completed!
The back didn’t come out the same shade of purple, due to the wood being a different color, but it’s not too bad.
The sound and feel on this guitar is amazing, and without a doubt has earned the right to display the Manitou logo on its headstock.